Lesson Plan > Lesson 08 > Science
Elementary Level: Classifying Living and Non-Living Things
Mid Level: Plant Structure and Function
High Level: Cell Functions and Processes
Elementary Level (Kinder to Grade 2)

Subject: Classifying Living and Non-Living Things
Alignment with Standards:
- NGSS (Next Generation Science Standards):
- 1-LS1-1: Use materials to design a solution to a human problem by mimicking how plants and/or animals use their external parts to help them survive, grow, and meet their needs.
- 1-LS3-1: Make observations to construct an evidence-based account that young plants and animals are like, but not exactly like, their parents.
- Common Core State Standards (CCSS) – ELA Integration:
- CCSS.ELA-LITERACY.SL.1.1: Participate in collaborative conversations about grade 1 topics and texts with peers and adults.
- CCSS.ELA-LITERACY.W.1.2: Write informative/explanatory texts to name a topic, supply facts about the topic, and provide some sense of closure.
Lesson Objectives
By the end of this lesson, children will be able to:
- Identify and distinguish between living and non-living things.
- Describe characteristics of living things (e.g., grow, move, need food and water).
- Classify objects and images into living and non-living categories.
Materials Needed
✅ Large chart paper or whiteboard
✅ Markers
✅ Picture cards or real objects (e.g., toy car, leaf, stuffed animal, rock, flower, book)
✅ “Living and Non-Living Things” worksheet (for sorting activity)
✅ Scissors and glue (for cut-and-paste sorting activity)
✅ Magnifying glass (for exploring real objects)
✅ Storybook: “Living or Nonliving?” by Abbie Dunne (Optional read-aloud)
Lesson Structure
1. Introduction (10 minutes) – “What is Living?”
👩🏫 Discussion & Inquiry-Based Learning
- Start with a question: “What do you think makes something alive?”
- Show two objects (e.g., a plant and a rock). Ask: “Which one is alive? Why?”
- Introduce characteristics of living things:
- They grow.
- They need food and water.
- They move or respond to their environment.
- They reproduce (make more of their kind).
- Write these characteristics on the board or chart paper.
💡 Mini Activity: “Act Like a Living Thing”
- Ask children to pretend to be different living things (e.g., flap like a bird, grow like a tree, hop like a frog).
2. Main Activity (20 minutes) – “Sorting Living vs. Non-Living”
🔎 Hands-on Sorting Activity
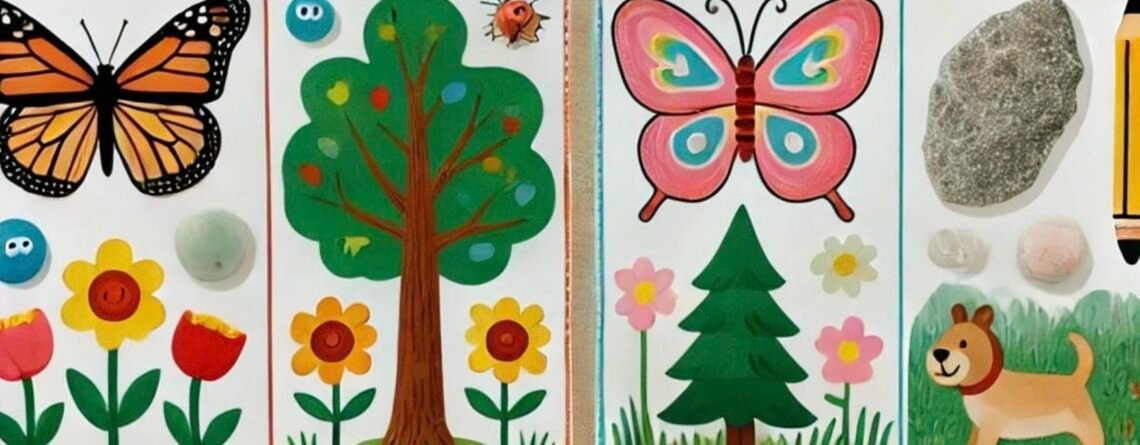
- Provide children with picture cards or real objects (e.g., leaf, flower, rock, pencil, butterfly, toy car).
- Have children classify them into two categories: Living and Non-Living.
- Use a sorting mat or a T-chart on paper for visual organization.
📌 Extension:
- Discuss why some objects may be confusing (e.g., a stuffed animal looks like a living thing but is not).
- Introduce the idea that once-living things (e.g., wooden chair, paper) were once part of a living organism.
3. Independent Practice (10 minutes) – “Cut, Paste & Write”
📄 Worksheet Activity
- Provide a worksheet with a mix of living and non-living pictures.
- Have children cut them out and paste them in the correct category.
- Ask children to write or dictate one sentence explaining how they know something is living or non-living.
4. Wrap-Up & Reflection (5 minutes) – “Think-Pair-Share”
🔄 Exit Ticket Question:
- Ask children: “What did you learn today about living and non-living things?”
- Have them share their answer with a family member or in a homeschool group setting.
Assessment & Evaluation
✅ Observation: Monitor sorting activity for accuracy.
✅ Discussion Participation: Check if children can explain why an object is living or non-living.
✅ Worksheet Completion: Review cut-and-paste work for correct classification.
Extension & Enrichment Activities
🎨 Art Connection: Have children draw their own examples of living and non-living things.
🌿 Nature Walk: Go outside and find real-life examples of living and non-living things.
📚 Read-Alouds:
- “Is It Living or Nonliving?” by Rebecca Rissman
- “Living Things and Nonliving Things: A Compare and Contrast Book” by Kevin Kurtz
Mid Level (Grade 3 to 5)
Subject: Plant Structure and Function
Alignment with Standards:
- NGSS (Next Generation Science Standards):
- 4-LS1-1: Construct an argument that plants and animals have internal and external structures that function to support survival, growth, behavior, and reproduction.
- Common Core State Standards (CCSS) – ELA Integration:
- CCSS.ELA-LITERACY.W.4.2: Write informative/explanatory texts to examine a topic and convey ideas and information clearly.
- CCSS.ELA-LITERACY.SL.4.1: Engage effectively in a range of collaborative discussions on grade 4 topics and texts.
Lesson Objectives
By the end of the lesson, children will be able to:
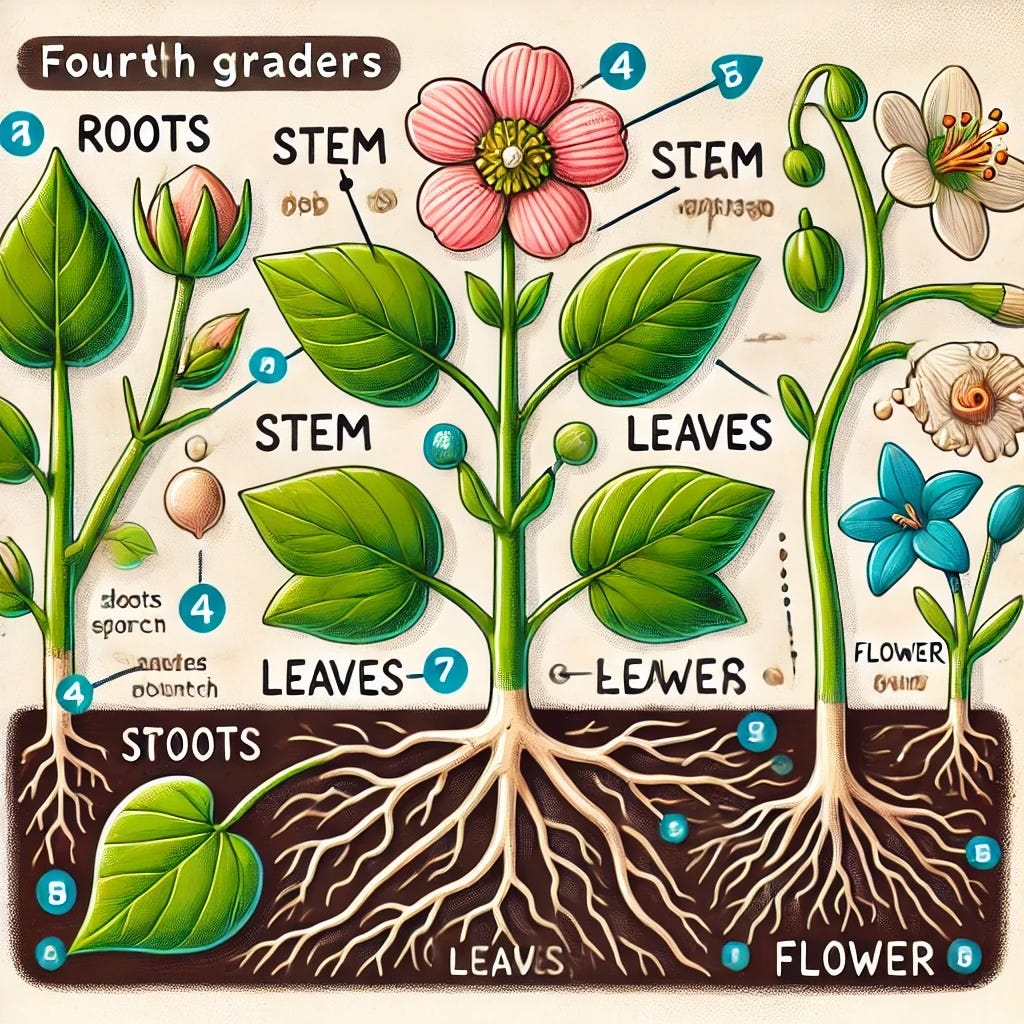
- Identify and describe the four main parts of a plant: roots, stems, leaves, and flowers.
- Explain the function of each plant part.
- Conduct a hands-on plant dissection and label plant parts.
- Record observations and describe plant structures in writing.
Materials Needed
✅ Fresh plants with visible roots (e.g., small flowering plant, grass with roots)
✅ Scissors and magnifying glass
✅ Hand lens (optional for closer observation)
✅ Paper towels or trays (to keep the workspace clean)
✅ “Parts of a Plant” worksheet (for labeling activity)
✅ Colored pencils or markers
✅ Science journal or notebook
Lesson Structure
1. Introduction (10 minutes) – “Why Are Plants Important?”
👩🏫 Discussion & Inquiry-Based Learning
- Begin with a question: “Why do we need plants?”
- Show a real plant and ask: “What do you think are the most important parts of a plant?”
- Introduce the four main plant parts (roots, stems, leaves, flowers) and their functions:
- Roots: Absorb water and nutrients, anchor the plant.
- Stems: Support the plant, transport water and nutrients.
- Leaves: Make food through photosynthesis.
- Flowers: Help plants reproduce by producing seeds.
💡 Mini Activity: Think-Pair-Share
- Ask: “What do you think would happen if a plant didn’t have roots or leaves?”
- Discuss ideas together.
2. Main Activity (30 minutes) – “Plant Dissection & Labeling”
🔎 Hands-on Dissection Activity
- Provide your child with a fresh plant.
- Carefully remove soil to expose the roots (if using potted plants, shake off excess dirt).
- Instruct your child to examine and gently separate each plant part.
- Use scissors (if necessary) to trim stems and leaves for better observation.
- Have your child use a magnifying glass to look at the different textures of roots, stems, and leaves.
📄 Labeling Activity
- Distribute the “Parts of a Plant” worksheet.
- Have children draw and label their plant dissection.
- Ask children to write a short description of each part’s function in their science journal.
3. Independent Practice (15 minutes) – “Plant Functions in Action”
📚 Writing & Creative Thinking
- Ask children to imagine what would happen if plants had no stems or if roots couldn’t absorb water.
- Have them write a short story (3-5 sentences) about a “Plant with No Roots” or “A Day in the Life of a Leaf.”
4. Wrap-Up & Reflection (5 minutes) – “Quick Plant Quiz”
🔄 Exit Ticket:
- Ask children:
- What part of a plant is responsible for making food? (Answer: Leaves)
- Which part helps a plant stay upright? (Answer: Stem)
- Why do plants need roots? (Answer: To absorb water and nutrients)
Assessment & Evaluation
✅ Observation: Check your child’s engagement in plant dissection.
✅ Worksheet Review: Ensure correct labeling of plant parts.
✅ Short Writing Piece: Evaluate creativity and understanding of plant functions.
Extension & Enrichment Activities
🌿 Grow a Plant Experiment: Plant a seed and observe how roots, stems, and leaves grow over time.
🎨 Leaf Art: Use leaves to make leaf rubbings with crayons.
📚 Read-Aloud Books:
- “From Seed to Plant” by Gail Gibbons
- “The Magic School Bus Plants Seeds” by Joanna Cole
High Level (Grade 6 to 8)
Subject: Cell Functions and Processes
Alignment with Standards:
- NGSS (Next Generation Science Standards):
- MS-LS1-2: Develop and use a model to describe the function of a cell as a whole and ways parts of cells contribute to the function.
- MS-LS1-3: Use argument supported by evidence for how the body is a system of interacting subsystems composed of groups of cells.
- Common Core State Standards (CCSS) – ELA Integration:
- CCSS.ELA-LITERACY.RST.6-8.3: Follow precisely a multistep procedure when carrying out experiments, taking measurements, or performing technical tasks.
- CCSS.ELA-LITERACY.W.7.2: Write informative/explanatory texts to examine a topic and convey ideas clearly.
Lesson Objectives
By the end of this lesson, children will be able to:
- Explain the processes of photosynthesis, respiration, and cell division (mitosis).
- Observe plant leaf cells under a microscope and identify structures involved in these processes.
- Conduct an experiment to understand how leaves carry out photosynthesis.
Materials Needed
✅ Microscope & prepared slides of leaf cells
✅ Fresh plant leaves (e.g., spinach or elodea)
✅ Glass beaker or clear cup
✅ Baking soda (source of carbon dioxide)
✅ Water
✅ Light source (lamp or sunlight)
✅ “Cell Processes” worksheet for note-taking and labeling
✅ Colored pencils or markers
Lesson Structure
1. Introduction (15 minutes) – “What Do Cells Do?”
👩🏫 Discussion & Inquiry-Based Learning
- Ask: “Why are cells important?”
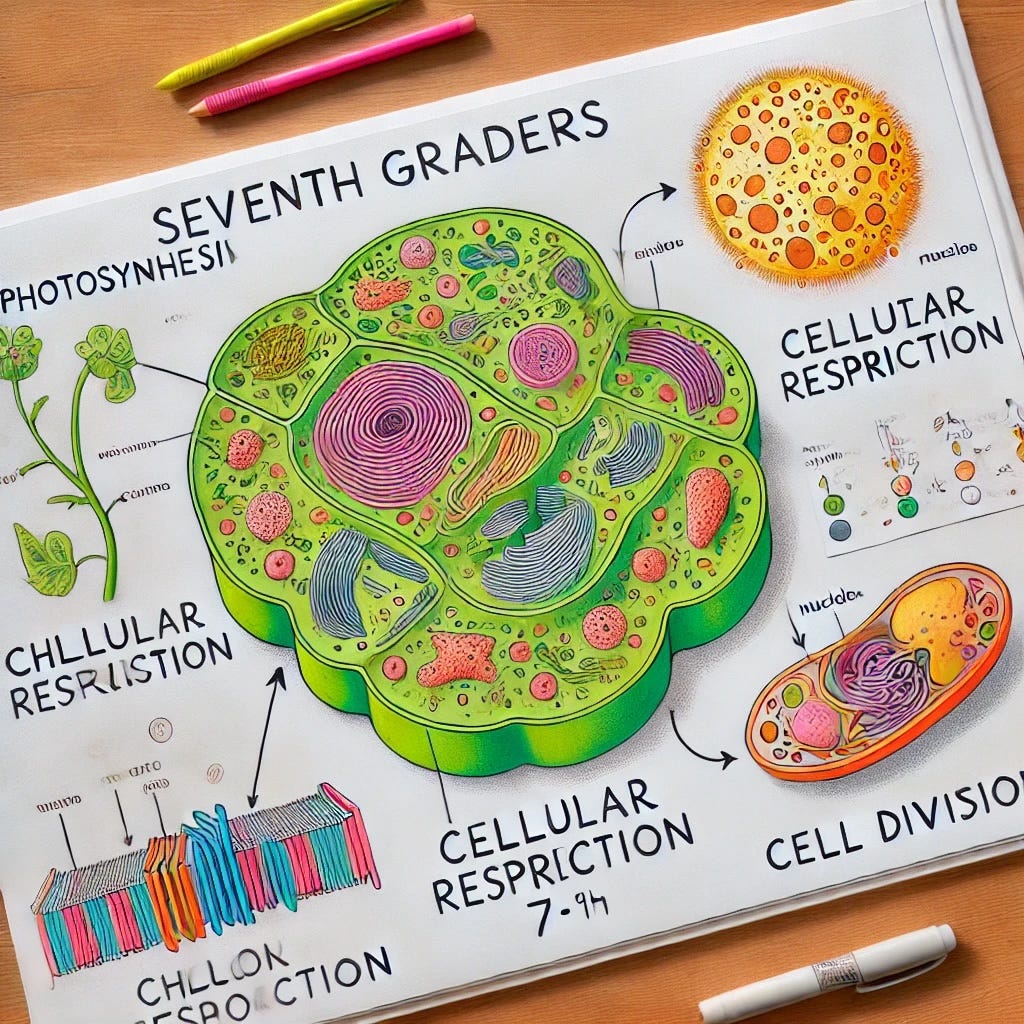
- Introduce three key processes in cells:
- Photosynthesis – Plants use sunlight, carbon dioxide, and water to make food (glucose).
- Cellular Respiration – Cells break down glucose to release energy.
- Cell Division (Mitosis) – Cells make copies of themselves for growth and repair.
- Show a simple diagram of a plant cell, highlighting the chloroplasts (photosynthesis), mitochondria (respiration), and nucleus (cell division).
💡 Quick Question:
- “Why do plants need both photosynthesis and respiration?”
(Answer: Photosynthesis makes glucose; respiration releases energy from glucose.)
2. Hands-On Activity (30 minutes) – “Observing Leaf Cells Under a Microscope”
🔬 Microscopy Lab
- Provide a microscope and prepared slides of leaf cells (or have children make their own slides with thin leaf sections).
- Guide chidren to identify the chloroplasts (green dots in the cells).
- Have children draw what they see and label the parts.
- Discuss how chloroplasts are responsible for photosynthesis and energy production.
📄 Worksheet Task:
- Label chloroplasts, cell wall, and nucleus on a plant cell diagram.
- Write a one-paragraph summary of what they observed.
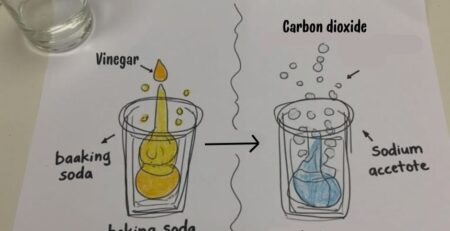
3. Experiment (30 minutes) – “Do Leaves Breathe?”
🌿 Photosynthesis & Oxygen Production Experiment
- Fill a glass beaker with water and add baking soda (this provides carbon dioxide).
- Place a fresh leaf (like spinach or elodea) in the water.
- Expose the beaker to a lamp or sunlight for 15-20 minutes.
- Observe oxygen bubbles forming on the leaf surface – this shows that photosynthesis is happening!
🔎 Discussion:
- Where do the bubbles come from? (Answer: Oxygen produced by photosynthesis.)
- What would happen if we did this in the dark? (Answer: No photosynthesis, so no bubbles.)
📄 Data Collection:
- children record observations before and after placing the leaf in light.
- Write a hypothesis and conclusion about photosynthesis based on results.
4. Independent Practice (10 minutes) – “Cell Processes in Action”
📚 Writing & Critical Thinking
- Have children compare photosynthesis and respiration in a short paragraph.
- Answer the question: “How does mitosis help plants grow?”
5. Wrap-Up & Reflection (5 minutes) – “Quick Science Check”
🔄 Exit Ticket:
- Ask children:
- Which cell part is responsible for photosynthesis? (Answer: Chloroplast)
- What gas do plants release during photosynthesis? (Answer: Oxygen)
- Why do cells divide? (Answer: For growth and repair)
Assessment & Evaluation
✅ Observation: Check microscope drawings and experiment participation.
✅ Worksheet Review: Assess labeling and explanations.
✅ Experiment Conclusion: Evaluate the written explanation of results.
Extension & Enrichment Activities
🧪 Stomata Imprint Experiment: Use clear tape to observe leaf stomata under a microscope.
🌱 Grow a Bean Plant: Track its growth and discuss mitosis over time.
📚 Read-Aloud Books:
- “Cells: An Owner’s Manual” by Carolyn DeCristofano
- “Inside the Cell” by National Geographic Kids


LEAVE A COMMENT