Lesson Plan > Lesson 14 > Science
Elementary Level: Exploring Plants (Parts of a Plant)
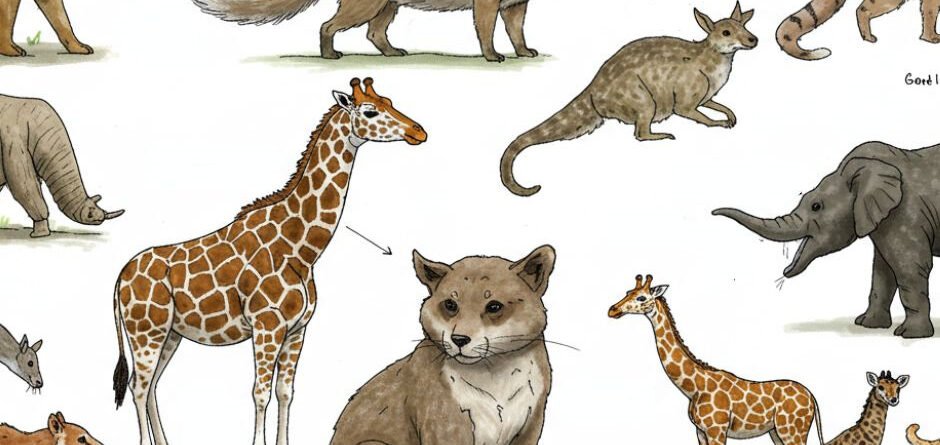
Mid Level: Animal Adaptations
High Level: Human Body Systems (Introduction)
Elementary Level (Kinder to Grade 2)
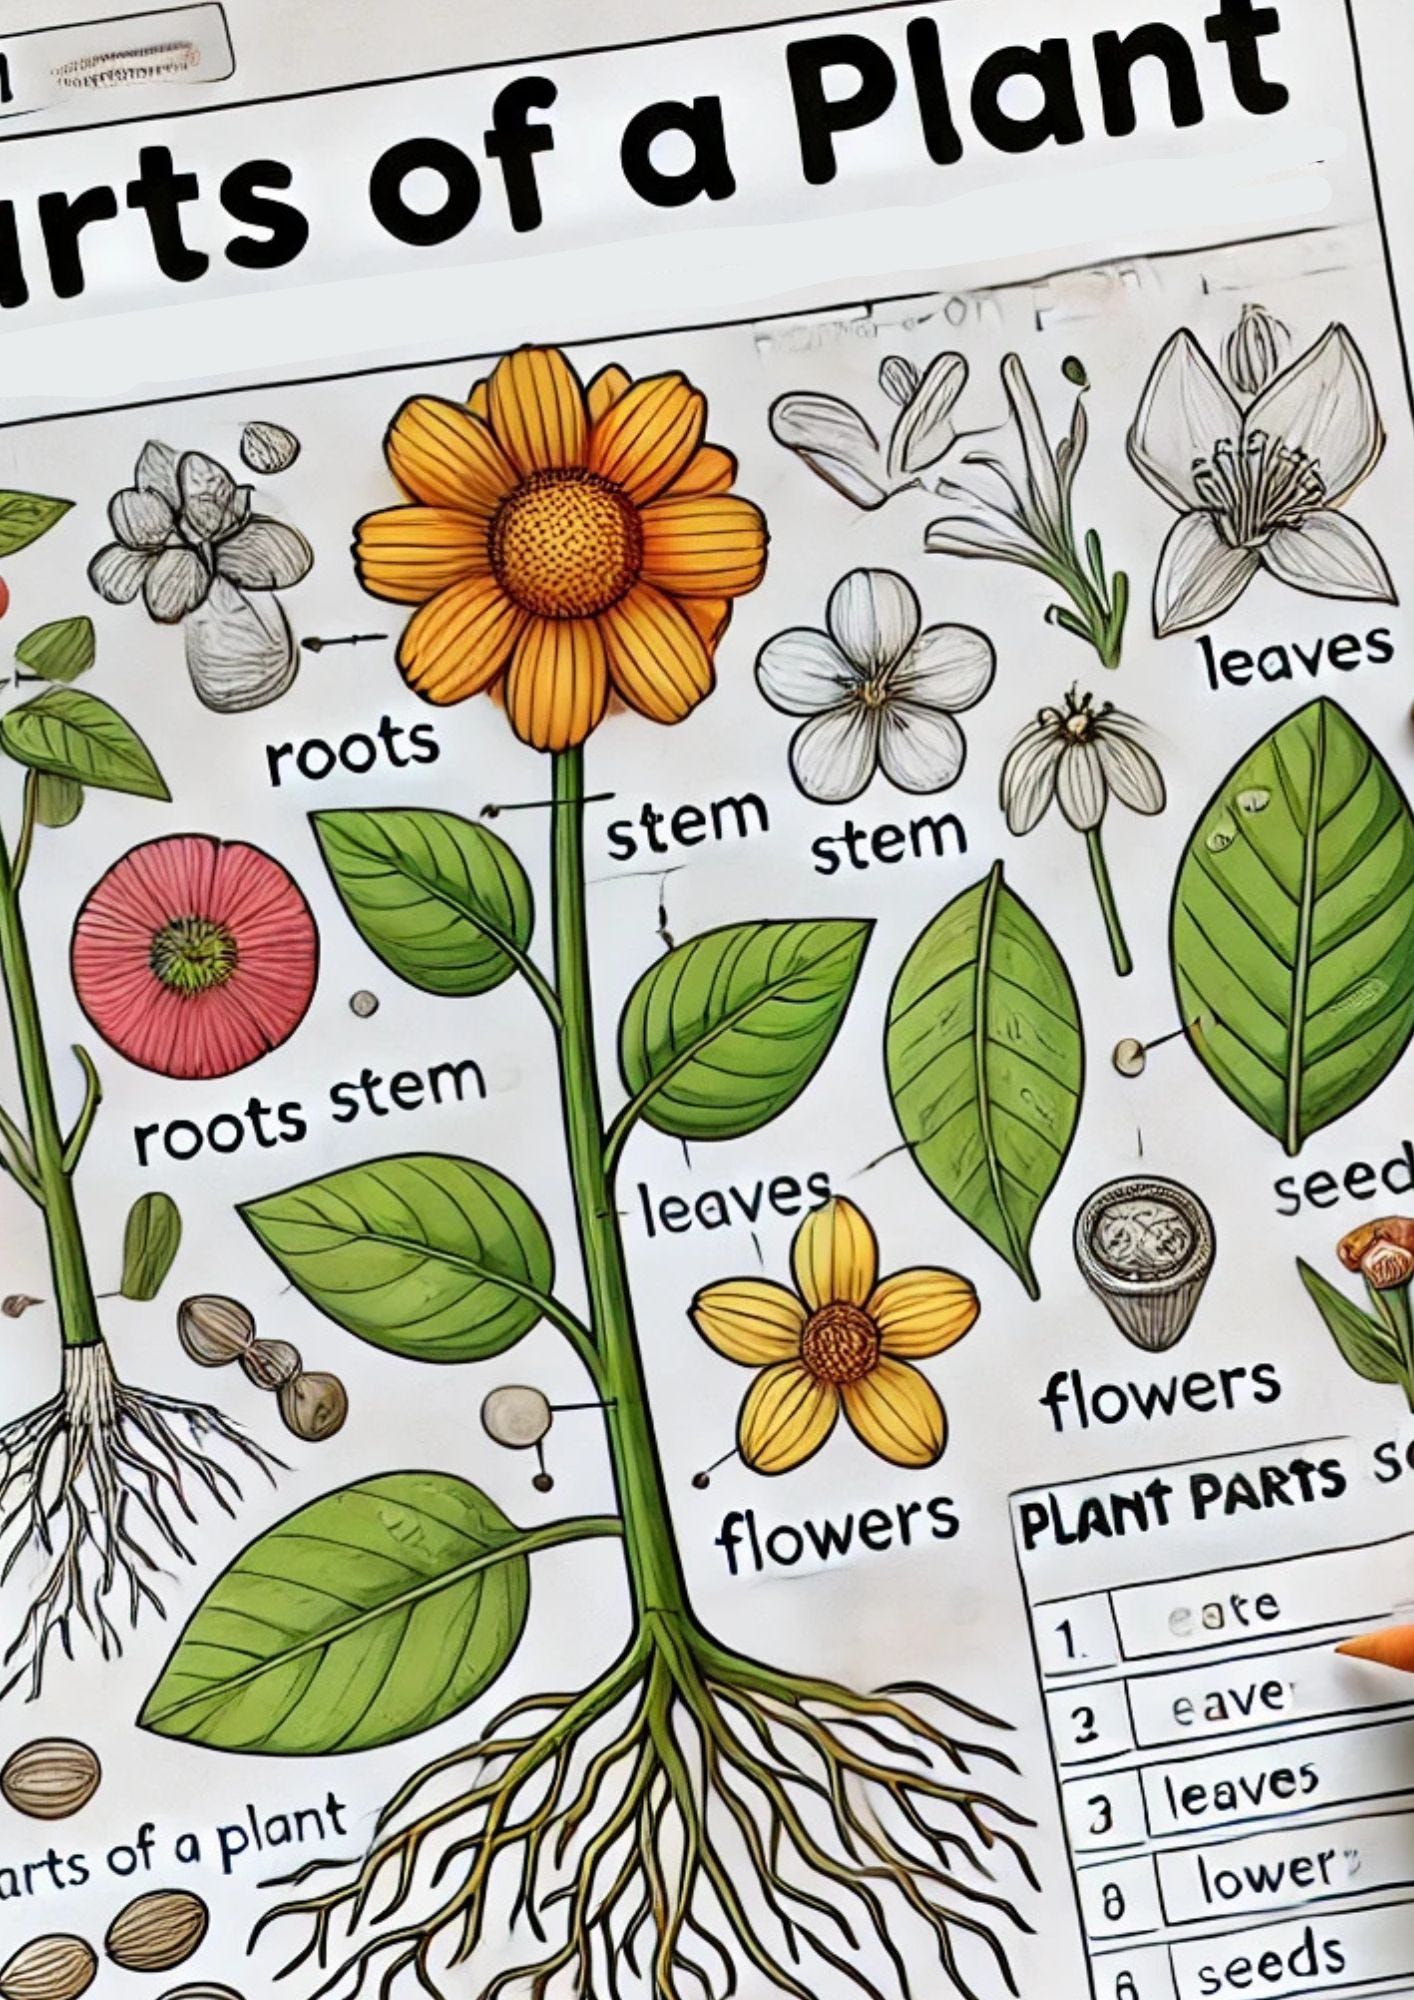
Subject: Exploring Plants (Parts of a Plant)
Alignment with Standards:
- NGSS.1.LS1.A – All organisms have external parts that help them survive, grow, and meet their needs.
- NGSS.1.LS1-1 – Use materials to design a solution to a human problem by mimicking how plants survive and grow.
Objectives
By the end of this lesson, your child will be able to:
✅ Identify and name the roots, stem, leaves, flowers, and seeds of a plant.
✅ Understand the function of each plant part (e.g., roots absorb water, leaves make food).
✅ Engage in a hands-on plant dissection activity to explore plant structures.
✅ Label the parts of a plant on a worksheet.
Materials Needed
📌 A real plant (small flower, herb, or vegetable plant)
📌 Magnifying glass (optional)
📌 Printable plant diagram worksheet
📌 Markers or crayons
📌 Scissors (for cutting plant parts if dissecting)
📌 Glue or tape (for attaching plant parts to paper)
Lesson Activities
1️⃣ Warm-Up (5–10 minutes) – Plant Observation
🎯 Activity: “What Do You See?”
- Show a real plant or a picture of a plant.
- Ask: “What parts can you name?”
- Encourage the child to touch and describe the plant (e.g., “The stem is green and strong!”).
2️⃣ Teaching & Guided Practice (20–25 minutes)
🌱 Activity 1: Plant Dissection (Hands-On Exploration)
🔬 Step-by-Step Exploration:
- Give the child a small real plant (e.g., a dandelion or small herb).
- Carefully remove the roots, stem, leaves, flowers, and seeds one by one.
- Observe each part closely with a magnifying glass (if available).
- Discuss what each part does (e.g., “The roots drink water!”).
- Glue or tape the plant parts onto a paper and label them.
📖 Activity 2: Labeling the Parts of a Plant
📝 Worksheet Time!
- Give the child a plant diagram worksheet with missing labels.
- Have them write the correct names (or trace words if needed).
- Color the plant for extra fun! 🎨
3️⃣ Assessment (10–15 minutes)
📄 Mini Quiz – Match the Part to Its Function
- Question Example: “Which part of the plant makes food?” (Answer: Leaves 🍃)
- Draw a blank plant diagram and have the child label it independently.
🎯 Bonus Challenge:
- Ask: “What would happen if a plant had no roots?”
- Encourage a short verbal or drawn response!
4️⃣ Wrap-Up & Fun Game (5 minutes)
🌻 “Plant Simon Says” Game
- Say: “Touch the part of the plant that drinks water!”
- The child points to the roots!
- Keep playing with different plant parts.
🎉 Celebrate Learning with a Sticker or Fun Fact About Plants!
Next Steps
✅ If the child masters plant parts → Introduce how plants grow and photosynthesis.
✅ If they struggle → Repeat activities using songs, stories, or 3D models.
Mid Level (Grade 3 to 5)
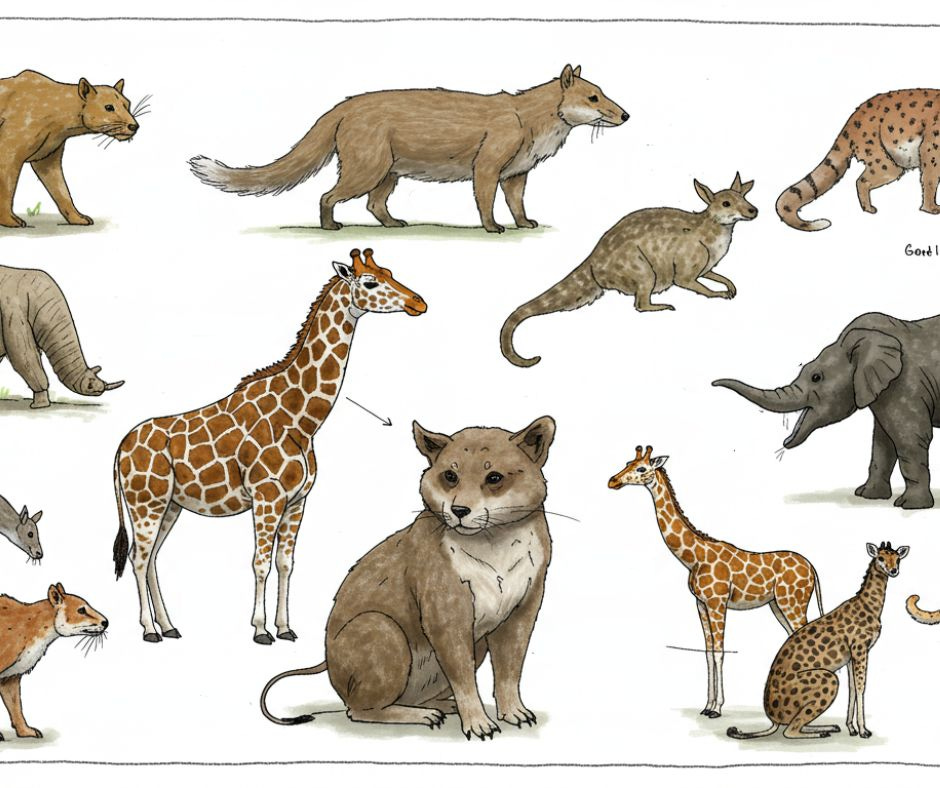
Subject: Animal Adaptations
Alignment with Standards:
- NGSS.3-LS4-3 – Construct an argument with evidence that in a particular habitat, some organisms can survive well, some survive less well, and some cannot survive at all.
- NGSS.4-LS1-1 – Construct an explanation that animals have internal and external structures that function to support survival, growth, behavior, and reproduction.
Objectives
By the end of this lesson, your child will be able to:
✅ Define animal adaptations and explain why they are important.
✅ Identify different types of adaptations (structural, behavioral, physiological).
✅ Match animals to their adaptations in a fun game.
✅ Explain how an animal’s adaptations help it survive in its environment.
Materials Needed
📌 Animal adaptation flashcards (or printed pictures of animals)
📌 Chart paper or whiteboard
📌 Printable worksheets (for matching game)
📌 Glue or tape (for sorting activity)
📌 Colored pencils or markers
Lesson Activities
1️⃣ Warm-Up (5–10 minutes) – What is an Adaptation?
🎯 Discussion:
- Ask: “How do animals survive in the wild?”
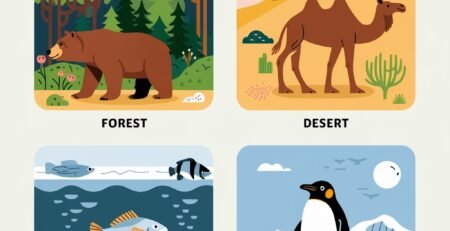
- Show pictures of different animals (polar bear, camel, owl, chameleon) and ask:
- “Why do polar bears have thick fur?”
- “How do camels survive in the desert?”
- Introduce three types of adaptations:
- Structural – Physical features (e.g., webbed feet, sharp teeth).
- Behavioral – Things animals do (e.g., hibernation, migration).
- Physiological – Internal body processes (e.g., venom, ability to store water).
2️⃣ Teaching & Guided Practice (20–25 minutes)
🦉 Activity 1: Animal Adaptation Sorting Game
🎲 How It Works:
- Create flashcards with different animals and their adaptations.
- Have the child sort them into three categories:
- Structural (body features)
- Behavioral (actions they take)
- Physiological (inside their bodies)
🦊 Activity 2: Animal Adaptation Matching Game
🐾 Match the Animal to Its Adaptation!
- Create two sets of cards:
- One with animals (e.g., penguin, giraffe, octopus).
- One with adaptations (e.g., “Can change color to blend in”).
- The child must match the animal to the correct adaptation.
🌎 Activity 3: Adaptation Story Challenge
📖 Create a New Animal!
- Ask the child to design a fictional animal that lives in a specific environment (e.g., rainforest, desert, ocean).
- Have them draw the animal and describe its adaptations for survival.
3️⃣ Assessment (10–15 minutes)
📄 Mini Quiz – Animal Adaptation Challenge
- Multiple-choice and matching questions on types of adaptations.
- Short-answer question: “How does a penguin stay warm in icy water?”
🎯 Bonus Challenge:
- Have the child explain an adaptation using real-world examples (e.g., “Why do owls have silent feathers?”).
4️⃣ Wrap-Up & Fun Game (5 minutes)
🎮 “Guess the Animal” Game
- Give hints about an animal’s adaptation.
- The child guesses which animal it is!
- Example: “I have webbed feet and live in the Arctic!” (Penguin 🐧)
🎉 Celebrate Learning with a Fun Fact or Sticker!
Next Steps
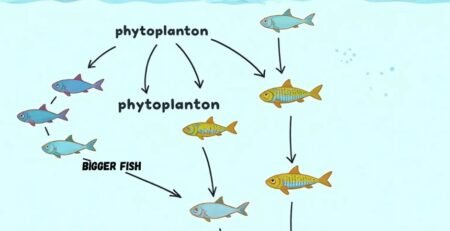
✅ If the child masters adaptations → Introduce food chains and ecosystems.
✅ If they struggle → Use videos, books, and real-life examples to reinforce learning.
High Level (Grade 6 to 8)
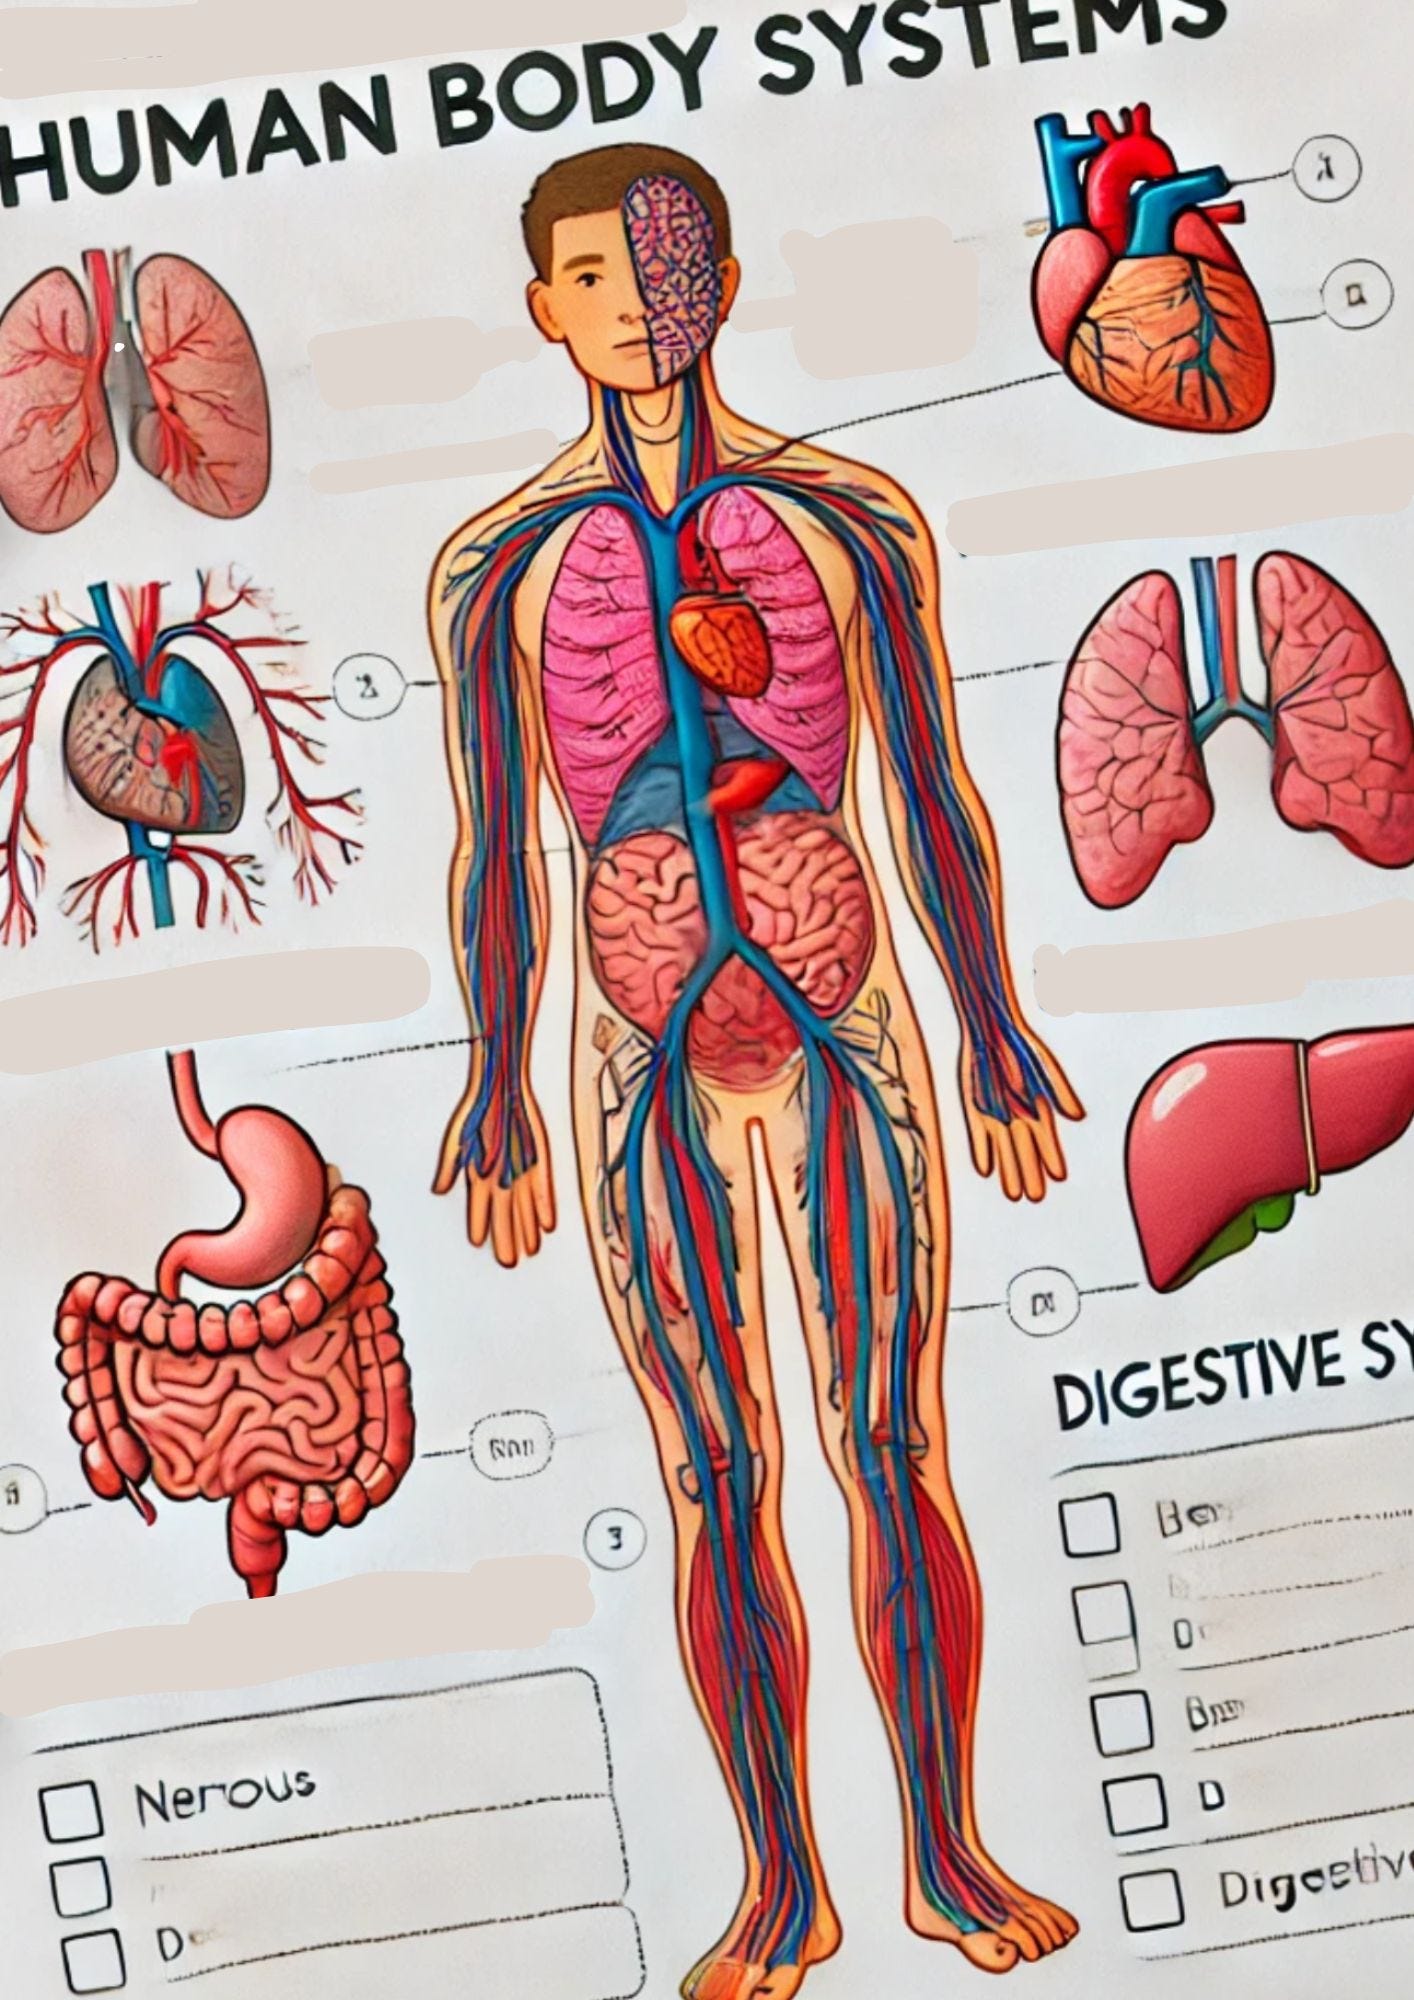
Subject: Human Body Systems (Introduction)
Alignment with Standards:
- NGSS.MS-LS1-3 – Use an argument supported by evidence for how the body is a system of interacting subsystems composed of groups of cells.
- NGSS.MS-LS1-2 – Develop and use a model to describe the function of a cell as a whole and ways that parts of cells contribute to the function.
Objectives
By the end of this lesson, your child will be able to:
✅ Identify and describe the major human body systems (nervous, circulatory, digestive).
✅ Explain the function of key organs in each system.
✅ Match organs to their correct body systems.
✅ Understand how these systems work together to keep the body functioning.
Materials Needed
📌 Printable diagram of the human body
📌 Flashcards with organ names (brain, heart, stomach, etc.)
📌 Colored pencils or markers
📌 Printable worksheets for matching activity
📌 Optional: A model of the human body or a science app for interactive exploration
Lesson Activities
1️⃣ Warm-Up (5–10 minutes) – Introduction to Body Systems
🎯 Discussion:
- Ask: “What does the human body need to survive?”
- Explain that the body is made up of systems that work together.
- Introduce three major systems:
- Nervous System – Controls body functions and sends messages (brain, spinal cord, nerves).
- Circulatory System – Moves blood, oxygen, and nutrients (heart, blood vessels).
- Digestive System – Breaks down food into energy (stomach, intestines).
2️⃣ Teaching & Guided Practice (20–25 minutes)
🧠 Activity 1: Body System Sorting Game
🔍 Match Organs to Their Systems
- Give the child flashcards of organs (brain, lungs, heart, stomach, etc.).
- Have them place each organ under the correct system category (nervous, circulatory, digestive).
- Discuss the role of each organ in its system.
❤️ Activity 2: How Systems Work Together
🩺 Connect the Systems!
- Ask: “What happens when you eat food?”
- Digestive system breaks it down.
- Circulatory system carries nutrients to cells.
- Nervous system signals hunger and fullness.
- Draw a simple flowchart to show the connection.
🍎 Activity 3: Interactive Human Body Diagram
📖 Labeling & Coloring
- Give the child a blank body diagram worksheet.
- Have them color and label the organs in each system.
- Discuss how these organs function together.
3️⃣ Assessment (10–15 minutes)
📄 Mini Quiz – Match the Organ to the System
- Provide a list of organs and ask the child to match them to the correct system.
- Example: “Which system does the heart belong to?” (Answer: Circulatory)
🎯 Bonus Challenge:
- Ask: “What happens if one body system stops working?”
- Encourage a short verbal or written response!
4️⃣ Wrap-Up & Fun Game (5 minutes)
🎮 “Body System Charades”
- Act out functions of different systems (e.g., pretending to pump blood for the circulatory system).
- The child guesses which system it is!
🎉 Celebrate Learning with a Fun Fact or Sticker!
Next Steps
✅ If the child masters body systems → Introduce skeletal, respiratory, and muscular systems.
✅ If they struggle → Use videos, interactive apps, or hands-on models.


LEAVE A COMMENT