16Apr
Lesson Plan > Lesson 38 > Science
Lesson 38 covers:
- Elementary Level: Introduction to Matter
- Mid Level: States of Matter
- High Level: Properties of Matter
Elementary Level (Kinder to Grade 2)
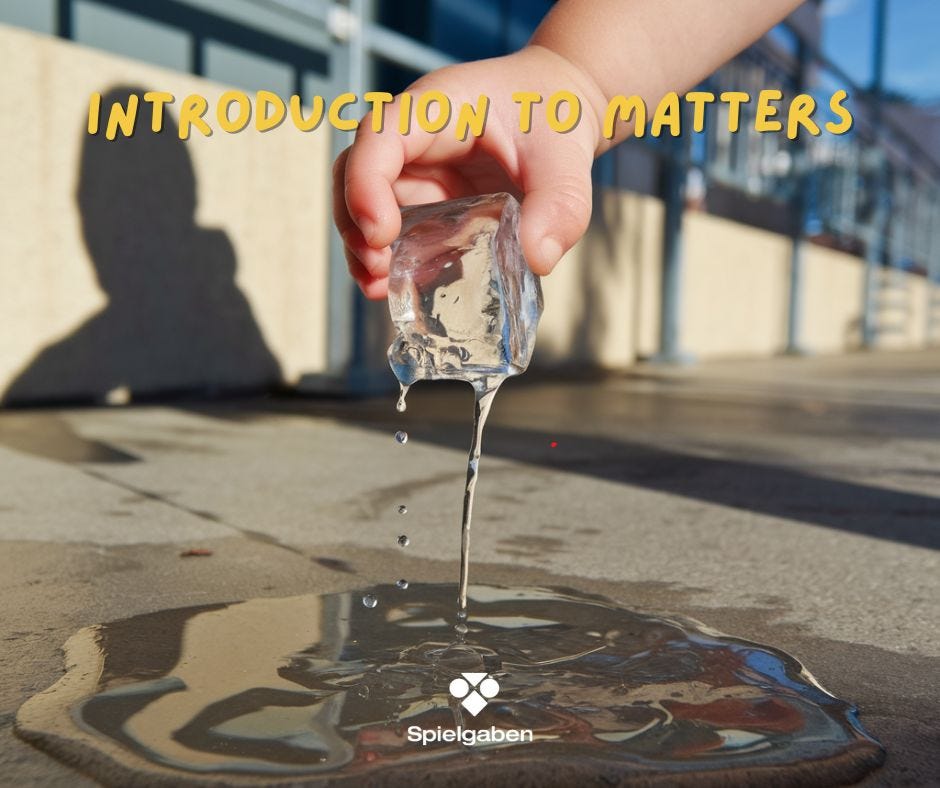
Subject: Introduction to Matter
Alignment with Standards:
- Next Generation Science Standards (NGSS):
- 2-PS1-1: Plan and conduct an investigation to describe and classify different kinds of materials by their observable properties.
- Common Core State Standards (CCSS) Connections:
- CCSS.ELA-LITERACY.SL.1.1: Participate in collaborative conversations.
- CCSS.ELA-LITERACY.SL.1.4: Describe people, places, things, and events with relevant details.
Lesson Objectives
By the end of the lesson, students will be able to:
- Define matter as anything that takes up space.
- Identify and categorize everyday materials as solids, liquids, or gases.
- Describe observable properties of each state of matter (e.g., shape, volume).
Materials Needed
- Real-world examples:
- Solids: Book, toy, ice cube, rock
- Liquids: Water, juice, milk (in clear cups)
- Gases: Balloon (filled with air), bubbles, steam (from warm water)
- Visual aids:
- Chart paper & markers
- Printed images of solids, liquids, and gases
- Interactive tools:
- Sorting trays or bins labeled “Solid,” “Liquid,” “Gas”
- Worksheet for drawing/writing examples
Lesson Activities
1. Introduction (10 minutes)
- Engage: Show a glass of water, a rock, and a balloon. Ask:
- “What do these things have in common?”
- Explain that all these are matter—they take up space.
- Define: Use simple language:
- Solid: Keeps its shape (e.g., toy).
- Liquid: Takes the shape of its container (e.g., water).
- Gas: Fills space (e.g., air in a balloon).
2. Hands-On Exploration (15 minutes)
- Sorting Activity:
- Place assorted objects (e.g., pencil, water bottle, balloon) on a table.
- Have the child sort them into bins labeled “Solid,” “Liquid,” or “Gas.”
- Discuss: “Why did you put the ice cube in ‘solid’? What happens if it melts?”
3. Interactive Discussion (10 minutes)
- Classify Together:
- Show a picture of a cloud (gas), orange juice (liquid), and a shoe (solid).
- Ask: “Which one can you pour? Which one can you hold?”
- Anchor Chart:
- Create a chart with columns for each state and add student-discovered examples.
4. Creative Application (10 minutes)
- Worksheet Activity:
- Draw or paste pictures of solids, liquids, and gases.
- Extension: Have the child find examples at home (e.g., soap = liquid, pillow = solid).
5. Wrap-Up (5 minutes)
- Exit Question: “Is a tree a solid, liquid, or gas? What about the wind?”
- Review: Sing a short chant:
“Solids keep their shape so neat,
Liquids move and fill their seat,
Gases float and fill the air—
Matter’s everywhere!”
Assessment
- Informal: Observe sorting accuracy during the activity.
- Formative: Worksheet completion (correct categorization).
Adaptations
- For Kinesthetic Learners: Act out molecules (stand close for solids, move around for liquids, run freely for gases).
- For Visual Learners: Use colored water in clear cups to show liquids taking shape.
Mid Level (Grade 3 to 5)
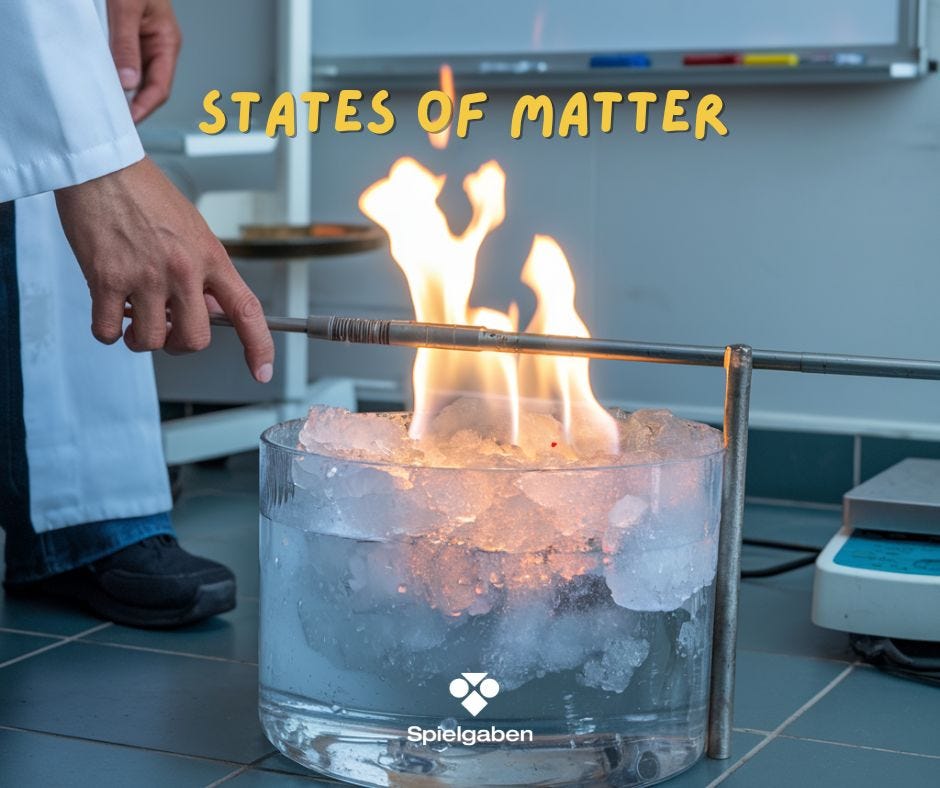
Subject: States of Matter
Alignment with Standards:
- Next Generation Science Standards (NGSS):
- 5-PS1-1: Develop a model to describe that matter is made of particles too small to be seen.
- 5-PS1-3: Make observations and measurements to identify materials based on their properties.
- Common Core State Standards (CCSS) Connections:
- CCSS.ELA-LITERACY.W.4.2: Write informative/explanatory texts to examine a topic.
- CCSS.ELA-LITERACY.SL.4.1: Engage effectively in collaborative discussions.
Lesson Objectives
By the end of the lesson, students will be able to:
- Define solids, liquids, and gases based on particle arrangement and movement.
- Explain how heating and cooling cause phase changes (melting, freezing, evaporation).
- Conduct experiments to observe and record changes in matter.
Materials Needed
- For Experiments:
- Ice cubes (solid water)
- Small pot or microwave-safe bowl (for melting)
- Heat source (stove/microwave)
- Thermometer (optional, for measuring temperature changes)
- Balloon (to demonstrate gas expansion when heated)
- Recording Tools:
- Science journal or worksheet
- Pencils, colored markers
- Visual Aids:
- Diagram of particle movement in solids, liquids, gases
- Chart paper for recording hypotheses/results
Lesson Activities
1. Introduction (10 minutes)
- Engage: Show an ice cube, water, and a steaming kettle. Ask:
- “How are these related? What makes them change form?”
- Review States of Matter:
- Solid: Fixed shape, particles tightly packed.
- Liquid: Takes container’s shape, particles slide past each other.
- Gas: Fills space, particles move freely.
2. Hands-On Experiment: Melting & Freezing (20 minutes)
A. Melting Ice (Solid → Liquid)
- Place an ice cube in a bowl.
- Predict: “How long will it take to melt at room temperature? What if we heat it?”
- Test by leaving one cube out and heating another (adult supervision required).
- Record observations (time, changes in state).
B. Freezing Liquid (Liquid → Solid)
- Pour water into a small cup.
- Place it in the freezer.
- Check every 10 minutes and note when it becomes solid.
C. Gas Expansion Demo (Optional)
- Blow up a balloon slightly, then place it in warm water—observe expansion (particles move faster).
3. Discussion & Model-Making (15 minutes)
- Group Discussion:
- “Why does heat cause melting? Why does cold cause freezing?”
- Introduce energy’s role (heat adds energy; cooling removes it).
- Kinesthetic Model:
- Have students act as “particles” (stand close for solids, move around for liquids, run for gases).
4. Creative Application (10 minutes)
- Science Journal Entry:
- Draw and label the three states of matter with examples.
- Write a short explanation: “What happens to particles when ice melts?”
- Extension: Research real-world examples (e.g., glaciers melting, water vapor in clouds).
5. Wrap-Up (5 minutes)
- Exit Ticket:
- “Name one example of melting in everyday life. Is it reversible?”
- Review Key Points:
- Melting = Solid → Liquid (adding heat).
- Freezing = Liquid → Solid (removing heat).
Assessment
- Informal: Observe participation in experiments and discussions.
- Formative: Review science journal entries for accuracy.
- Optional Quiz Question:
- “If you leave juice in the freezer, what happens? Why?”
Adaptations
- For Advanced Learners: Explore sublimation (dry ice → gas) or evaporation.
- For Visual Learners: Use interactive simulations (e.g., PBS Learning Media’s “States of Matter” game).
High Level (Grade 6 to 8)
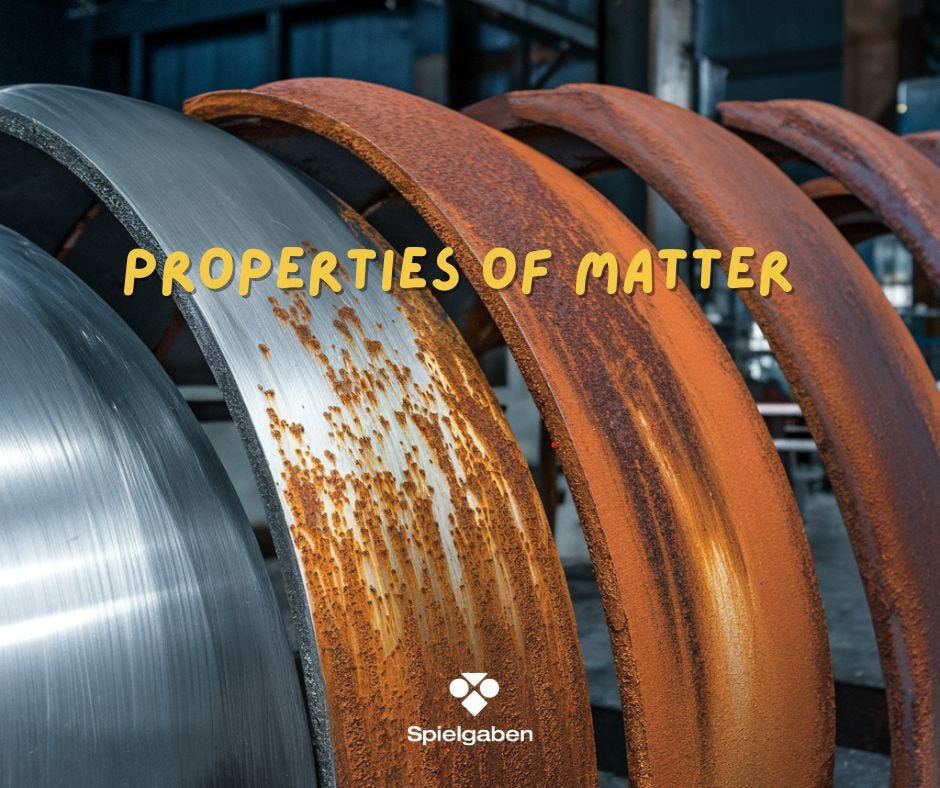
Subject: Properties of Matter
Alignment with Standards:
- Next Generation Science Standards (NGSS):
- MS-PS1-2: Analyze and interpret data on the properties of substances before and after interactions.
- MS-PS1-3: Gather and make sense of information to describe synthetic materials.
- Common Core State Standards (CCSS):
- CCSS.MATH.CONTENT.7.G.B.6: Solve real-world problems involving volume and density.
- CCSS.ELA-LITERACY.RST.6-8.3: Follow procedures precisely in technical texts.
Lesson Objectives
By the end of the lesson, students will be able to:
- Define physical properties (mass, volume, density, color, texture) and chemical properties (flammability, reactivity).
- Measure mass (balance scale), volume (displacement), and calculate density (D = M/V).
- Classify materials based on observed properties and justify reasoning.
Materials Needed
For Experiments & Measurements:
- Physical Properties Lab:
- Triple-beam balance or digital scale
- Graduated cylinder (for water displacement)
- Ruler (for regular solids)
- Objects to test (e.g., rock, wooden block, metal spoon, rubber ball)
- Chemical Properties Demo (Teacher-Led):
- Vinegar + baking soda (reactivity)
- Candle (flammability)
- Recording Tools:
- Science notebook/data table
- Calculator
Visual Aids & Safety:
- Chart comparing physical vs. chemical properties
- Safety goggles (for chemical demos)
Lesson Activities
1. Introduction (15 min) – Properties Sort
- Engage: Show a rusty nail and a glass of water. Ask:
- “Which changes are reversible? Which involve new substances?”
- Direct Instruction:
- Physical Properties: Observable without changing composition (e.g., density, melting point).
- Chemical Properties: Describe how matter reacts (e.g., iron + oxygen → rust).
2. Hands-On Investigation (30 min) – Density Lab
A. Measuring Mass & Volume
- Use a balance to find mass (grams) of each object.
- For volume:
- Regular solids (cube): Measure L × W × H (cm³).
- Irregular solids (rock): Use water displacement in a graduated cylinder.
- Calculate density (D = mass/volume).
B. Data Analysis
- Rank objects from least to most dense.
- Discuss: “Why does a metal spoon sink, but a rubber ball floats?”
3. Chemical Properties Demo (15 min) – Reactivity & Flammability
- Vinegar + Baking Soda: Observe gas production (new substance = chemical change).
- Candle Test: Discuss flammability as a chemical property.
4. Real-World Application (15 min) – “Mystery Material” Challenge
- Provide an unknown object (e.g., wax, plastic, aluminum).
- Students must:
- Measure its mass and volume.
- Calculate density.
- Use a density table to identify the material.
5. Wrap-Up (10 min) – Claim-Evidence-Reasoning (CER)
- Prompt: “Is density a physical or chemical property? Support your answer.”
- Exit Ticket: Sketch a flowchart for classifying matter based on properties.
Assessment
- Formative: Lab data sheet (accuracy in measurements/calculations).
- Summative: CER response (depth of reasoning).
- Optional Extension: Research real-world applications (e.g., why ships float despite steel’s density).
Adaptations
- For Advanced Learners: Introduce buoyancy (Archimedes’ Principle).
- For Kinesthetic Learners: Use clay to model how density affects floating/sinking.






LEAVE A COMMENT