The Art of Paper Folding and Cutting: From Flat Surfaces to Creative Expression
Fold a square piece of paper in half. Then in half again. Then once more diagonally.
Now hand your child a pair of safety scissors and say: “Cut a small shape out of the folded edge.”
They cut a tiny triangle. Nothing dramatic. They look unimpressed.
“Now unfold it.”
They open the paper. And there it is—a symmetrical pattern of diamond-shaped holes, perfectly repeated across the entire sheet. Something they could never have drawn freehand. Something that looks almost impossibly precise.
Watch their face. That moment—the gap between the small, uncertain cut and the beautiful, complex result—is one of the most powerful learning experiences Fröbel ever designed.
Today, we continue our journey through Fröbel’s Occupations. In our previous post, we explored how Parquetry tiles bridge the gap between three-dimensional building and two-dimensional geometry. Now we pick up an even more accessible medium: paper.
Every homeschool has paper. Every homeschool has scissors. What Fröbel offers is a way to transform these everyday materials into tools for geometric discovery, creative expression, and the kind of deep thinking that stays with a child for life.
Why Paper? The Connection to Everything Before
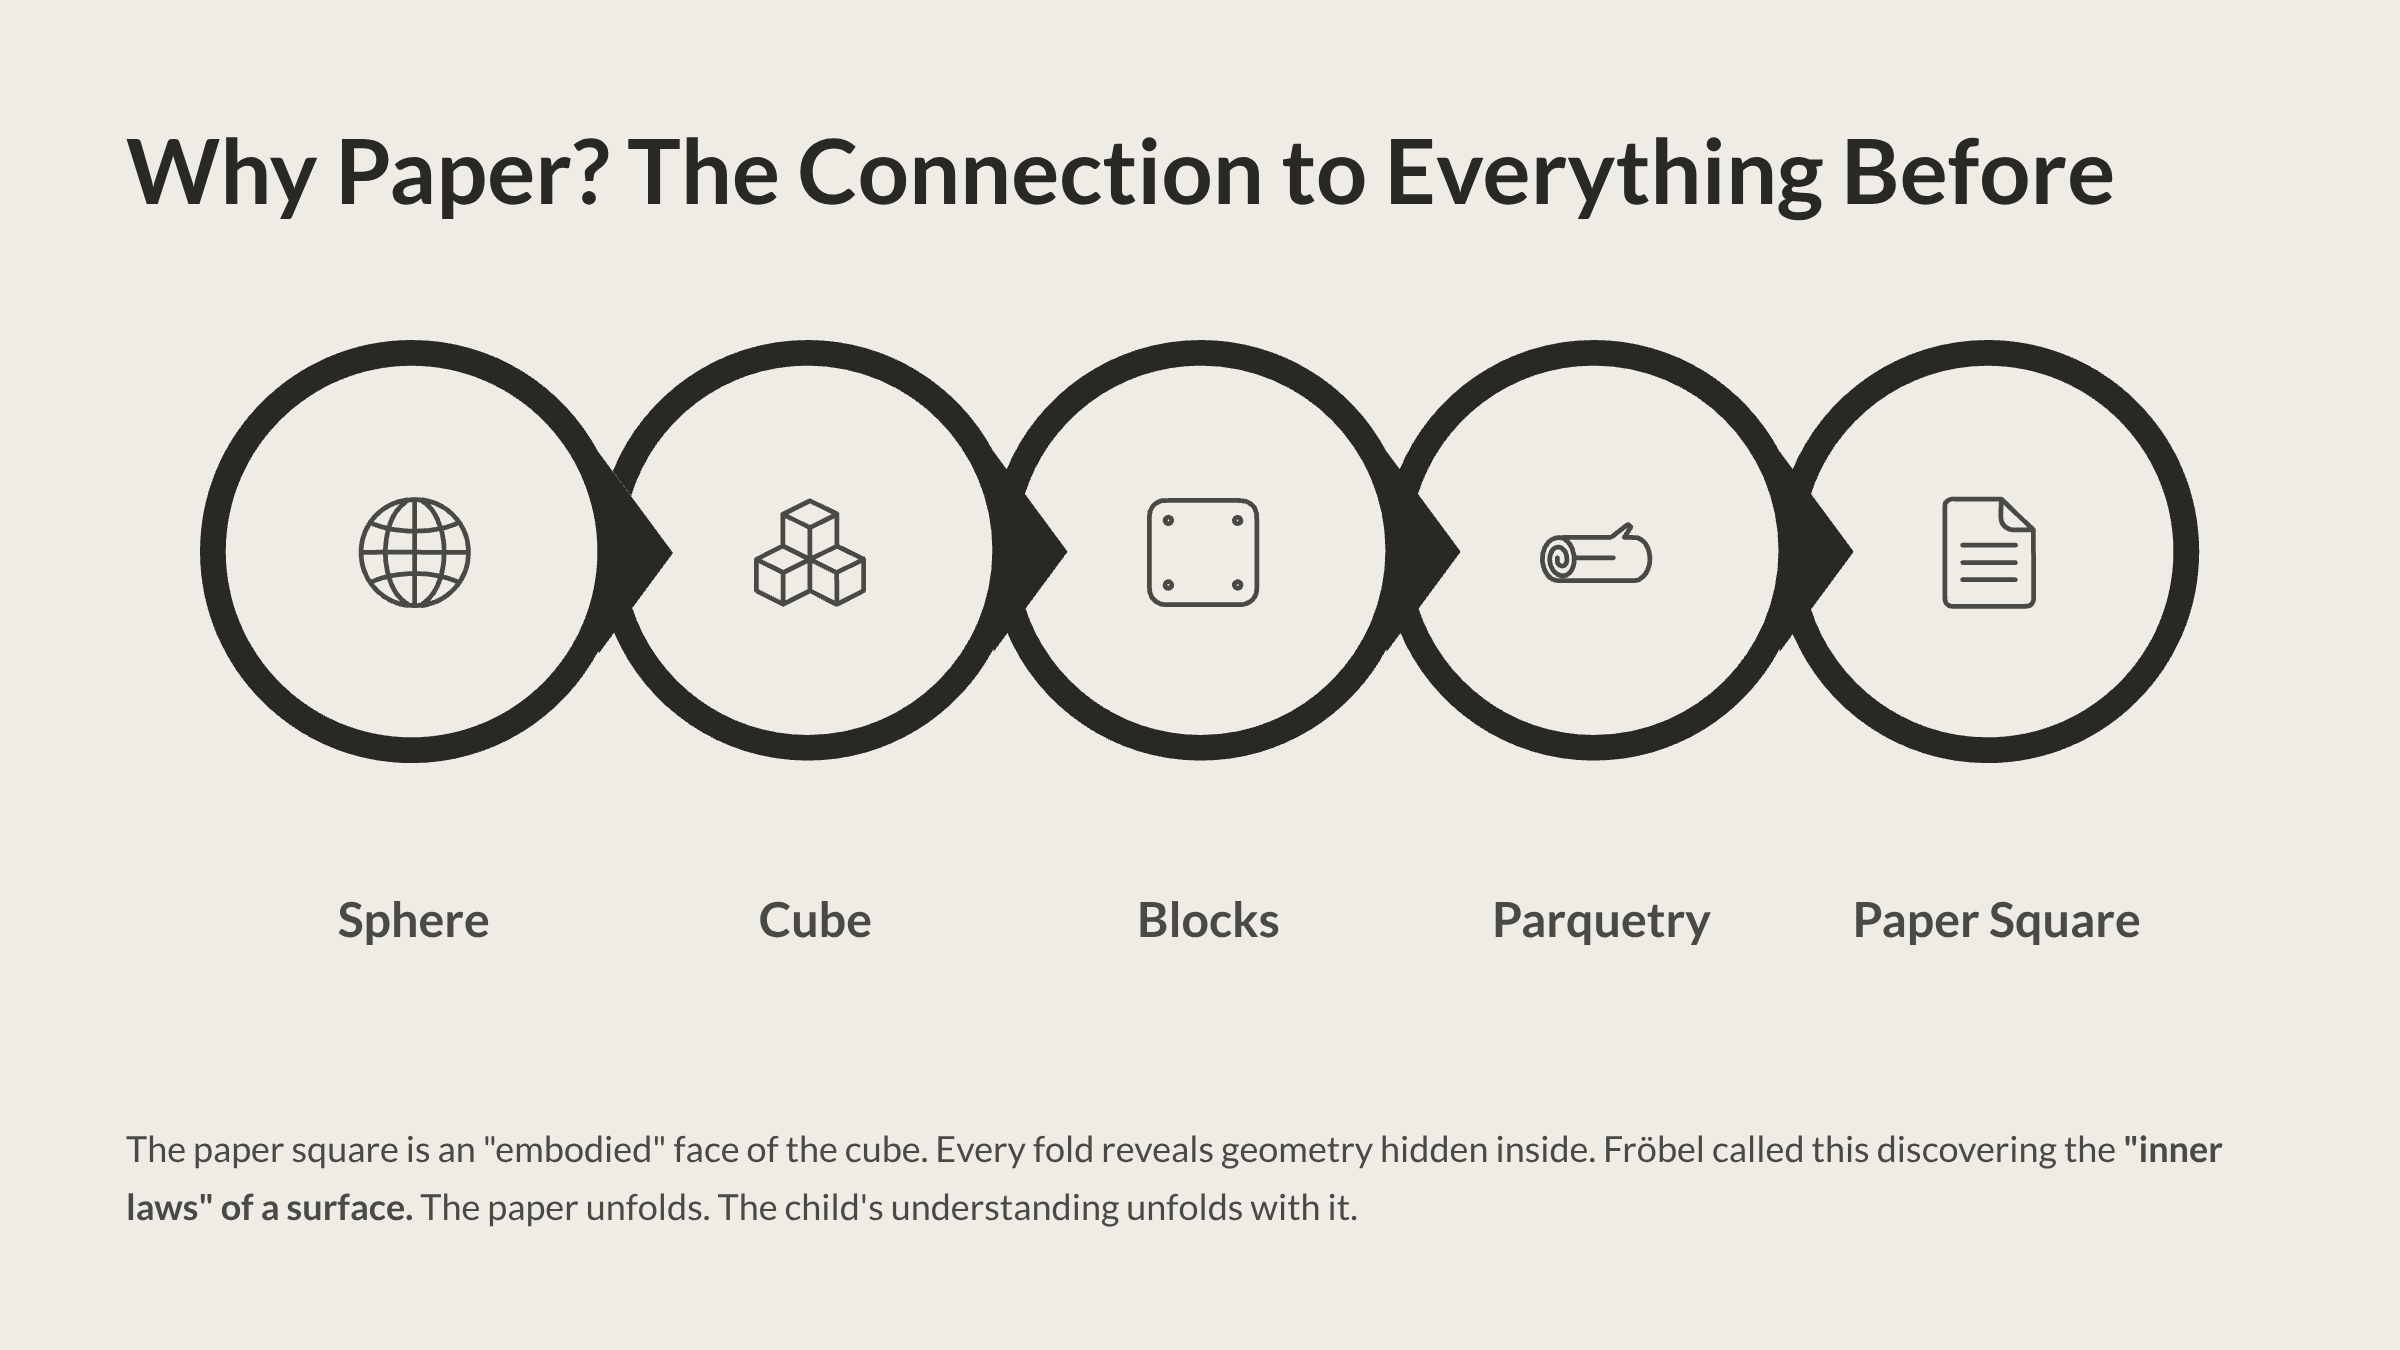
If you’ve been following our Masterclass, you’ll notice a deliberate progression. Your child started with a sphere—pure curves, pure movement. They moved to cubes—flat faces, sharp edges, stability. They divided those cubes into smaller blocks. Then they laid the surfaces of those blocks as flat tiles in Parquetry.
Now they take one of those flat surfaces—a single square—and discover what happens when they act upon it. When they fold it. When they cut it. When they transform it through their own hands.
The square piece of paper isn’t random. It’s an “embodied” face of the cube your child already knows. Every fold reveals geometry that was hidden inside the flat surface all along. Fröbel called this discovering the “inner laws” of a surface—and he meant it literally. The laws of symmetry, fractions, and spatial transformation are in the paper. Your child’s hands simply bring them out.
This is what Fröbel meant by “unfolding the human spirit.” The paper unfolds. The child’s understanding unfolds with it.
Paper Folding: Precision, Discovery, and the Three Forms
Paper folding is the quieter of today’s two activities—and the more demanding. It requires concentration, memory, spatial orientation, and fine motor control that will challenge children in ways block play and tile work don’t.
That’s by design. Your child is progressing. The materials are getting more precise, the actions more delicate, the thinking more abstract. And the rewards are proportionally greater.
Fröbel designed a series of “Basic Forms”—foundational folds that serve as building blocks for everything that follows. Just as the cube was the starting unit for the Divided Gifts, the square of paper is the starting unit here. And just as with the blocks, children use these folds to create three types of Forms.
Forms of Life — Folding the World
This is the form children gravitate toward first: using folds to recreate objects from their environment or imagination.
A few precise folds turn a flat square into a sailing boat. A different sequence produces a crown. Another creates a “fish mouth” that opens and closes. Still another becomes a cup, a house, or a bird.
What’s really happening: To fold a boat from a square of paper, your child must follow a sequence of steps where each fold depends on the one before it. They’re learning sequential thinking—the same cognitive skill that underpins following recipes, writing computer code, and solving multi-step maths problems. And they’re learning it through their fingers, not from a screen.
What to watch for: The child who can fold a boat by watching you once is demonstrating strong visual-spatial memory. The child who needs three or four attempts is developing perseverance and self-correction. Both are exactly where they should be.
Forms of Knowledge — Geometry in the Creases
This is where paper folding becomes quietly extraordinary as a maths tool.
Fold a square in half. You’ve created two rectangles. Open it and fold it the other way. Now you have four smaller squares, each one-quarter of the original. Fold diagonally. You’ve created triangles. Fold again. Eighths.
Your child can see the fraction lines. They can count the sections. They can feel the layers getting thicker with each fold—a physical experience of multiplication. And when they unfold the paper and see the grid of creases, they’re looking at a geometric proof that fractions, squares, triangles, and rectangles all live inside one simple square.
Try this: Give your child a square piece of paper and ask them to fold it so they can see exactly four equal parts. Most children will fold it in half twice, creating four squares. Now ask: “Can you fold it into four equal parts a different way?” This time they might fold it into four rectangles, or even four triangles by using diagonal folds.
Each solution is correct—and each reveals a different geometric truth about the same square.
What to watch for: When your child starts predicting what the crease pattern will look like before they unfold the paper, they’ve made the leap from concrete to abstract spatial reasoning. That’s a significant cognitive milestone.
Forms of Beauty — Symmetry Through Folding
Fold a square into a triangle. Fold again into a smaller triangle. Now fold one corner across. Open it all up.
The crease lines form a symmetrical star pattern radiating from the centre. Your child didn’t draw this pattern—they discovered it through a series of folds. And every time they refold and vary slightly—a different angle, a different number of folds—a new symmetrical pattern emerges.
This is the folded version of the “Dance of the Forms of Beauty” we explored with Parquetry tiles and building blocks. Small changes in action produce new patterns, each one evolving from the last, each one symmetrical, each one beautiful.
Try this: Fold a square into quarters, then into a triangle. Make one small cut—a curve, a zigzag, a notch—along the folded edge. Unfold. The single cut becomes a repeated pattern across the entire sheet. Now fold a new square the same way and make a different cut. Compare the two. Your child is learning that the same process with a small variation produces a different but related result—which is the essence of experimental thinking.
Paper Cutting: Channelling the Urge to Take Apart
Now we pick up the scissors. And if that sentence made you slightly nervous—good. You’re not alone. Most parents feel a flicker of anxiety when a young child reaches for scissors.
Fröbel would tell you to hand them over.
Remember the “destructive instinct” we discussed in our Divided Cubes post? The deep urge children have to take things apart, to see what’s inside, to discover what happens when a whole becomes pieces? Paper cutting is the Occupation that channels that instinct most directly.
A child with scissors and paper isn’t being destructive. They’re being investigative. And paper cutting, unlike breaking a toy or pulling apart a book, transforms the destructive impulse into something genuinely creative—because what emerges from the cutting can’t be predicted until the paper is unfolded.
The Law of Opposites in Every Cut
Paper cutting teaches Fröbel’s “Law of Opposites” in the most immediate way possible.
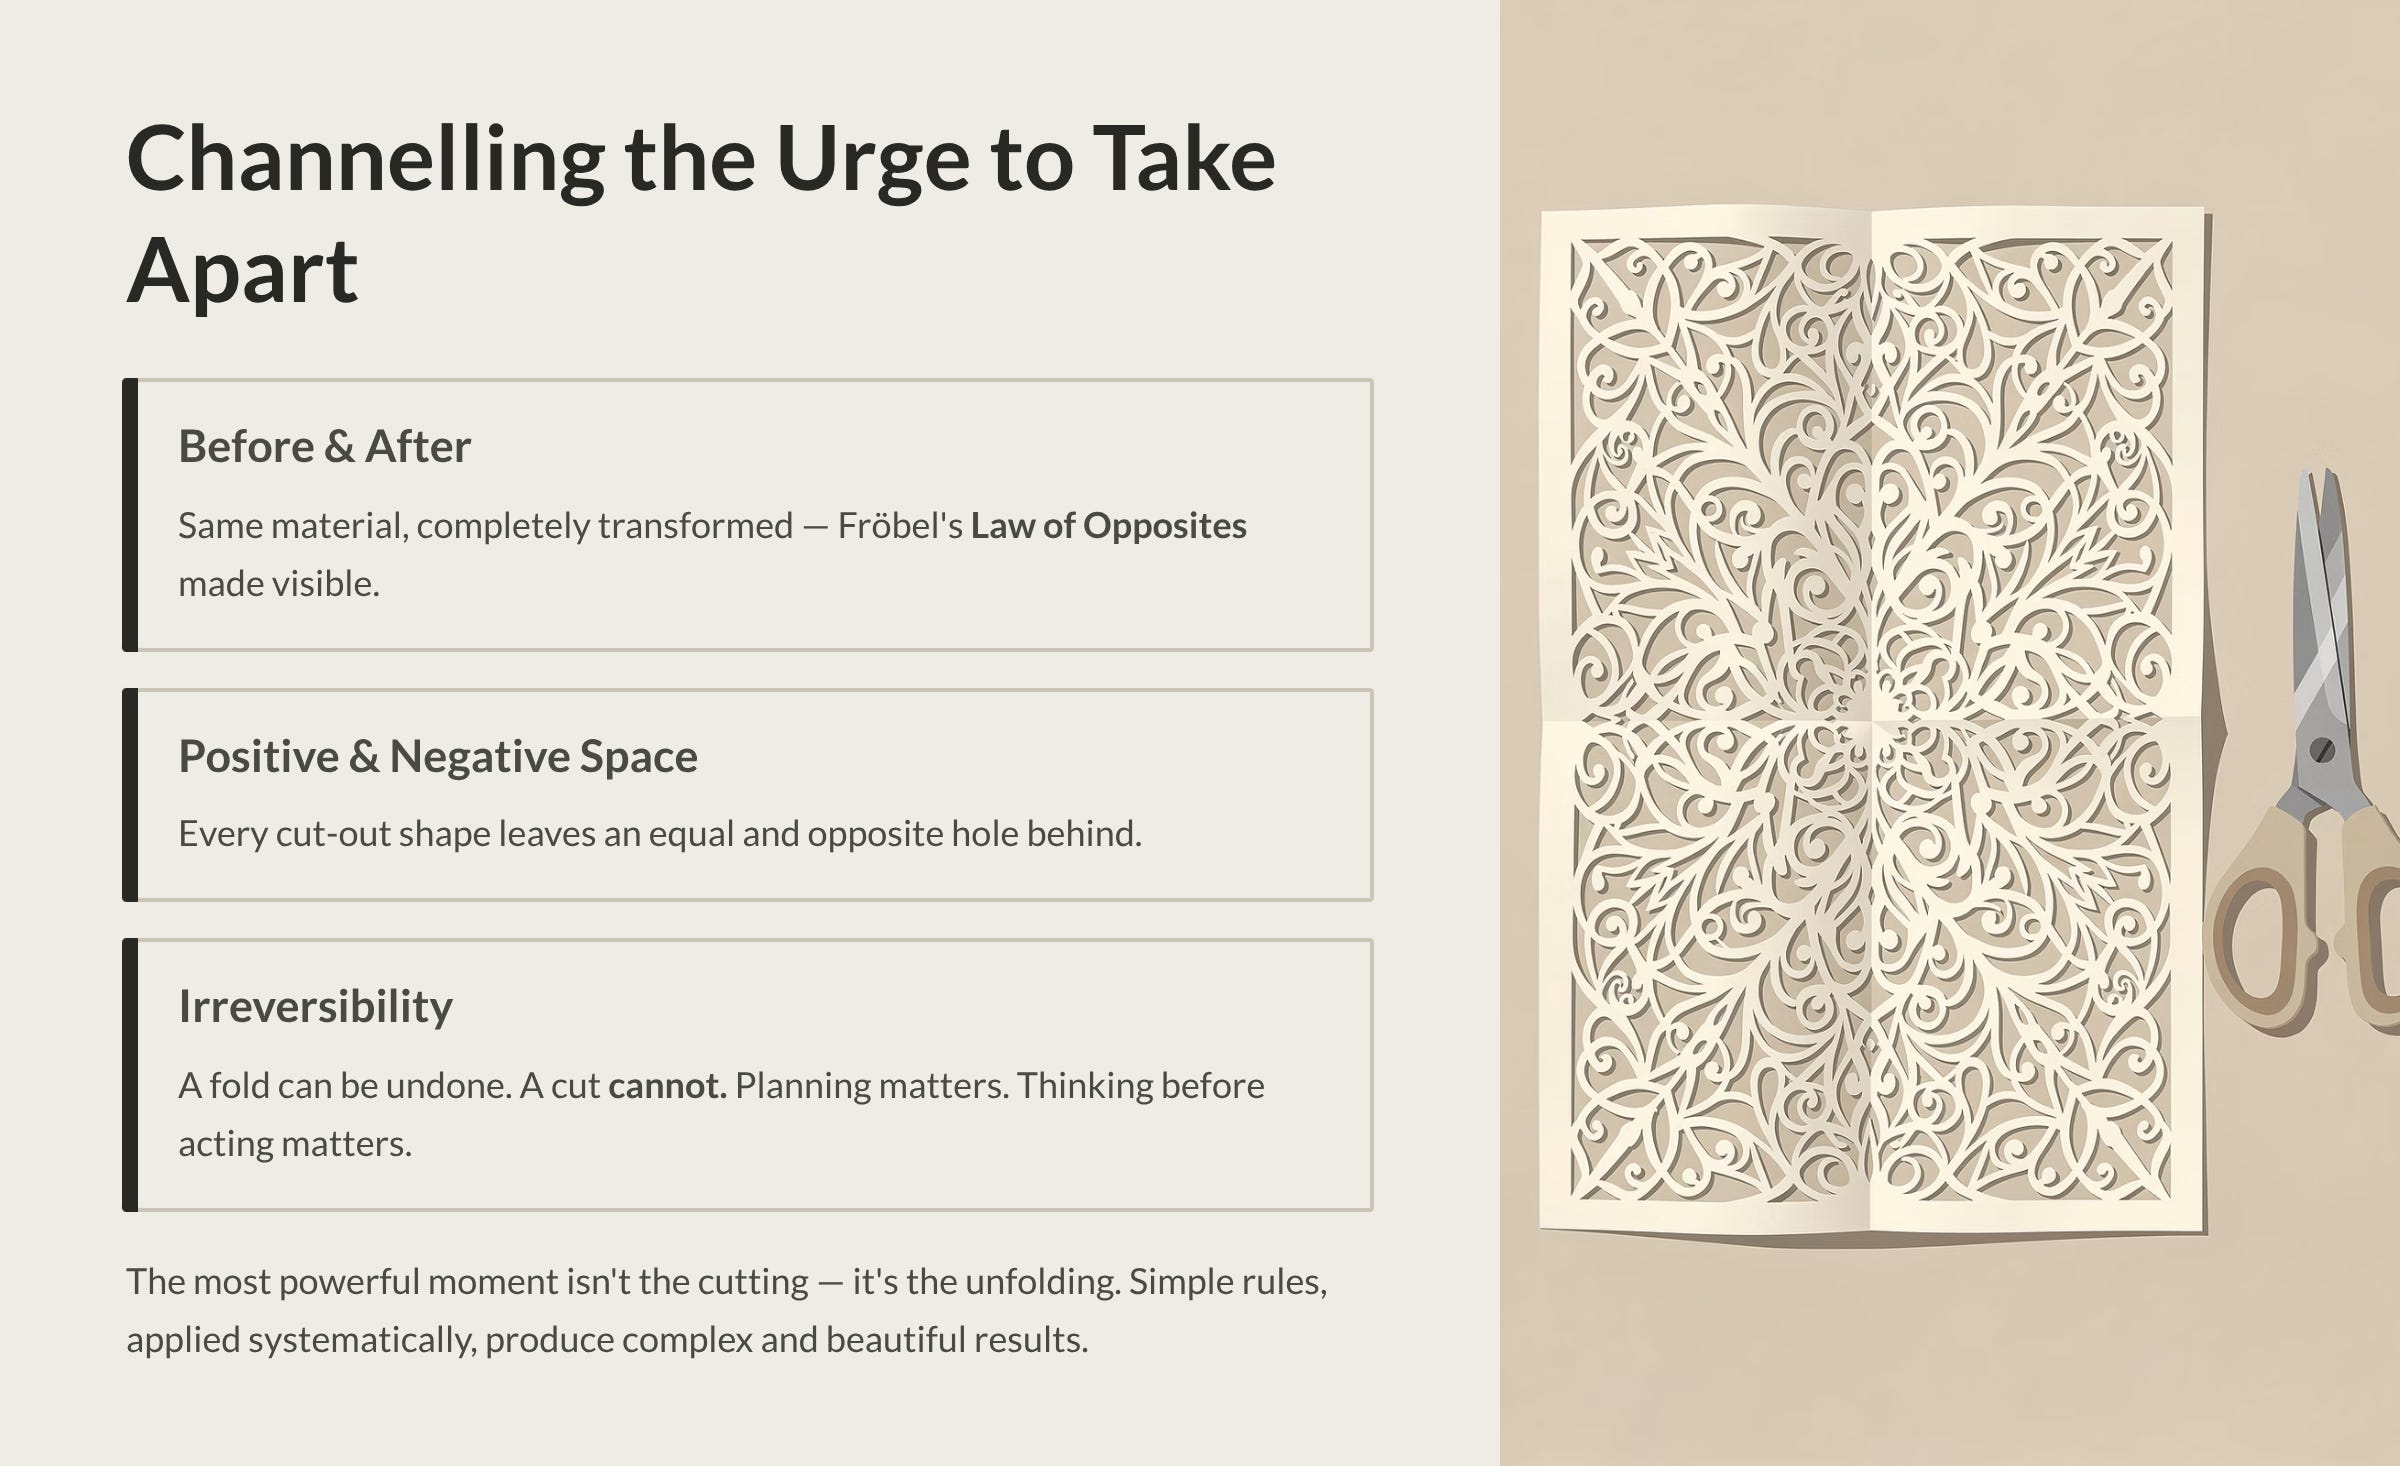
Before and after. The paper before cutting looks nothing like the paper after cutting. Same material, completely transformed—just as the cube looked different when spun in the Second Gift.
Positive and negative space. Every shape cut out leaves a shape behind. The cut-out triangle and the triangle-shaped hole are opposites—one is presence, the other absence—yet they’re created by exactly the same action.
Reversibility and irreversibility. Here’s the big one. A fold can be undone. A cut cannot. Once the scissors close, the paper is permanently changed. This teaches your child something crucial about actions and consequences: some decisions can be reversed, and some cannot. Planning matters. Thinking before acting matters.
This single lesson—that a cut, once made, cannot be undone—builds preliminary planning skills that transfer far beyond paper. It’s the foundation of “measure twice, cut once” thinking that will serve your child in woodworking, writing, cooking, and every other endeavour where careful preparation prevents costly mistakes.
The Magic of Unfolding
The most powerful moment in paper cutting isn’t the cutting itself—it’s the unfolding.
A child folds a square into thirds, makes two small cuts along the folded edge, and opens the paper to find a perfectly symmetrical pattern they never could have planned consciously. The complexity of the result far exceeds the simplicity of the action—and that gap is where wonder lives.
Why this matters: Your child is learning that simple rules, applied systematically, can produce complex and beautiful results. This is one of the deepest truths in mathematics and science. Fractals, crystal structures, musical harmonies, DNA replication—all of these are examples of simple rules creating extraordinary complexity. Your child experiences this truth every time they unfold a cut piece of paper and gasp.
Bringing Paper Folding and Cutting Into Your Homeschool
Here’s how to introduce both activities at different stages. You need almost nothing to begin.
Getting Started: Paper Folding (Ages 3–4)
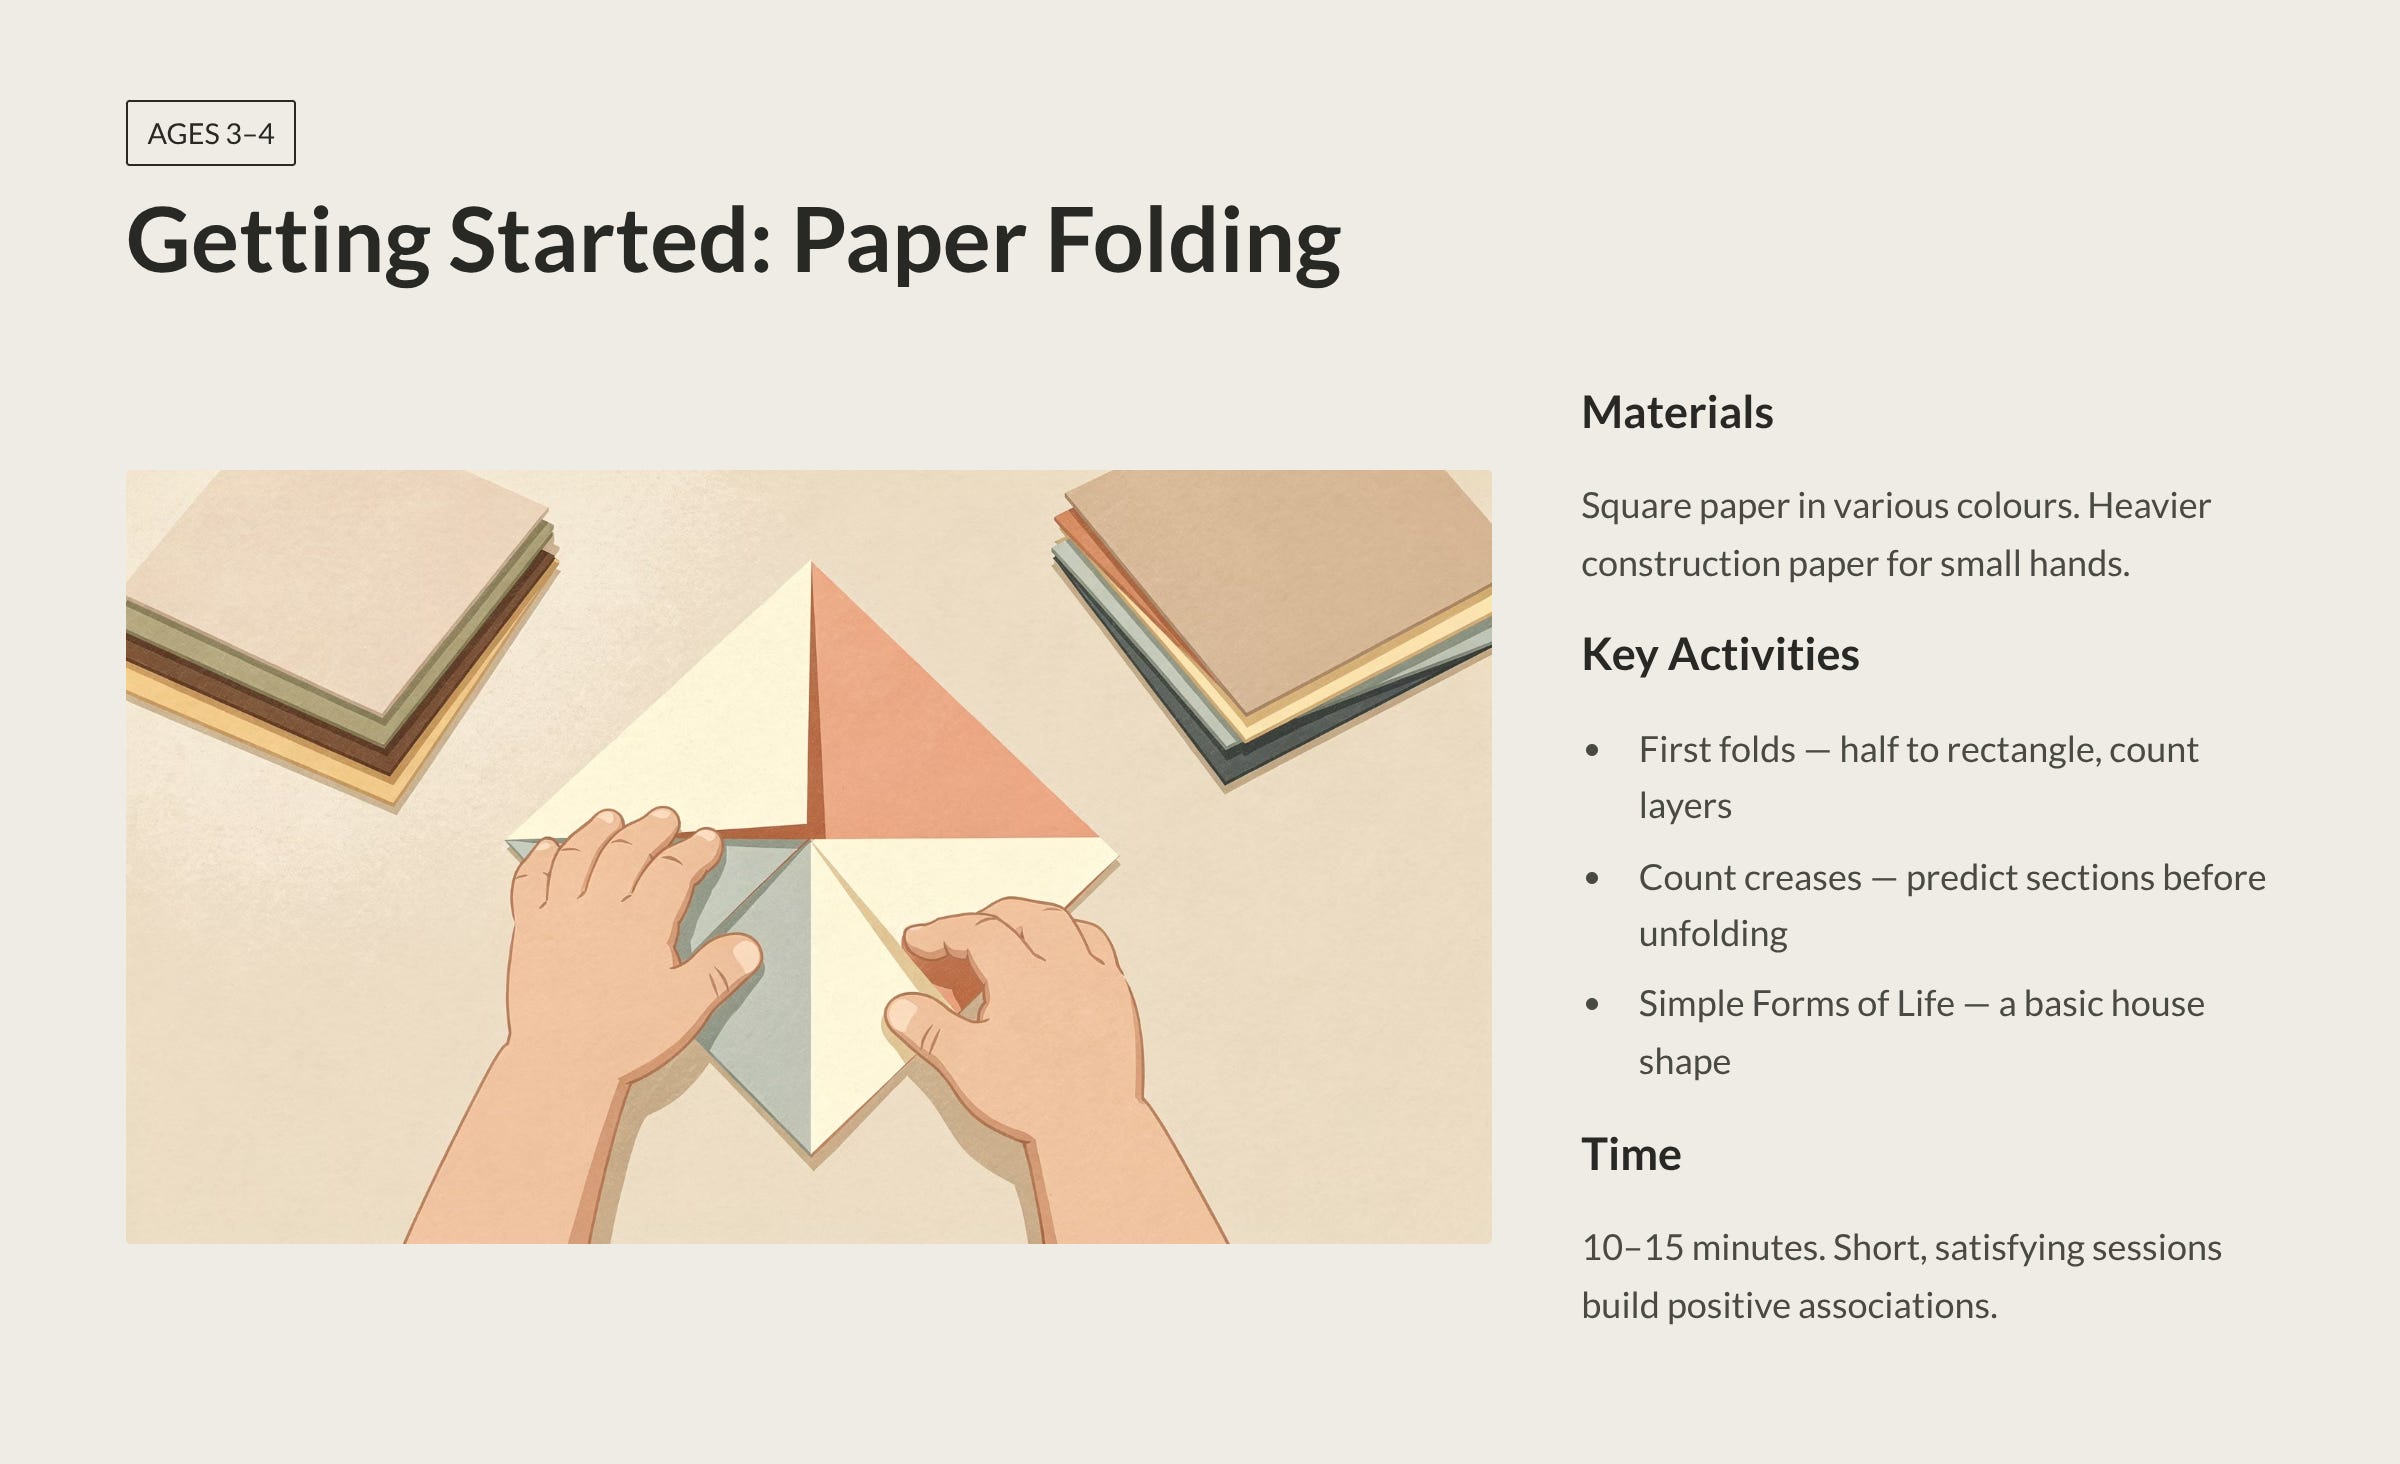
Materials: Square pieces of paper in various colours. Standard origami paper works well, or cut A4 sheets into squares. Heavier paper (such as construction paper) is easier for small hands to manage. If you have a Spielgaben set, the included paper squares are sized to match the system.
Activities:
- First folds. Start with a single fold: square folded in half to make a rectangle. “What shape did we make? How many layers can you feel?” Then fold the other way. “Is this rectangle the same or different?” This introduces the idea that the same fold in a different direction creates a different result.
- Counting creases. After each fold, open the paper and count the sections. One fold = two parts. Two folds = four parts. “How many parts will three folds make?” Let your child predict before folding. When they’re right, they’ll beam. When they’re wrong, they’ll learn.
- Simple Forms of Life. Teach one simple fold—a basic house shape (fold in half, then fold the top corners down to create a roof). Let your child decorate it with crayons. One successful fold-and-create experience is worth more than ten watched tutorials.
Time commitment: 10–15 minutes. Paper folding demands concentration, and young children fatigue quickly. Short, satisfying sessions build positive associations.
What success looks like: Your child can make a crease that’s reasonably straight. They can fold a square in half. They understand that the paper still “has” all its parts even when folded—nothing has been removed, only rearranged.
Getting Started: Paper Cutting (Ages 4–5)
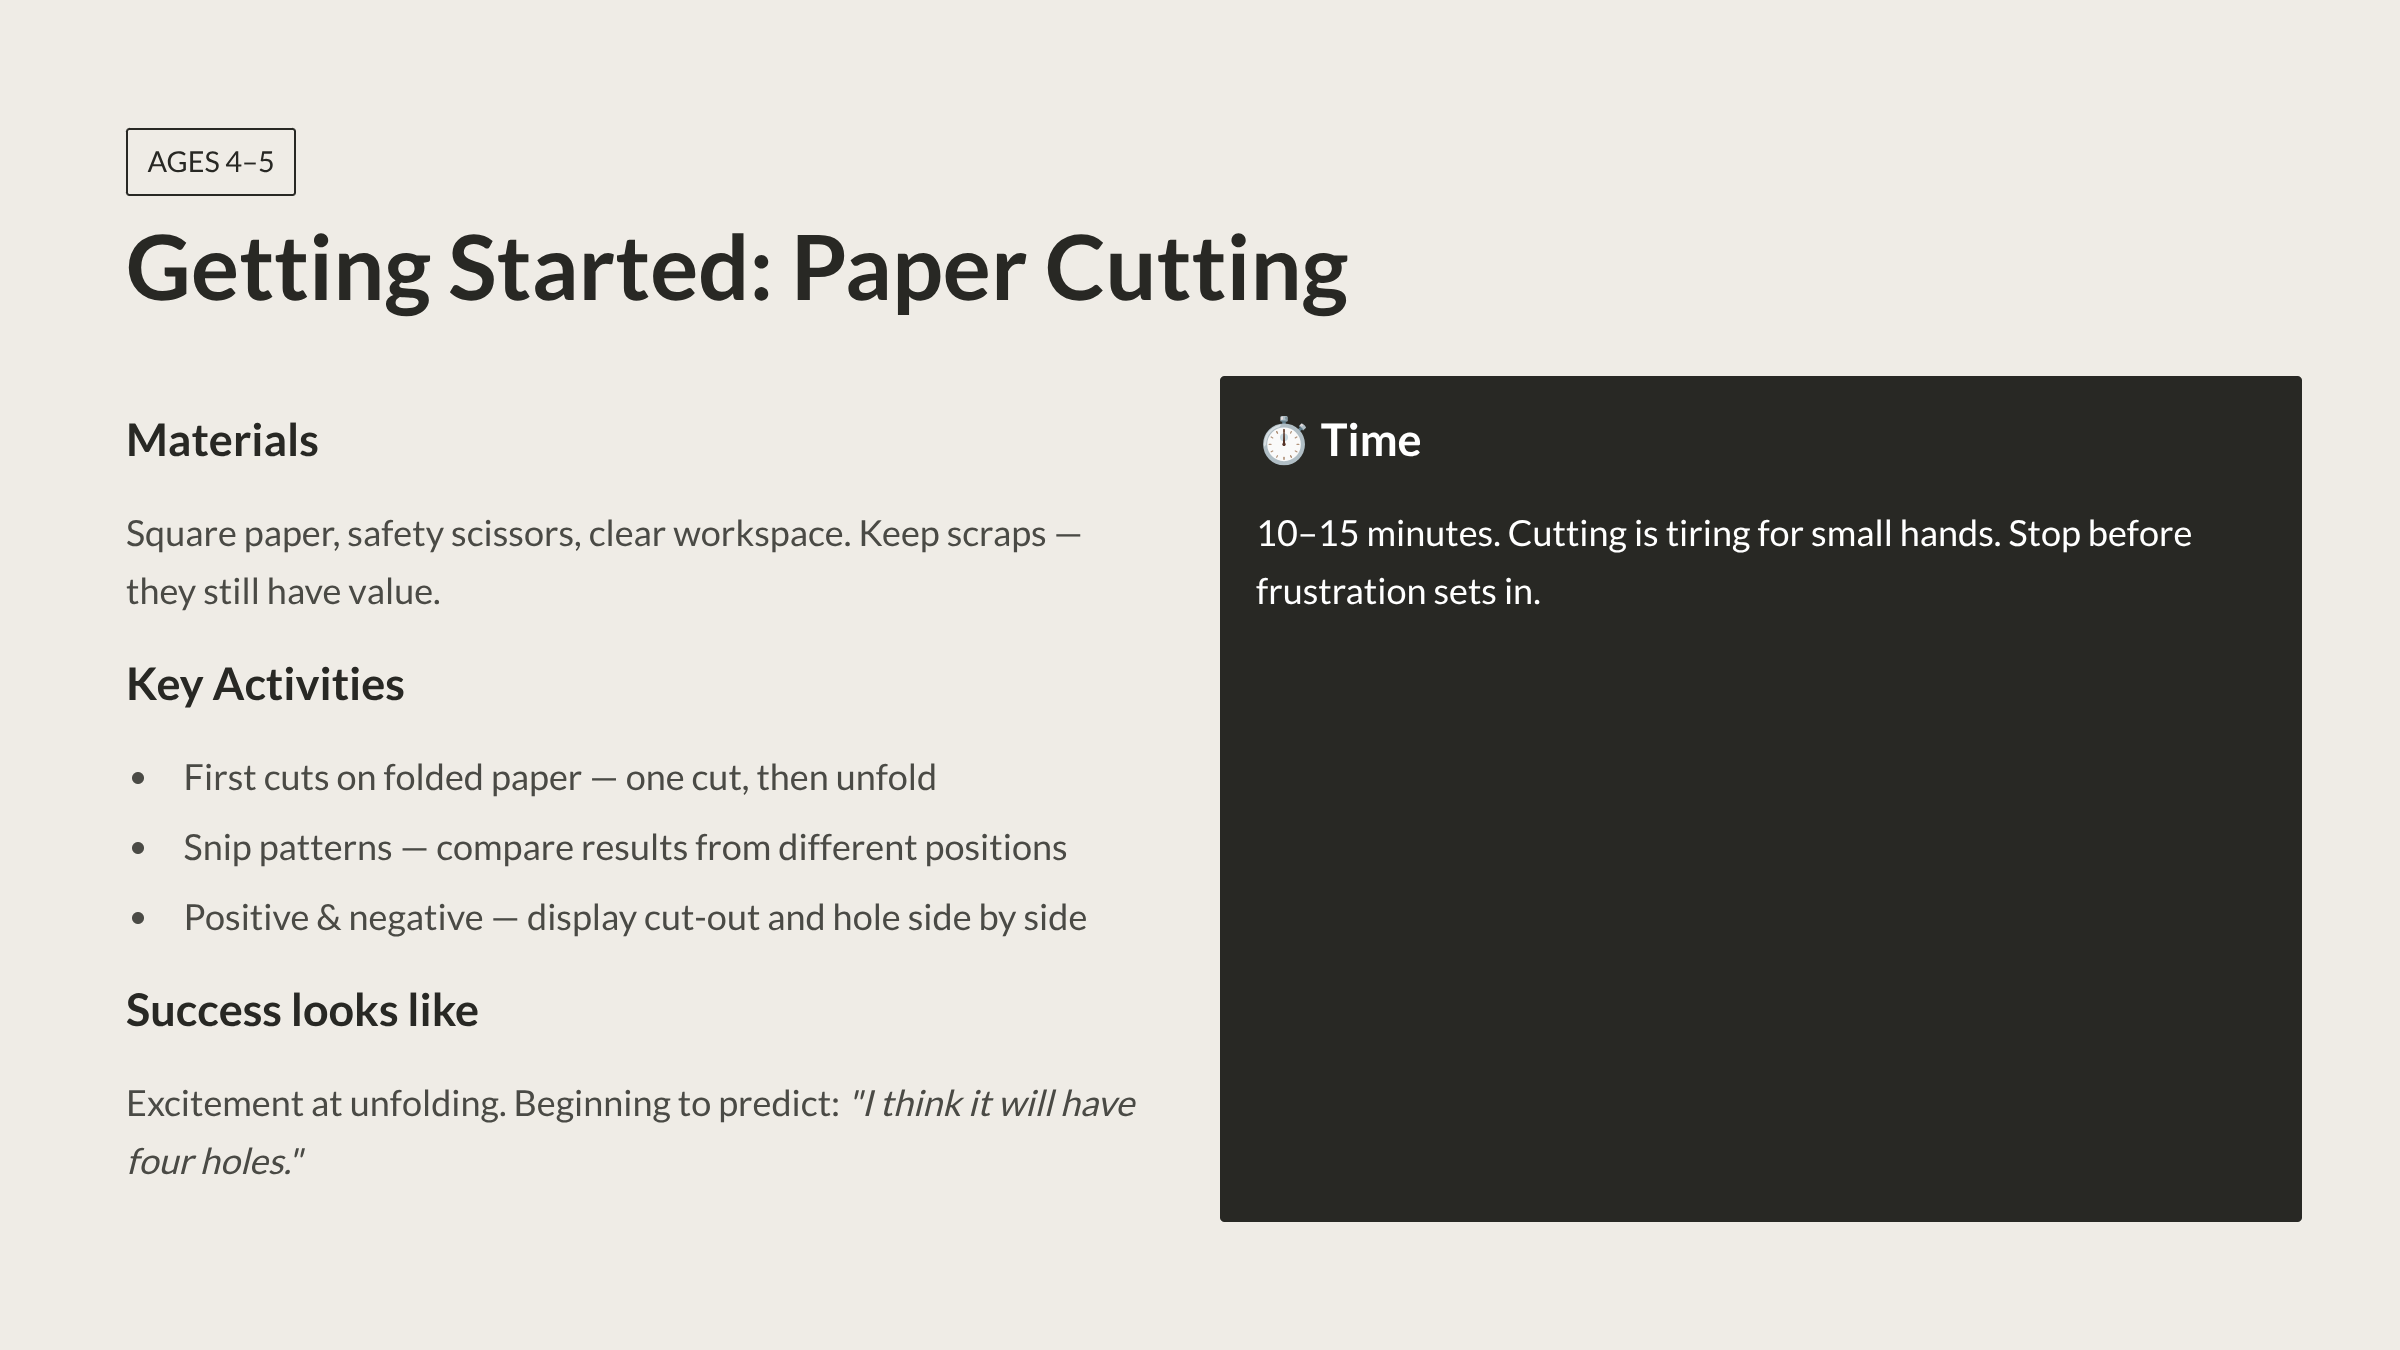
Materials: Square paper, safety scissors with rounded tips, and a clear workspace. Keep a small recycling box nearby for scraps—this reinforces the idea that cut-away pieces still have value.
Activities:
- First cuts on folded paper. Fold a square in half. Let your child make one cut—any shape—along the folded edge. Unfold. “What happened? Did you expect that?” The surprise of symmetry appearing from a single cut is endlessly motivating.
- Snip patterns. Fold a square into quarters. Have your child make three or four small snips along the folded edges. Unfold. Compare results from different snip positions. “Why did cutting here make a hole in the middle, but cutting there made a hole on the edge?”
- Positive and negative. After cutting a shape from folded paper, keep both the cut-out piece AND the remaining paper. Display them side by side. “Look—the piece you cut out and the hole it left behind are the same shape. They’re opposites.”
Time commitment: 10–15 minutes. Cutting is tiring for small hands. Stop before frustration sets in.
What success looks like: Your child can open and close scissors with reasonable control. They cut along a folded edge rather than cutting the paper into disconnected pieces. They show excitement when unfolding reveals unexpected patterns. They begin predicting (”I think it will have four holes”) before unfolding.
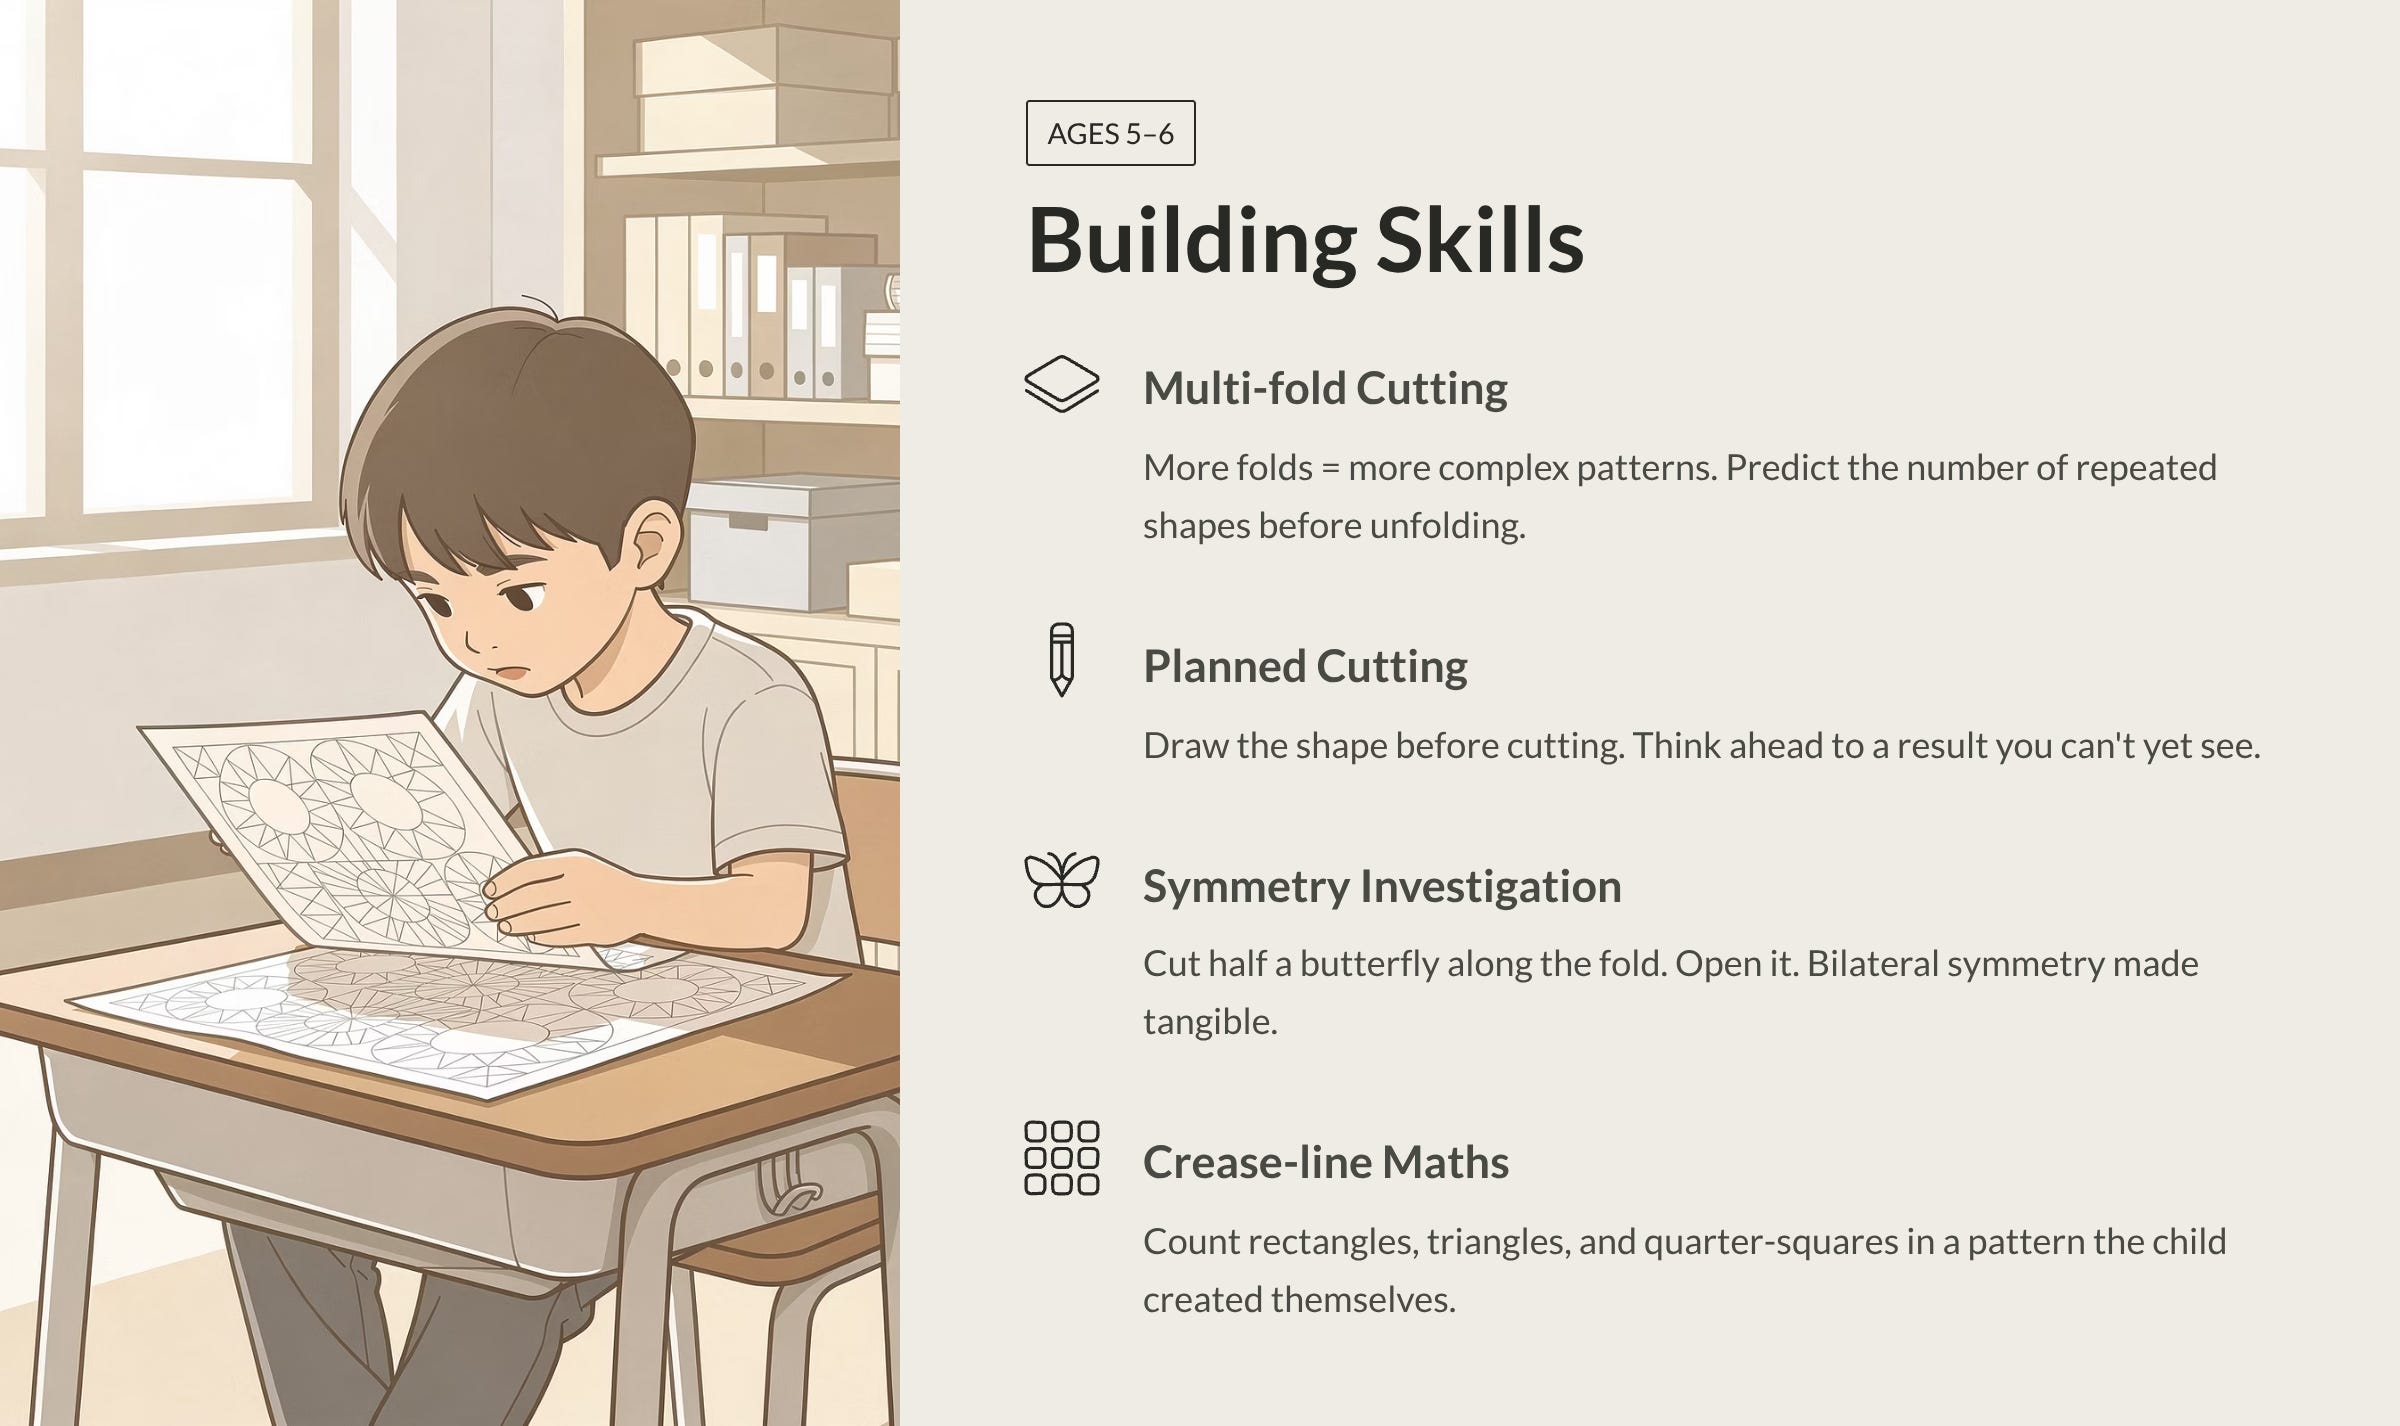
Building Skills (Ages 5–6)
Activities:
- Multi-fold cutting. Fold the square three or four times before cutting. The more folds, the more complex the unfolded pattern. Challenge your child to predict the number of repeated shapes before unfolding.
- Planned cutting. Ask your child to draw a simple shape on the folded paper before cutting it. “If you cut out a heart shape here, what will it look like when you open it?” This introduces the crucial skill of planning—thinking ahead to a result they can’t yet see.
- Symmetry investigation. Fold a square in half and cut half a butterfly, half a Christmas tree, or half a face along the fold. Open it. A perfectly symmetrical figure appears. “Why is both sides the same?” Because the fold made them mirrors. This is bilateral symmetry made tangible.
- Crease-line maths. After a folding session, open a heavily creased paper and examine the grid of lines together. “How many rectangles can you find? How many triangles? Can you find a square that’s one-quarter of the whole paper?” This is geometric analysis of a pattern your child created themselves.
Time commitment: 15–20 minutes per session.
What success looks like: Your child plans cuts before making them. They predict unfolded results with increasing accuracy. They create intentional symmetrical designs rather than random snips. They articulate the connection between folds and the resulting pattern (”I folded it three times so the shape repeats… eight times!”).
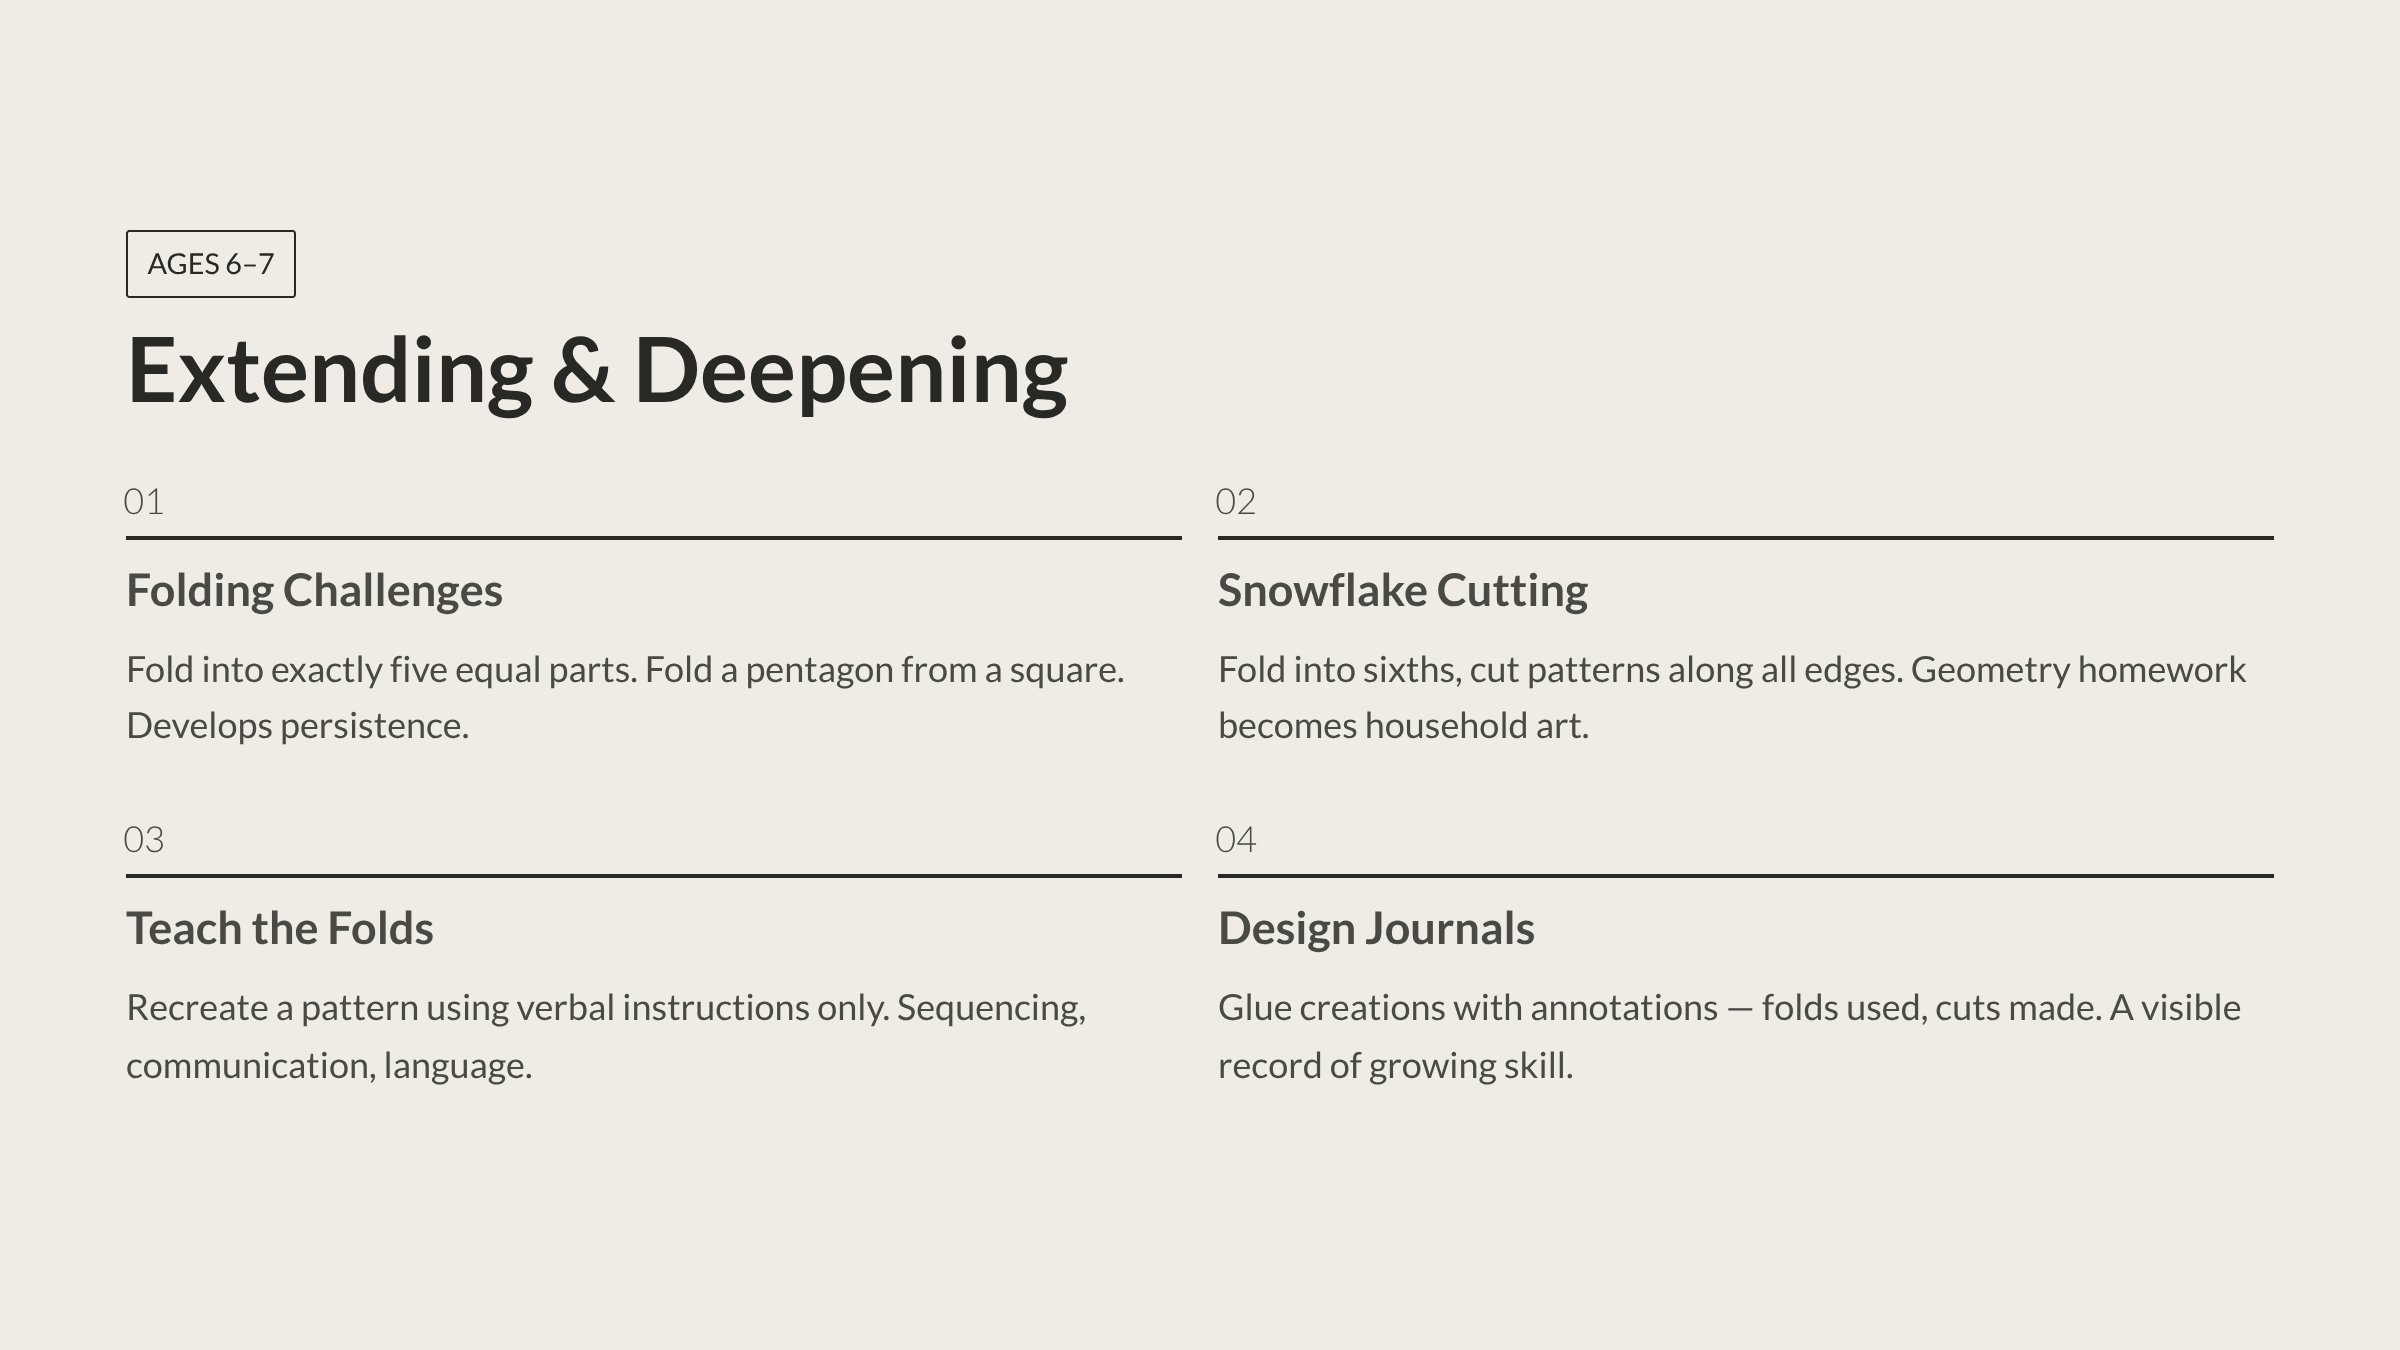
Extending and Deepening (Ages 6–7)
Activities:
- Folding challenges. “Can you fold a square into exactly five equal parts?” (This is genuinely difficult—even adults struggle.) “Can you fold a pentagon from a square?” These challenges develop persistence and creative problem-solving.
- Snowflake cutting. Fold a square into sixths (fold in half, then into thirds). Cut patterns along all folded edges. The result is a six-pointed snowflake with intricate detail. Display these on windows—your child’s geometry homework becomes household art.
- Telling the story of the folds. Ask your child to fold and cut a pattern, then teach someone else how to recreate it by giving verbal instructions only. This develops sequencing, communication, and the ability to translate physical actions into language—all essential academic skills.
- Design journals. Keep a notebook where your child glues their favourite folded and cut creations, annotated with how many folds they used and what cuts they made. Over time, this becomes a personal reference guide and a visible record of their growing skill.
Time commitment: 20–30 minutes per session.
What success looks like: Your child creates complex symmetrical designs intentionally. They can teach folding sequences to others. They articulate geometric concepts (”this fold creates a line of symmetry”) using proper vocabulary. They connect paper geometry to patterns they notice in the world—tiles, leaves, snowflakes, architecture.
Preparation That Doesn’t Feel Like Preparation
Here’s something worth naming directly: both paper folding and cutting are among the most effective preparations for school-based skills that exist. But they don’t feel like preparation to the child—and that’s exactly why they work.
Writing readiness. The fine motor control required to fold precisely along a line and cut accurately with scissors strengthens the same small muscles used to hold a pencil and form letters. But unlike handwriting practice sheets, folding and cutting are intrinsically motivating. Your child pushes for precision because the result demands it, not because you’ve asked for it.
Geometric foundations. By the time your child encounters “horizontal,” “vertical,” and “diagonal” in a maths textbook, they’ll have folded along hundreds of horizontal, vertical, and diagonal lines. The vocabulary will name something they already understand in their hands.
Patience and perseverance. A complex fold requires following a sequence exactly. A cut, once made, is permanent. Both activities teach your child to slow down, plan ahead, and accept that careful work produces better results than rushed work. These aren’t just craft skills—they’re character traits that transfer to every area of learning.
Fröbel called this kind of activity “serious work disguised as play.” It’s perhaps the best description of what paper folding and cutting really are.
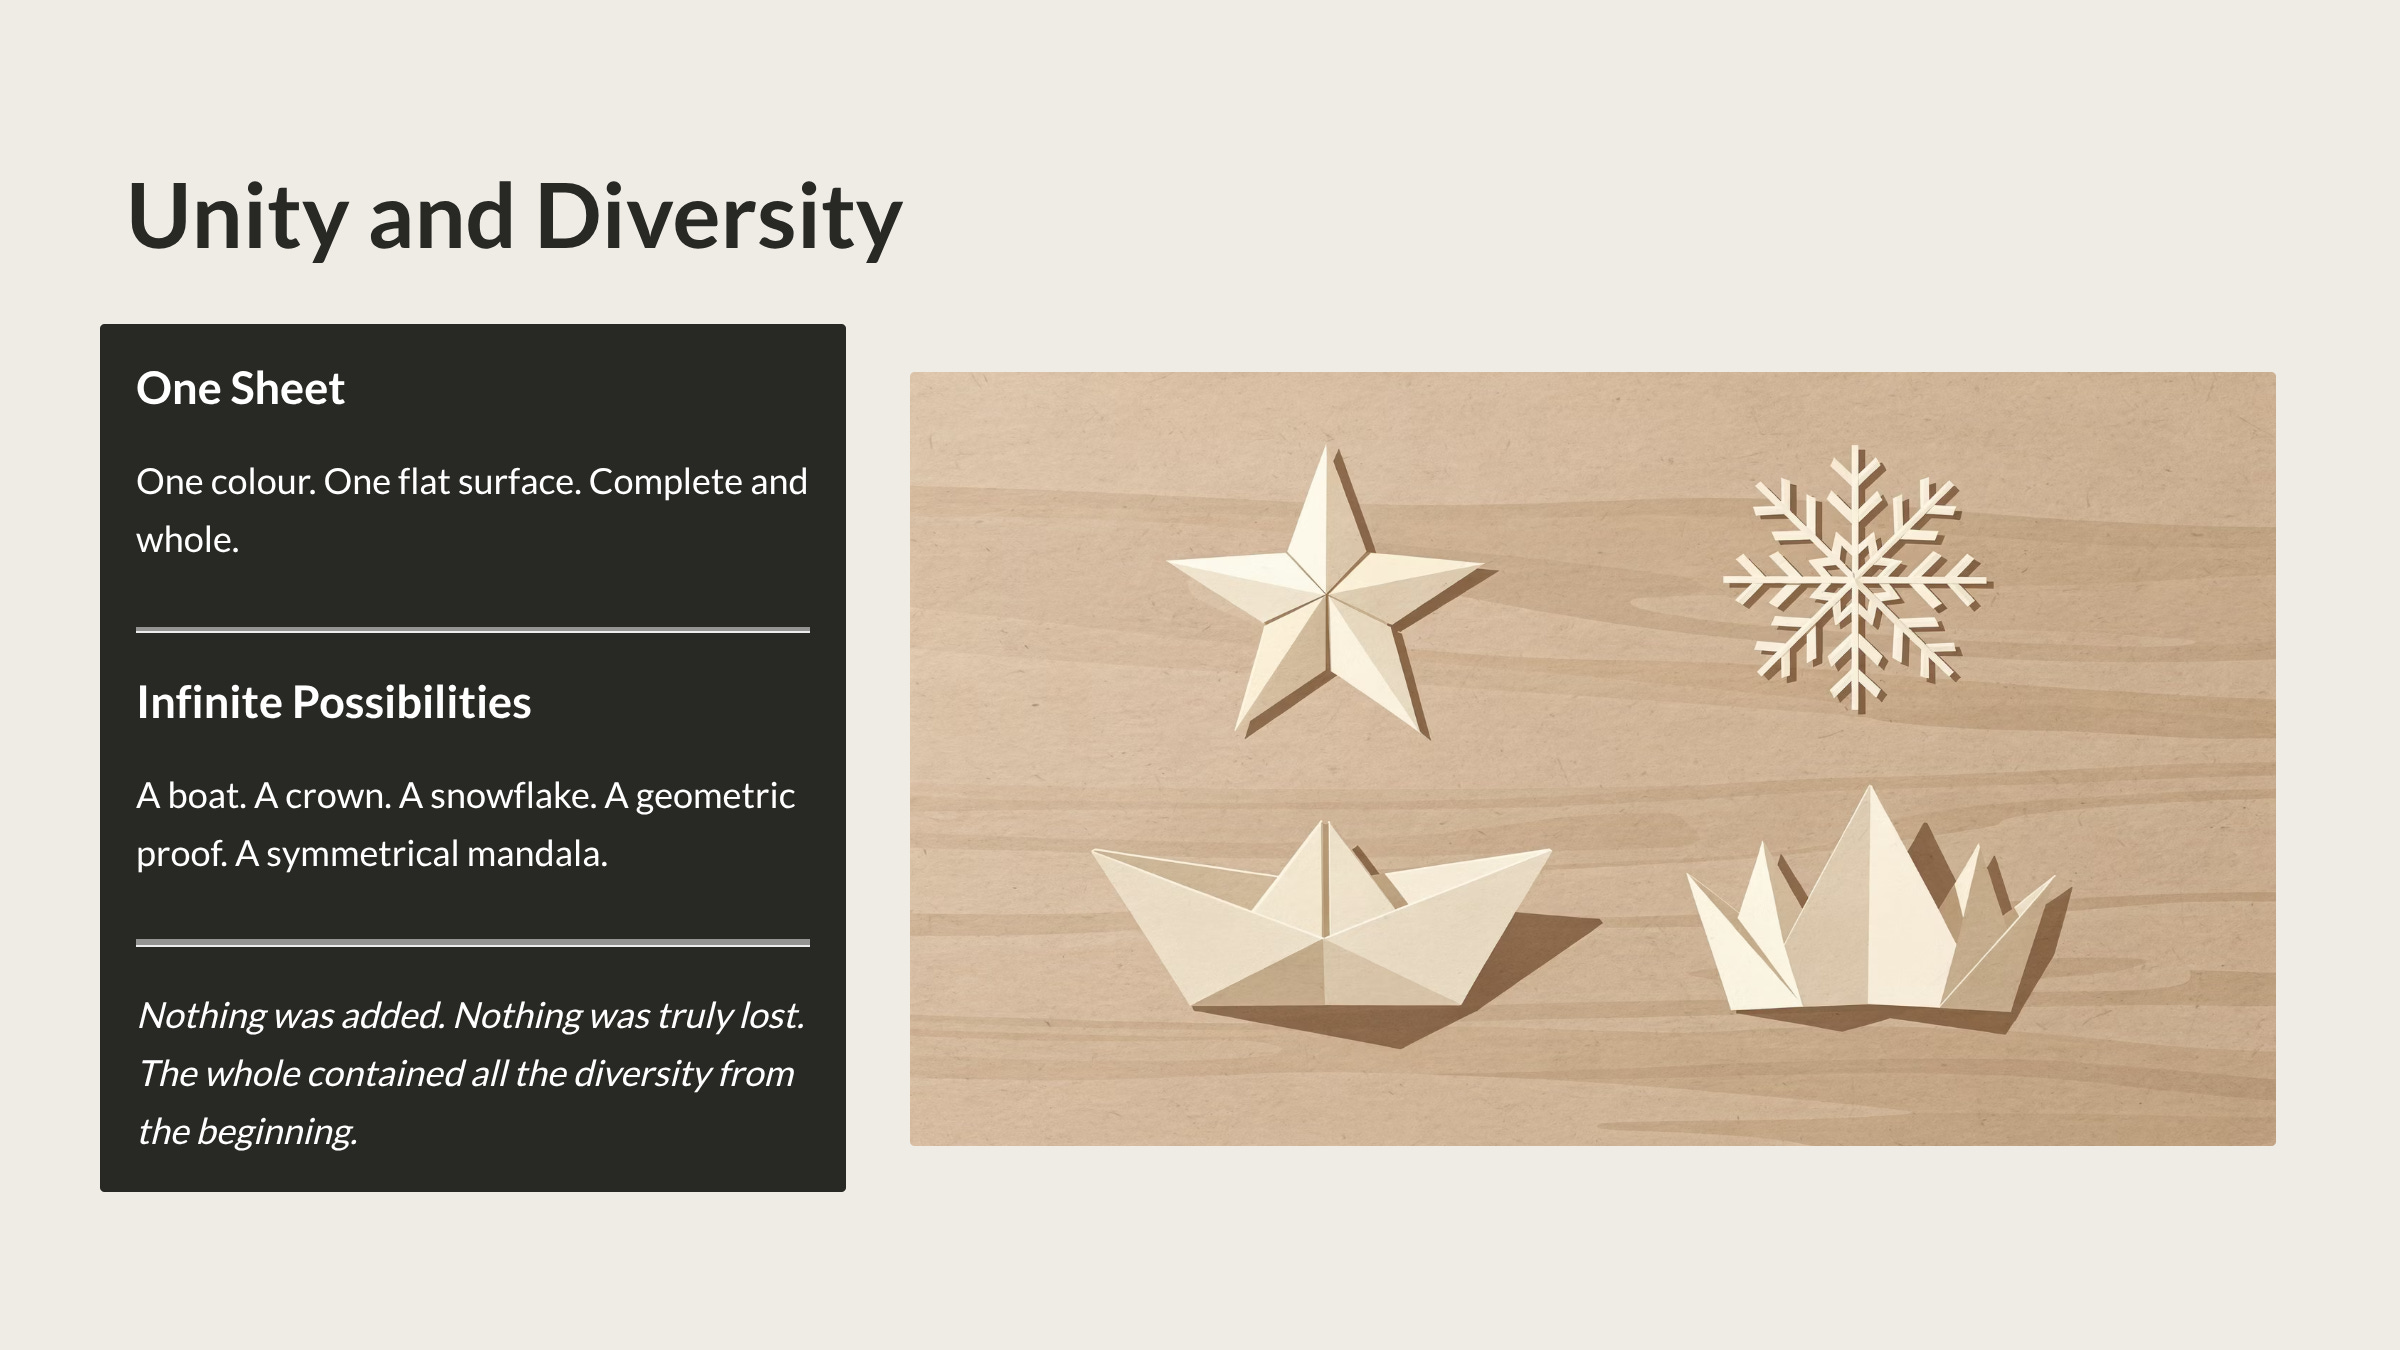
Unity and Diversity: One Sheet, Infinite Possibilities
Step back and see what you’ve given your child with a single square of paper and a pair of scissors.
Unity: One sheet. One colour. One flat surface. Complete and whole.
Diversity: Through folding and cutting, that single sheet becomes a boat, a crown, a snowflake, a geometric proof, a symmetrical mandala. It becomes fractions and triangles and stars and stories.
And when the folded creation is opened flat again—or when the cut pattern is unfolded and displayed—the diversity returns to unity. Every fold line, every cut, every transformation is still part of the original square.
Nothing was added. Nothing was truly lost. The whole contained all the diversity from the beginning.
Your child learns this not as a philosophy lesson, but as a lived experience, repeated every time they pick up a square of paper and discover what’s hidden inside it.
Coming Next Week
We’ve folded. We’ve cut. We’ve discovered that a flat surface contains more geometry than most textbooks.
Next week, we explore what happens when we take those surfaces and cut them into strips—then weave them together. Paper Weaving is Fröbel’s Occupation for understanding rhythm, number patterns, and the beautiful mathematics of “over and under.”
If your child has ever been mesmerised by the pattern in a woven basket or a checked tablecloth, they’re ready for what comes next.
This is part of our ongoing Fröbel Gifts Masterclass at the Spielgaben Homeschool Series. If you’re new here, start with our earlier posts on Fröbel’s life story, the Law of Opposites, and Holistic Education: Head, Heart, and Hand and The First Gift: The Ball and The Second Gift: Sphere, Cylinder, and Cube and The Divided Cubes: Gifts 3–6 and Parquetry and Patterns.
Subscribe here to follow the complete Masterclass series and give your child the gift of purposeful play.


LEAVE A COMMENT