Lesson Plan > Lesson 11 > Science
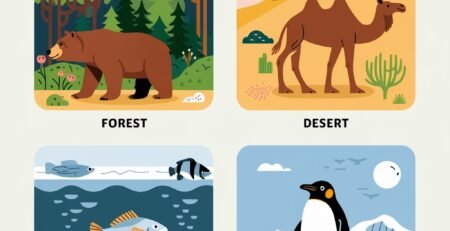
Elementary Level: Basic Needs of Living Things
Mid Level: Photosynthesis – How Plants Make Food
High Level: Levels of Organization in Living Things
Elementary Level (Kinder to Grade 2)
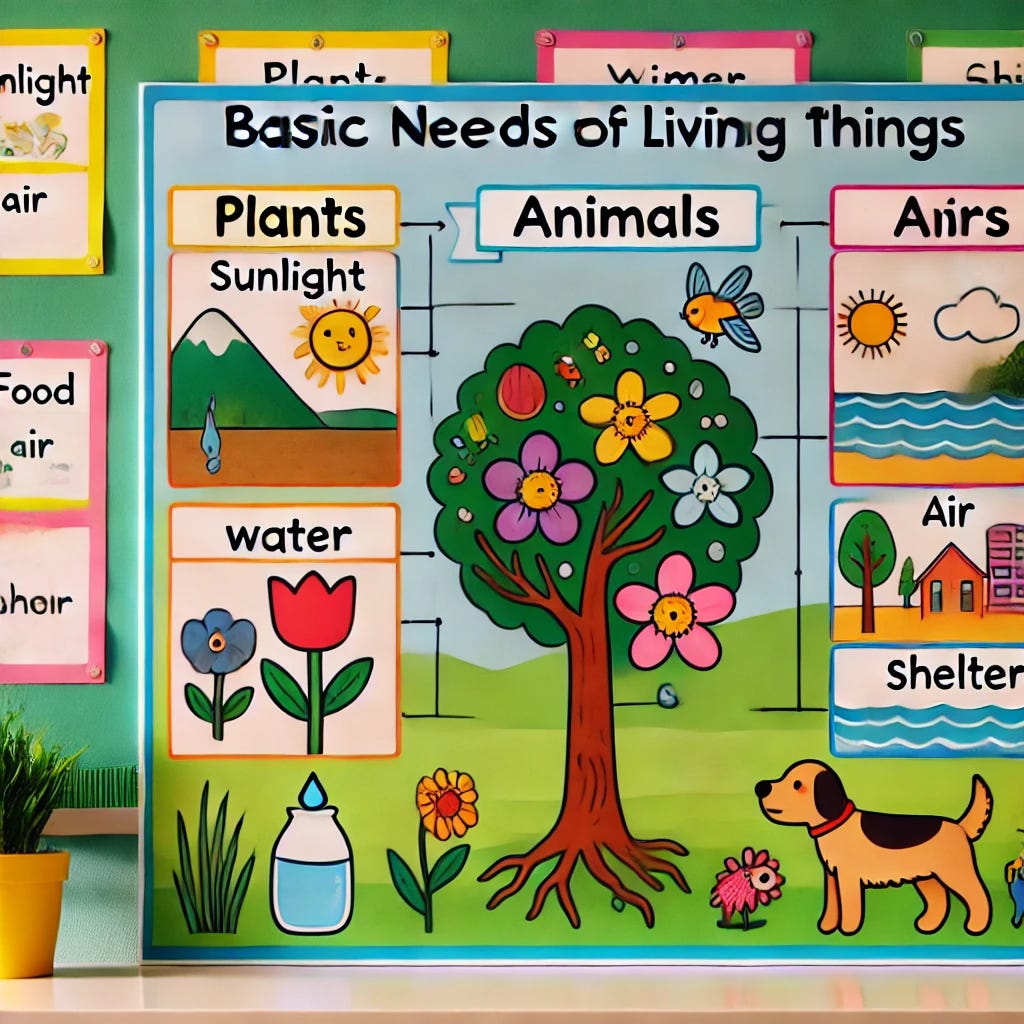
Subject: Basic Needs of Living Things
Alignment with Standards:
- NGSS (Next Generation Science Standards):
- 1-LS1-1: Use materials to design a solution to a human problem by mimicking how plants and animals use their external parts to help them survive, grow, and meet their needs.
- 1-LS1-2: Read texts and use media to determine patterns in behavior of parents and offspring that help offspring survive.
- Common Core State Standards (CCSS):
- CCSS.ELA-LITERACY.RI.1.1: Ask and answer questions about key details in a text.
- CCSS.ELA-LITERACY.SL.1.5: Add drawings or other visual displays to descriptions when appropriate to clarify ideas, thoughts, and feelings.
Lesson Objectives
By the end of this lesson, children will be able to:
- Identify the four basic needs of living things (food, water, air, and shelter).
- Differentiate between the needs of plants and animals.
- Create a “Needs Chart” to compare the survival needs of plants and animals.
Materials
- Chart paper or whiteboard
- Markers, crayons, or colored pencils
- Printed images or real-life examples of plants and animals
- Scissors, glue, and construction paper
- Book: Living or Nonliving? by Carol Lindeen (optional)
- Worksheet: “Basic Needs of Living Things” (teacher-made or online resource)
Lesson Activities
1. Introduction (10 minutes)
Discussion Questions:
- What do you think all living things need to stay alive?
- Do plants and animals need the same things?
Explanation:
- Introduce the four basic needs: food, water, air, and shelter.
- Show pictures of different animals and plants and ask children what they think each one needs to survive.
- Read a short section from Living or Nonliving? to reinforce the concept.
2. Group Activity: “Needs Chart” (15 minutes)
- Step 1: Divide a large sheet of paper into two columns: “Plants” and “Animals.”
- Step 2: Have children draw, cut out, or glue pictures of animals and plants under the correct column.
- Step 3: Label each picture with what it needs to survive (e.g., “dog – food, water, air, shelter”; “tree – sunlight, water, air, soil”).
3. Hands-On Activity: Plant a Seed (10 minutes)
- Give each child a small cup with soil and a seed.
- Ask them what their plant will need to grow.
- Have them water the seed and place it in a sunny spot.
- Discuss how plants need sunlight, water, and air to survive.
4. Wrap-Up & Reflection (10 minutes)
- Ask children:
- What would happen if a living thing didn’t have food, water, air, or shelter?
- How do humans make sure their pets have everything they need?
- Have children share their “Needs Chart” with a family member and explain what they learned.
- End with a fun song or video about the needs of living things (such as “Needs of a Plant” by Jack Hartmann on YouTube).
Assessment
✅ Observation: Teacher monitors participation and engagement.
✅ Worksheet Completion: children complete a worksheet identifying the four basic needs.
✅ Exit Question: Each child shares one thing they learned about living things.
Mid Level (Grade 3 to 5)
Subject: Photosynthesis – How Plants Make Food
Alignment with Standards:
Next Generation Science Standards (NGSS)
- 4-LS1-1: Construct an argument that plants and animals have internal and external structures that function to support survival, growth, behavior, and reproduction.
- 4-PS3-4: Apply scientific ideas to design, test, and refine a device that converts energy from one form to another.
Common Core State Standards (CCSS)
- CCSS.ELA-LITERACY.RI.4.3: Explain events, procedures, ideas, or concepts in a scientific text, including what happened and why, based on specific information in the text.
- CCSS.ELA-LITERACY.W.4.2: Write informative/explanatory texts to examine a topic and convey ideas and information clearly.
Lesson Objectives
By the end of this lesson, children will be able to:
- Define photosynthesis and explain why it is essential for plants.
- Identify the key ingredients needed for photosynthesis: sunlight, water, and carbon dioxide.
- Demonstrate the process of photosynthesis through a simple leaf and sunlight experiment.
- Draw and label a diagram of the photosynthesis process.
Materials
- Fresh green leaves (from a tree or plant)
- Clear glass or plastic container
- Water
- A sunny window or outdoor space
- Science journal or notebook
- Colored pencils or markers
- Chart paper or whiteboard
- Printed or digital photosynthesis diagram
- Book: The Magic School Bus Gets Planted: A Book About Photosynthesis by Joanna Cole (optional)
Lesson Activities
1. Introduction (10 minutes) – What is Photosynthesis?
Discussion Questions:
- How do plants make their own food?
- What do you think plants need to survive?
- Have you ever noticed how plants grow better in the sunlight?
Explanation:
- Introduce photosynthesis as the process by which plants make their own food.
- Explain that plants take in carbon dioxide from the air, water from the soil, and use sunlight to turn these into glucose (food) and oxygen.
- Show a simple photosynthesis diagram and break it down into three key components:
- Sunlight (energy from the sun)
- Water (absorbed by roots)
- Carbon dioxide (absorbed through leaves)
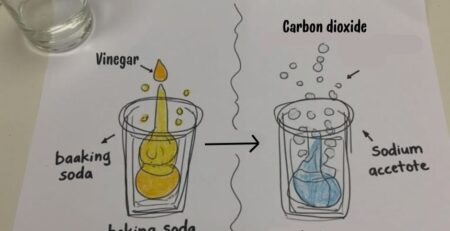
2. Experiment: Observing Oxygen Bubbles from a Leaf (20 minutes)
Purpose: This experiment demonstrates that plants produce oxygen during photosynthesis.
Steps:
- Fill a clear glass or plastic container with water.
- Take a fresh green leaf and place it inside the container.
- Set the container in a sunny window or outside.
- Observe what happens over the next 15–20 minutes.
- Children should notice tiny bubbles forming on the surface of the leaf – this is oxygen being released!
Discussion:
- What do the bubbles tell us about photosynthesis?
- What do plants do with the oxygen they release?
- How would the experiment change if placed in a dark room instead?
3. Draw & Label the Photosynthesis Process (15 minutes)
- Give children a blank piece of paper and ask them to draw a plant with the sun shining on it.
- Have them add arrows and labels for:
- Sunlight (from the sun)
- Water (from the roots)
- Carbon dioxide (from the air)
- Glucose (food) made by the plant
- Oxygen released into the air
- Encourage them to use colors and be creative!
4. Wrap-Up & Reflection (15 minutes)
- Have children write a short paragraph in their science journal explaining what they learned.
- Ask:
- Why is photosynthesis important for humans and animals?
- What would happen if plants couldn’t make food?
- Discuss real-world connections, such as how the Amazon Rainforest is called the “lungs of the Earth” because it produces so much oxygen.
Assessment
✅ Observation: Your Child participation in discussions and activities.
✅ Drawing & Labeling: Accuracy of photosynthesis diagram.
✅ Science Journal Entry: A paragraph explaining the experiment and the role of photosynthesis.
✅ Exit Question: “Why do plants need sunlight to make food?”
High Level (Grade 6 to 8)
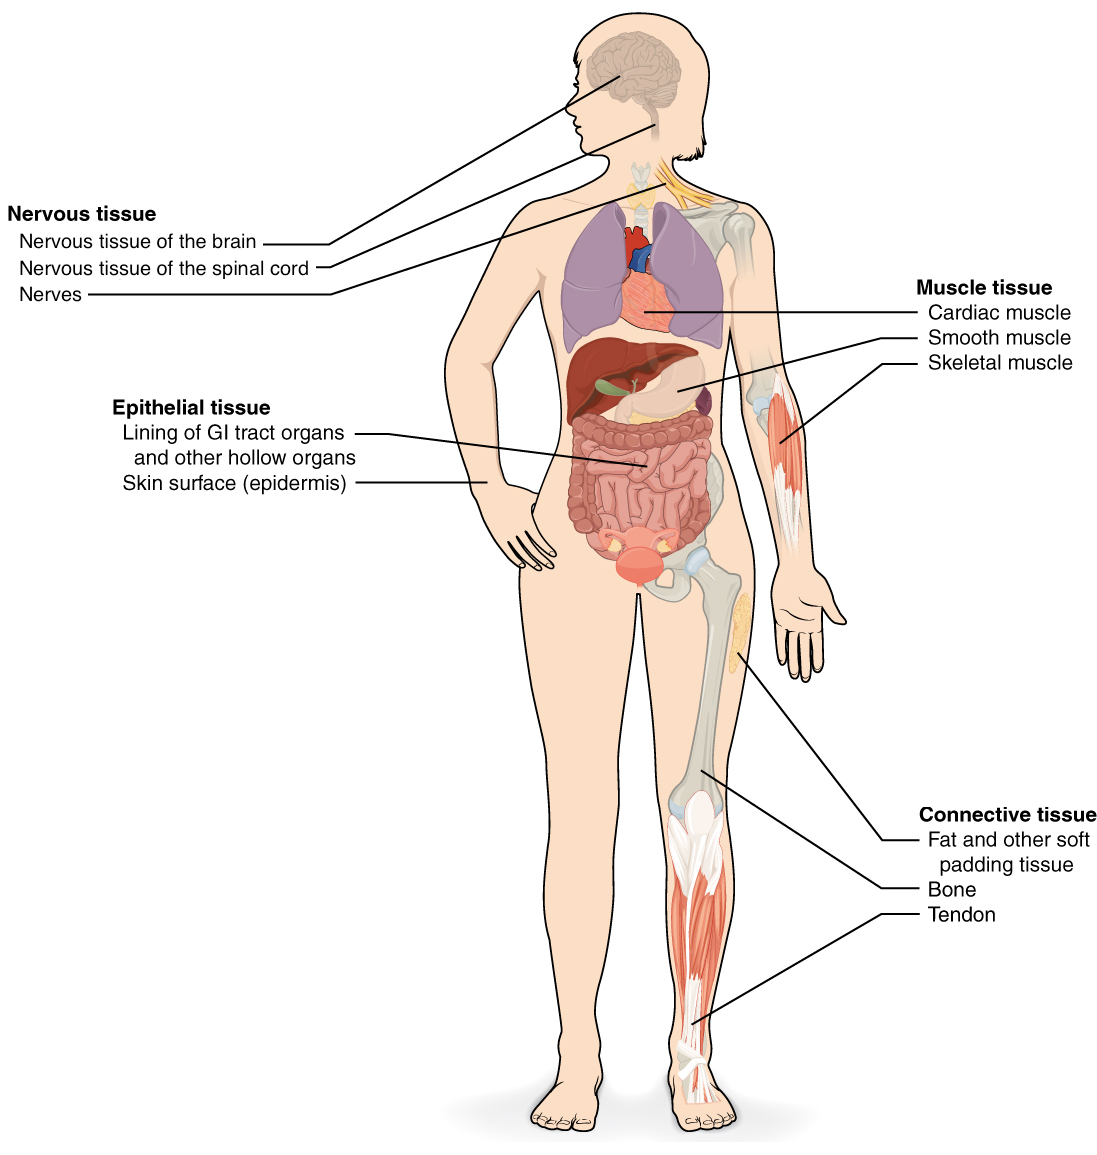
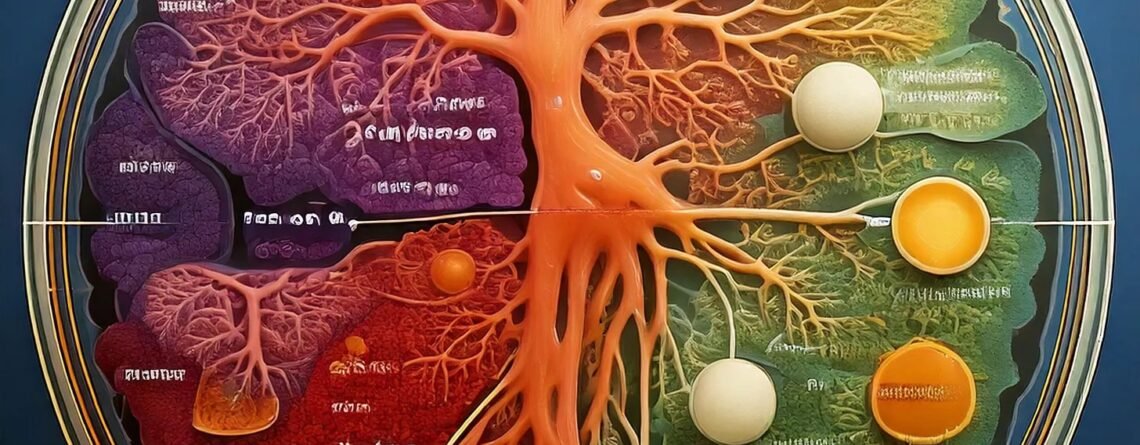
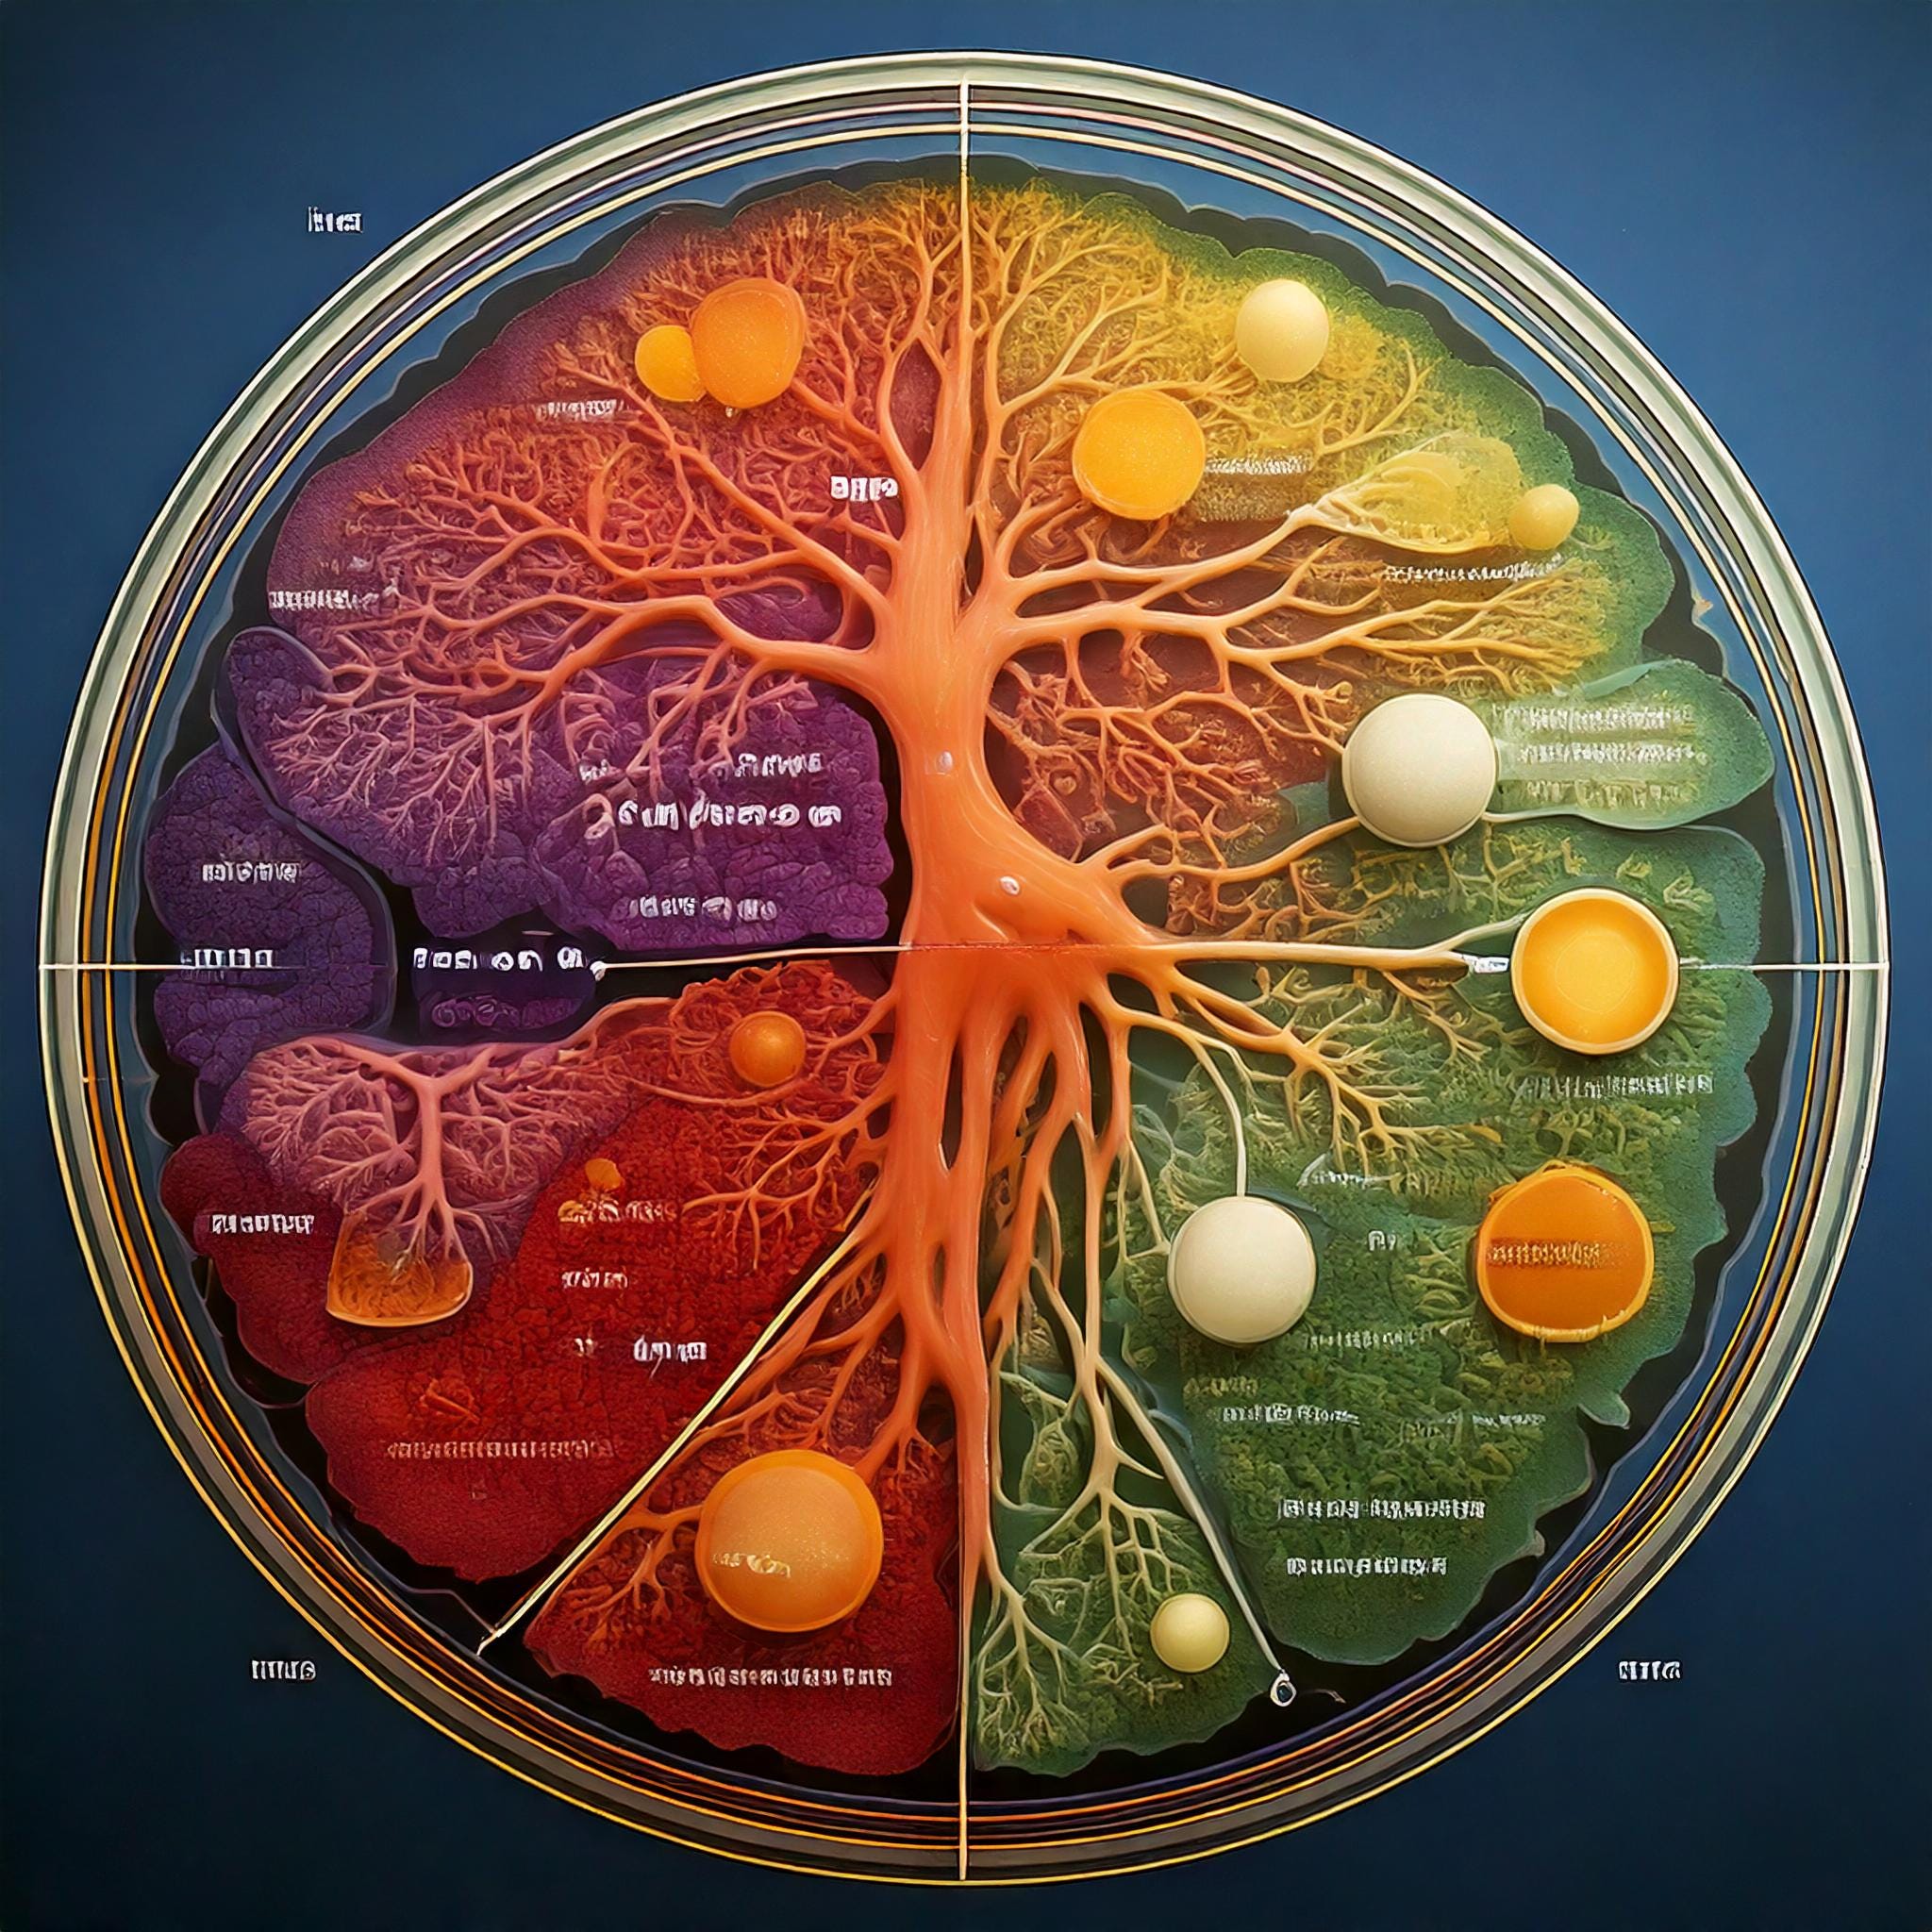
Image credit: modified from Types of tissues: Figure 1 by OpenStax College, Anatomy & Physiology, CC BY 3.0
Subject: Levels of Organization in Living Things
Standards
Next Generation Science Standards (NGSS)
- MS-LS1-3: Use argument supported by evidence for how the body is a system of interacting subsystems composed of groups of cells.
- MS-LS1-2: Develop and use a model to describe the function of a cell as a whole and ways that parts of cells contribute to the function.
Common Core State Standards (CCSS)
- CCSS.ELA-LITERACY.RI.7.3: Analyze the interactions between individuals, events, and ideas in a text.
- CCSS.ELA-LITERACY.W.7.2: Write informative/explanatory texts to examine a topic and convey ideas and information clearly.
Lesson Objectives
By the end of this lesson, children will be able to:
- Define and describe the five levels of organization in living things: cells, tissues, organs, organ systems, and organisms.
- Explain how cells work together to form more complex structures.
- Create a labeled diagram showing the levels of organization in the human body or an animal of choice.
Materials
- Chart paper or whiteboard
- Markers, colored pencils, or crayons
- Printed worksheets with diagrams of body systems
- Microscope (optional)
- Prepared microscope slides of cells and tissues (optional)
- Science journal or notebook
- Reference book: Inside the Human Body by Joanna Cole (optional)
Lesson Activities
1. Introduction (10 minutes) – What Makes Up a Living Thing?
Discussion Questions:
- What do you think is the smallest part of your body?
- How do small parts come together to form bigger systems?
- Can a single cell work on its own?
Explanation:
- Introduce the five levels of organization:
- Cells – The basic unit of life (e.g., muscle cell, nerve cell).
- Tissues – Groups of similar cells that work together (e.g., muscle tissue, nerve tissue).
- Organs – Structures made of different tissues that perform a specific function (e.g., heart, lungs).
- Organ Systems – Groups of organs working together (e.g., circulatory system, digestive system).
- Organism – A complete living thing (e.g., a human, a dog, a tree).
2. Visualizing the Levels: Build a Diagram (20 minutes)
Step 1:
- Draw a large outline of a human body (or an animal of choice) on chart paper.
- Label sections where different organs and systems are found.
Step 2:
- Inside the body outline, start small with cells and show how they combine to form tissues.
- Layer in organs, followed by organ systems, and complete with the whole organism.
Step 3:
- Use colored pencils to distinguish different systems (e.g., red for the circulatory system, blue for the nervous system).
3. Hands-On Exploration (15 minutes) – Microscope Observation (Optional)
- If available, provide prepared slides of cells (e.g., cheek cells, onion skin cells).
- Have children observe through a microscope and describe what they see.
- Ask: How do these tiny cells form larger tissues and organs?
4. Wrap-Up & Reflection (15 minutes)
- Have children write a short paragraph in their science journal explaining the five levels of organization.
- Ask:
- Why do cells need to work together?
- What would happen if an organ system stopped working?
- Discuss how this organization is found in all living things, from simple organisms (like bacteria) to complex ones (like humans).
Assessment
✅ Observation: Your Child participation in discussion and activities.
✅ Diagram Completion: Accuracy in drawing and labeling the levels of organization.
✅ Science Journal Entry: A paragraph explaining the concept.
✅ Exit Question: “What is the relationship between cells and an organism?”


LEAVE A COMMENT