
21May
Lesson Plan > Lesson 53 > Science
Lesson 53 covers:
- Elementary Level: Sound and Vibrations
- Mid Level: Sound and Vibrations
- High Level: Introduction to Energy
Elementary Level (Kinder to Grade 2)
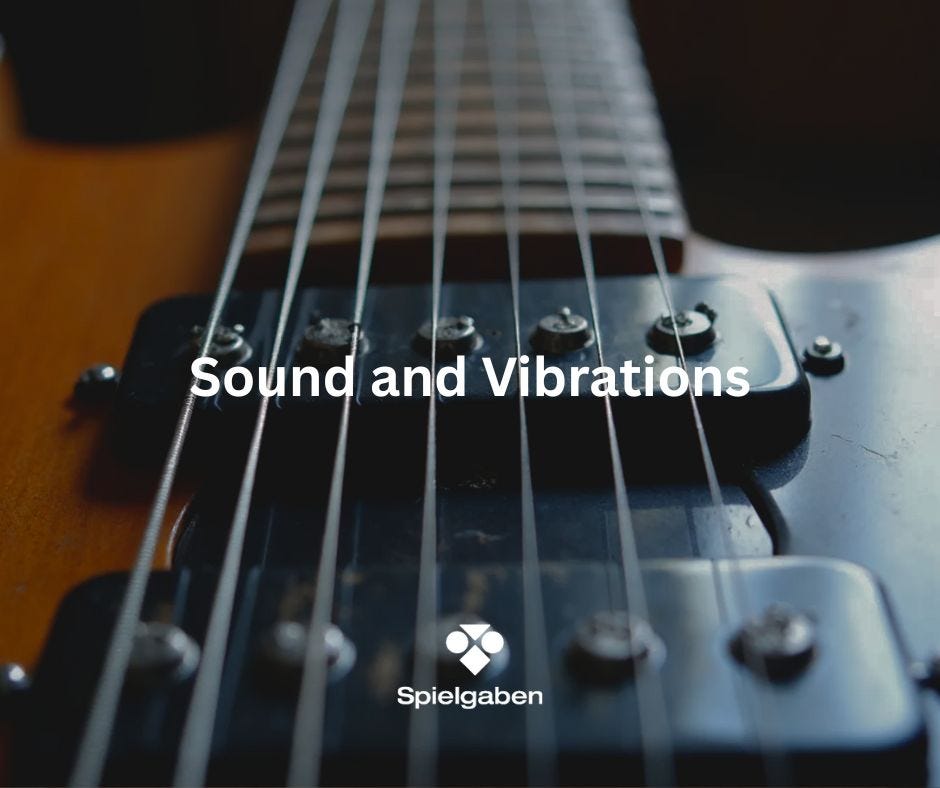
Subject: Sound and Vibrations
Alignment with Standards:
- Next Generation Science Standards (NGSS):
- 1-PS4-1: Plan and conduct investigations to provide evidence that vibrating materials can make sound and that sound can make materials vibrate.
- Common Core State Standards (CCSS) – ELA:
- CCSS.ELA-LITERACY.SL.1.1: Participate in collaborative conversations with diverse partners about grade 1 topics.
- CCSS.ELA-LITERACY.SL.1.2: Ask and answer questions about key details in a read-aloud or discussion.
Lesson Objectives
By the end of the lesson, students will be able to:
- Define sound as something we hear caused by vibrations.
- Demonstrate how vibrations create sound using a rubber band instrument.
- Observe and describe how different objects produce different sounds.
Materials Needed
- Rubber bands of different thicknesses
- Small empty box (tissue box or small container)
- Ruler or piece of wood (to stretch rubber bands over)
- Tuning fork (optional)
- Bowl with water (optional, for tuning fork demonstration)
- Various objects that vibrate (e.g., drum, bell, triangle, kazoo)
- Student science journal or worksheet for observations
Lesson Activities
1. Introduction (5-10 min)
Engage:
- Ask: “What is sound? How do you think we hear noises?”
- Play different sounds (e.g., clapping, whistling, tapping the table) and ask students what they notice.
- Explain that sound is made when something vibrates (moves back and forth quickly).
2. Hands-On Activity: Rubber Band Instruments (15 min)
Explore & Explain:
- Stretch a rubber band around a small box or between two fingers.
- Pluck the rubber band and ask:
- “What do you hear?”
- “What do you see happening to the rubber band?” (It vibrates!)
- Try different rubber band thicknesses—do they make different sounds?
- Have students record observations in their science journal (e.g., “Thick rubber bands make low sounds, thin ones make high sounds.”)
3. Listening to Vibrations (10 min)
Elaborate:
- Use a tuning fork (if available):
- Strike it and place it near their ears—what do they hear?
- Dip it in water—what happens? (Water splashes from vibrations!)
- Compare other vibrating objects (e.g., drum, bell, kazoo).
- Ask: “Do all vibrations sound the same?”
4. Wrap-Up Discussion (5 min)
Evaluate:
- Ask: “How is sound made?” (Vibrations!)
- “What are some ways we can make sounds at home?”
- Have students draw one example of a vibrating object in their journal.
Assessment/Extensions
- Informal Assessment: Ask students to explain in their own words how sound is made.
- Extension Activity: Have them experiment with homemade shakers (rice in a bottle) and discuss vibrations.
Mid Level (Grade 3 to 5)
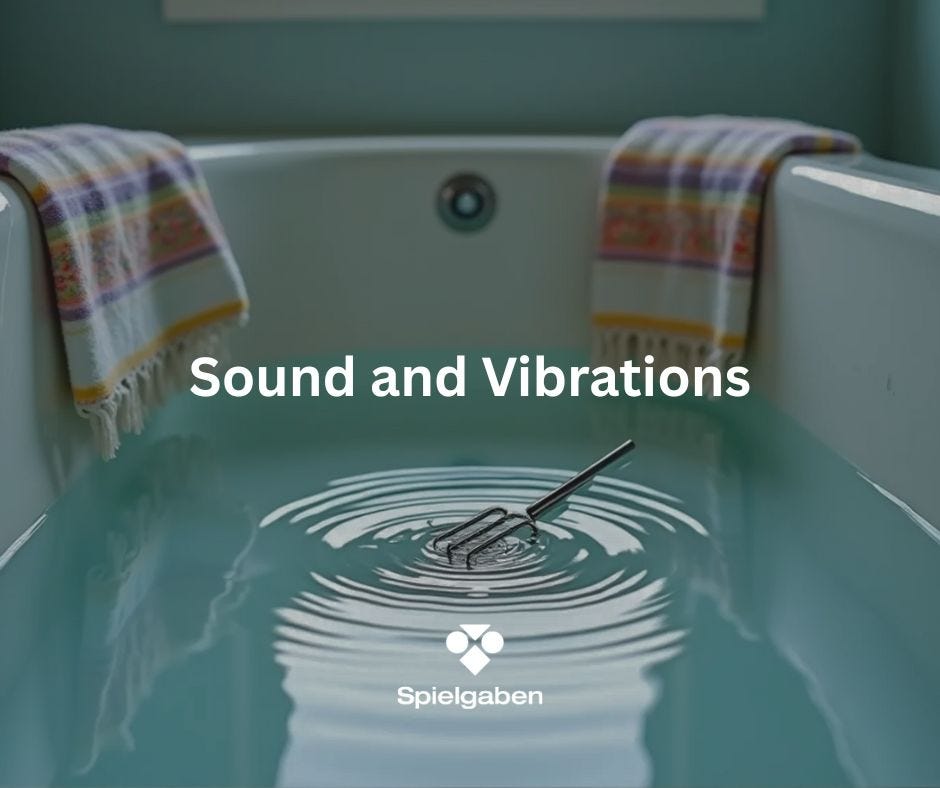
Subject: Sound and Vibrations
Alignment with Standards:
- Next Generation Science Standards (NGSS):
- 4-PS3-2: Make observations to provide evidence that energy can be transferred from place to place by sound, light, heat, and electric currents.
- 4-PS4-1: Develop a model of waves to describe patterns in terms of amplitude and wavelength.
- Common Core State Standards (CCSS) – ELA:
- CCSS.ELA-LITERACY.SL.4.1: Engage effectively in a range of collaborative discussions.
- CCSS.ELA-LITERACY.W.4.2: Write informative/explanatory texts to examine a topic.
Lesson Objectives
By the end of the lesson, students will be able to:
- Explain that sound is produced by vibrations and travels as waves through matter (solids, liquids, gases).
- Demonstrate how pitch and volume change based on vibration speed and intensity using rubber band instruments.
- Model how sound waves move through different mediums.
Materials Needed
- Rubber bands of varying thicknesses and lengths
- Empty tissue box or small shoebox
- Ruler or wooden stick (to stretch rubber bands)
- Tuning fork (optional)
- Bowl of water (for tuning fork demonstration)
- String and metal spoon (for sound wave transmission demo)
- Science journal or worksheet for observations and diagrams
Lesson Activities
1. Introduction (10 min)
Engage:
- Ask: “How do you think sound travels from a speaker to your ears?”
- Show a short video or animation of sound waves (e.g., a vibrating drum creating waves in the air).
- Explain: Sound is produced by vibrations and travels in waves through solids, liquids, and gases.
2. Hands-On Activity: Rubber Band Instruments (20 min)
Explore & Explain:
- Stretch different rubber bands over a box or between two fixed points (like a ruler).
- Pluck each rubber band and observe:
- “Which rubber band makes a higher/lower pitch?” (Thinner/shorter = higher pitch; thicker/longer = lower pitch)
- “What happens if you pluck harder?” (Louder sound = stronger vibrations)
- Discuss:
- “How does the vibration of the rubber band create sound?”
- “Why do different rubber bands make different sounds?”
3. Sound Wave Transmission Experiment (15 min)
Elaborate:
- Activity 1: Tuning Fork in Water
- Strike a tuning fork and place it near the water—observe ripples (showing vibrations transferring energy).
- Activity 2: String & Spoon
- Tie a string to a metal spoon, hold the ends to your ears, and tap the spoon—sound travels better through solids!
- Discuss: “Does sound travel faster in air, water, or solids?”
4. Wrap-Up & Reflection (10 min)
Evaluate:
- Have students draw and label a diagram of sound waves in their science journal.
- Ask: “How do vibrations create sound, and how does it reach our ears?”
- Exit Ticket: “Name one way sound is different from light in how it travels.”
Assessment/Extensions
- Informal Assessment: Ask students to explain in writing how sound travels using key terms (vibrations, waves, medium).
- Extension Activity: Research how animals like dolphins use sound waves (echolocation).
High Level (Grade 6 to 8)
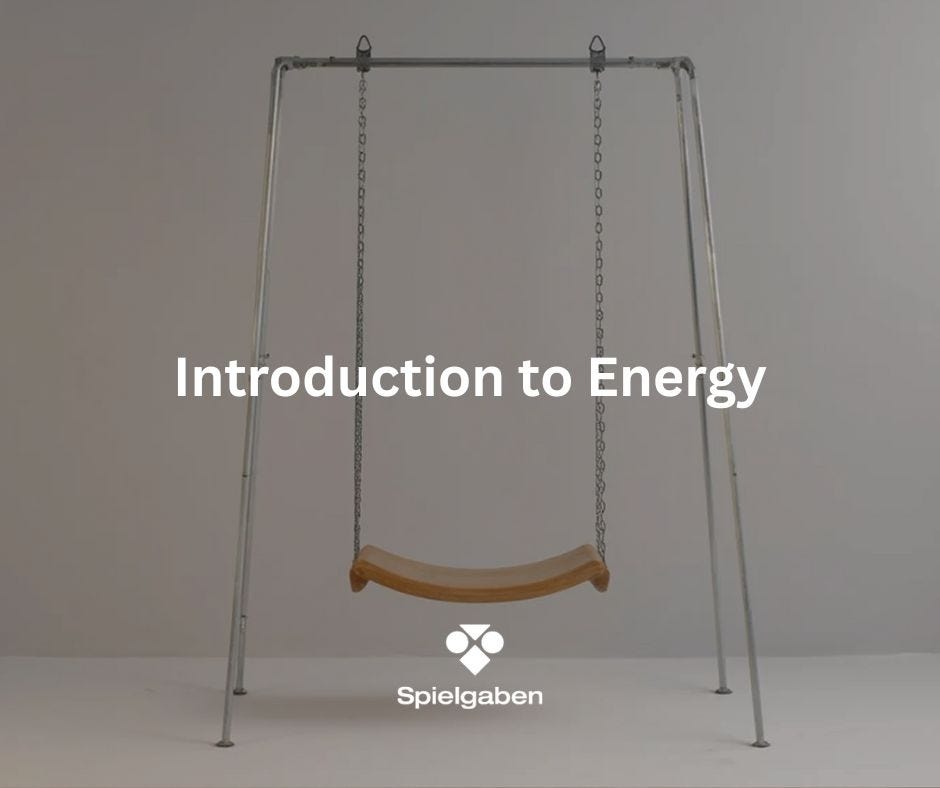
Subject: Introduction to Energy
Alignment with Standards:
- Next Generation Science Standards (NGSS):
- MS-PS3-1: Construct and interpret graphical displays of data to describe the relationships of kinetic energy to the mass of an object and its speed.
- MS-PS3-2: Develop a model to describe how when the arrangement of objects interacting at a distance changes, different amounts of potential energy are stored in the system.
- Common Core State Standards (CCSS) – ELA:
- CCSS.ELA-LITERACY.RST.6-8.3: Follow precisely a multistep procedure when carrying out experiments.
- CCSS.ELA-LITERACY.WHST.6-8.2: Write informative/explanatory texts to examine a topic clearly.
Lesson Objectives
By the end of the lesson, students will be able to:
- Define and differentiate between kinetic, potential, and thermal energy.
- Investigate how mass, height, and speed affect potential and kinetic energy using rolling objects.
- Explain real-world examples of energy transformations (e.g., roller coasters, pendulums).
Materials Needed
- Small balls of different masses (e.g., marble, tennis ball, steel ball)
- Ramp (a flat board or textbook propped at an angle)
- Measuring tape/ruler
- Stopwatch
- Notebook or lab worksheet for data recording
- Thermometer (optional, for thermal energy extension)
- Sand or soft surface (to observe energy absorption)
Lesson Activities
1. Introduction (10 min)
Engage & Explain:
- Discussion Question: “What is energy? Can you think of different types?”
- Definitions:
- Potential Energy (PE): Stored energy (e.g., due to height, tension).
- Kinetic Energy (KE): Energy of motion.
- Thermal Energy: Heat generated from movement of particles.
- Real-World Connection: Show images of a roller coaster (PE at the top, KE at the bottom).
2. Hands-On Investigation: Rolling Objects Lab (30 min)
Explore & Analyze:
Part 1: Effect of Height on Energy
- Set up a ramp at different heights (low, medium, high).
- Roll a ball down and measure:
- Distance traveled (kinetic energy)
- Speed (time how long it takes to travel a set distance)
- Record data and discuss:
- “How does ramp height affect the ball’s speed and distance?” (Higher ramp = more PE → more KE)
Part 2: Effect of Mass on Energy
- Use balls of different masses (e.g., marble vs. steel ball).
- Roll them from the same height and compare distance/speed.
- Discuss:
- “Does a heavier ball have more KE? Why or why not?”
Part 3: Thermal Energy Extension (Optional)
- Rub hands together quickly → feel heat (mechanical → thermal energy).
- Use a thermometer to measure temperature changes if available.
3. Data Analysis & Discussion (15 min)
Elaborate & Evaluate:
- Graph results (height vs. distance, mass vs. speed).
- Key Questions:
- “Where was potential energy the greatest?” (Top of ramp)
- “What factors increased kinetic energy?” (Higher drop, more mass)
- Exit Ticket: “Give an example of PE → KE transformation in everyday life.”
Assessment/Extensions
Real-World Research: How do engineers use energy principles in designing roller coasters?
Lab Report: Students write a conclusion explaining their findings.
Design Challenge: “Build a ramp system that maximizes KE using household items.”


LEAVE A COMMENT