30Apr
Lesson Plan > Lesson 44 > Science
Lesson 44 covers:
- Elementary Level: Properties of Liquids
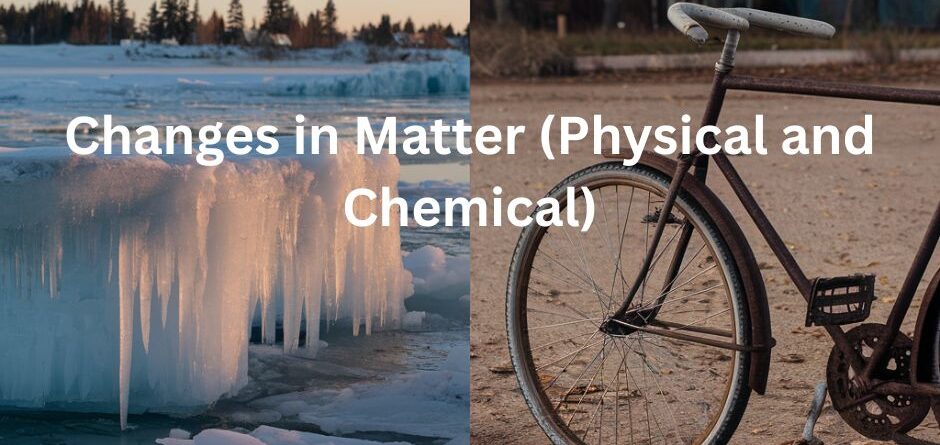
- Mid Level: Changes in Matter (Physical and Chemical)
- High Level: Elements, Compounds, and Mixtures
Elementary Level (Kinder to Grade 2)
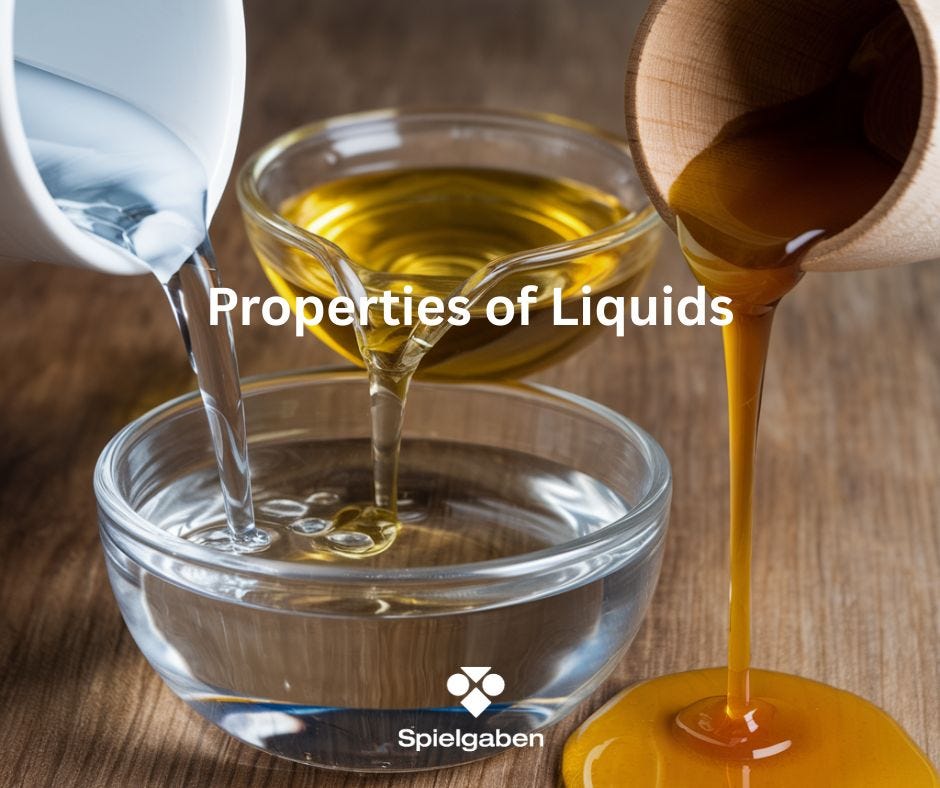
Subject: Properties of Liquids
Alignment with Standards:
- Next Generation Science Standards (NGSS):
- K-2-ETS1-3: Analyze data from tests of an object or tool to determine if it works as intended.
- 2-PS1-1: Plan and conduct an investigation to describe and classify different kinds of materials by their observable properties.
- Common Core State Standards (CCSS) – ELA:
- CCSS.ELA-LITERACY.SL.1.1: Participate in collaborative conversations.
- CCSS.ELA-LITERACY.SL.1.5: Add drawings or other visual displays to descriptions when appropriate.
Lesson Objectives
By the end of this lesson, the student will be able to:
- Define a liquid as a form of matter that flows and takes the shape of its container.
- Observe and describe how different liquids flow when poured.
- Compare and contrast the properties of different liquids (e.g., water, oil, syrup).
Materials Needed
- Clear plastic cups (3-4)
- Small bowls or containers
- Water
- Vegetable oil
- Corn syrup or honey
- Food coloring (optional, for visibility)
- Pipettes or spoons for pouring
- Paper towels (for spills)
- Worksheet or journal for recording observations (drawing/writing)
Lesson Activities
1. Introduction (5-10 minutes)
- Engage: Show the student an image of different liquids (water, oil, syrup) in separate containers.
- Discussion Questions:
- “What do you notice about these substances?”
- “Do they look the same or different?”
- “What happens when you pour them?”
- Discussion Questions:
- Explain: Introduce the term liquid—a type of matter that flows and takes the shape of its container.
2. Hands-On Experiment: Pouring Liquids (15-20 minutes)
- Procedure:
- Fill three cups with:
- Water (add food coloring if desired)
- Vegetable oil
- Corn syrup/honey
- Have the student predict how each liquid will pour.
- Let the student slowly pour each liquid into a new container and observe:
- “Which one flows fastest/slowest?”
- “Do they look different when moving?”
- Compare by tilting containers—notice how some liquids stick to the sides.
- Fill three cups with:
3. Recording Observations (5-10 minutes)
- Have the student draw or write in a science journal:
- “Which liquid was the thickest? Which was the thinnest?”
- “Which one poured the fastest?”
- Encourage labeling (e.g., “water = fast,” “syrup = slow”).
4. Wrap-Up Discussion (5 minutes)
- Review Key Concepts:
- Liquids flow and take the shape of their container.
- Some liquids flow faster (water) than others (syrup).
- Real-World Connection:
- “Where do we see liquids in everyday life?” (Milk, juice, rain, etc.)
Assessment & Extension Ideas
- Informal Assessment: Ask the student to explain in their own words what a liquid is.
- Extension Activity:
- Freeze liquids overnight and compare solids vs. liquids the next day.
- Explore mixing liquids (e.g., oil and water) to observe separation.
Mid Level (Grade 3 to 5)
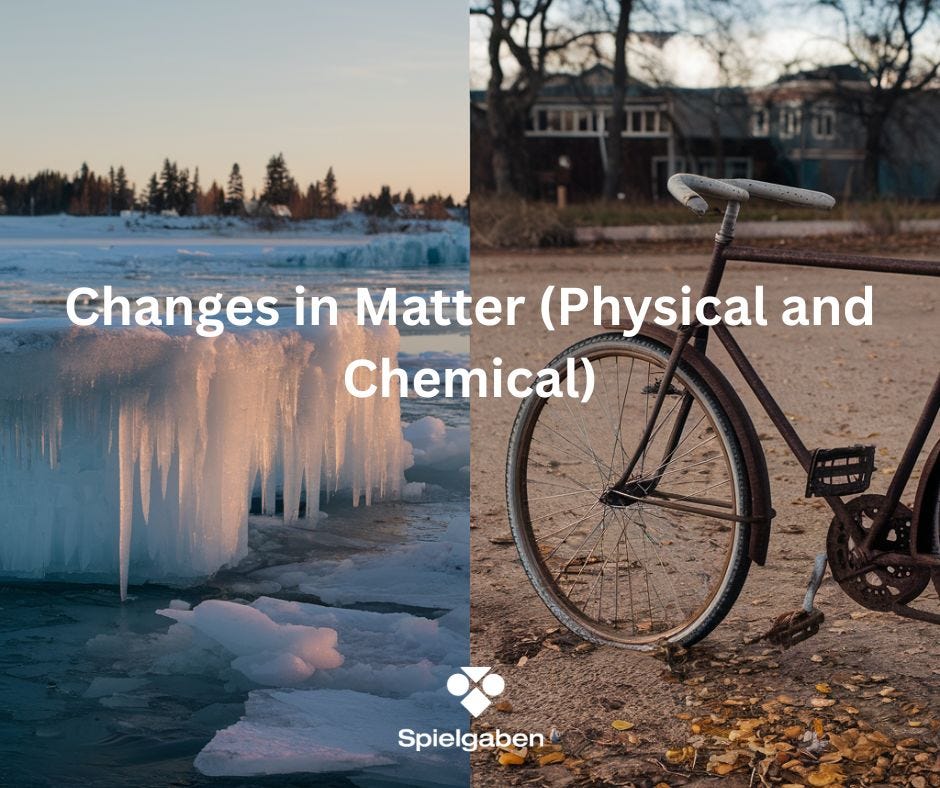
Subject: Changes in Matter (Physical & Chemical)
Alignment with Standards:
- Next Generation Science Standards (NGSS):
- 5-PS1-4: Conduct an investigation to determine whether the mixing of two or more substances results in new substances.
- 5-PS1-2: Measure and graph quantities to provide evidence that regardless of the type of change (physical or chemical), the total weight of matter is conserved.
- Common Core State Standards (CCSS) – ELA & Math:
- CCSS.ELA-LITERACY.RI.4.3: Explain events in a scientific text.
- CCSS.MATH.CONTENT.4.MD.A.1: Know relative sizes of measurement units (e.g., grams, milliliters).
Lesson Objectives
By the end of this lesson, the student will be able to:
- Define physical and chemical changes in matter.
- Compare reversible (physical) and irreversible (chemical) changes.
- Conduct experiments to observe dissolving (physical change) and a simple chemical reaction (baking soda + vinegar).
- Record and analyze data to differentiate between the two types of changes.
Materials Needed
- For Physical Change (Dissolving Salt):
- Table salt
- Warm water
- Clear cups
- Spoon for stirring
- Measuring spoons
- Small plate (for evaporation extension)
- For Chemical Change (Baking Soda + Vinegar):
- Baking soda
- White vinegar
- Small bowl or cup
- Measuring spoons
- Balloon (optional, for gas demonstration)
- General Supplies:
- Science journal or worksheet
- Magnifying glass (optional)
Lesson Activities
1. Introduction (10 minutes)
- Engage: Show an image of ice melting vs. a rusted nail (or burning paper).
- Discussion Questions:
- “What is happening in these pictures?”
- “Can you reverse these changes? Why or why not?”
- Discussion Questions:
- Explain:
- Physical Change: Alters form but not substance (e.g., dissolving, melting).
- Chemical Change: Forms new substances (e.g., rusting, burning).
2. Hands-On Experiment 1: Dissolving Salt (Physical Change) (15 minutes)
- Procedure:
- Have the student measure 1 tsp salt into a cup of warm water.
- Stir and observe—ask: “Does the salt disappear? Can we get it back?”
- Extension: Leave the solution on a plate for a few days to observe evaporation (salt reappears!).
- Key Takeaway: Dissolving is reversible (physical change).
3. Hands-On Experiment 2: Baking Soda + Vinegar (Chemical Change) (15 minutes)
- Procedure:
- Mix 1 tbsp baking soda with ¼ cup vinegar in a bowl.
- Observe bubbles (CO₂ gas production)—ask: “Is this a new substance?”
- Optional: Stretch a balloon over a bottle opening to trap gas.
- Key Takeaway: Bubbles = irreversible chemical change!
4. Data Recording & Analysis (10 minutes)
- Have the student complete a T-chart in their journal:
Physical Change (Salt + Water)Chemical Change (Baking Soda + Vinegar)ReversibleIrreversibleNo new substanceNew substance (gas)
5. Wrap-Up Discussion (5-10 minutes)
- Review Key Concepts:
- Physical changes = reversible (e.g., cutting paper, freezing water).
- Chemical changes = irreversible (e.g., cooking an egg, burning wood).
- Real-World Connection:
- “What changes happen when you bake a cake? (Both physical and chemical!)”
Assessment & Extension Ideas
- Informal Assessment: Ask the student to classify other examples (e.g., folding paper vs. burning paper).
- Extension Activities:
- Test other reactions (e.g., lemon juice + milk = curdling).
- Explore conservation of mass by weighing reactants/products.
High Level (Grade 6 to 8)
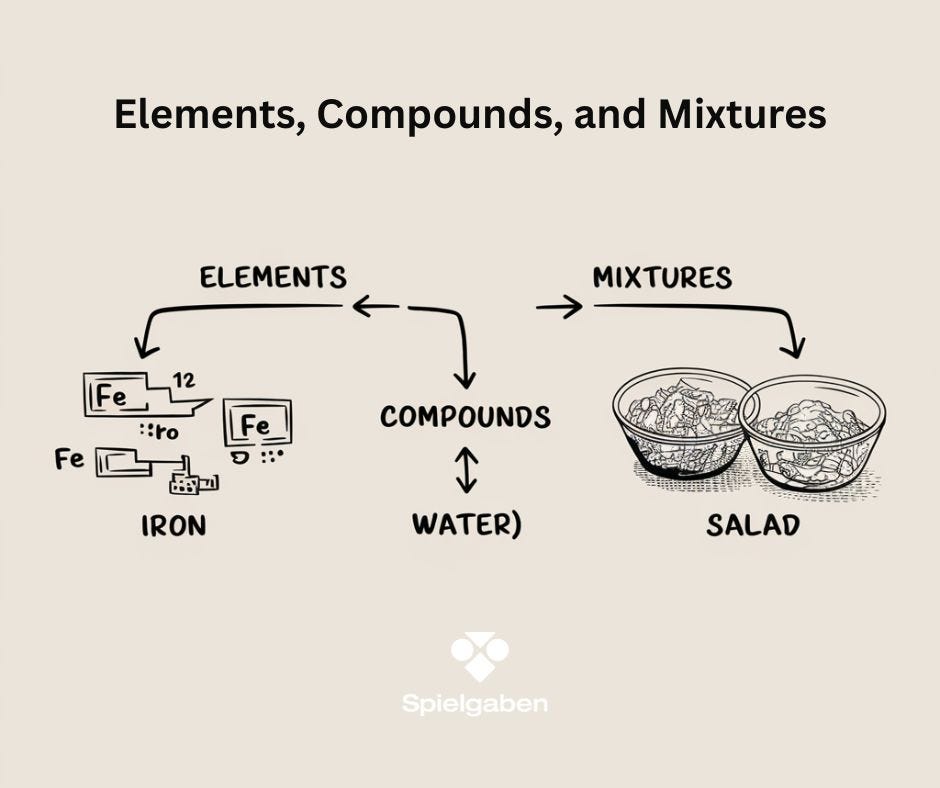
Subject: Elements, Compounds, and Mixtures
Alignment with Standards:
- Next Generation Science Standards (NGSS):
- MS-PS1-1: Develop models to describe the atomic composition of simple molecules and extended structures.
- MS-PS1-2: Analyze and interpret data on the properties of substances before and after interactions to determine if a chemical reaction has occurred.
- MS-PS1-3: Gather and make sense of information to describe that synthetic materials come from natural resources and impact society.
- Common Core State Standards (CCSS) – ELA & Math:
- CCSS.ELA-LITERACY.RST.6-8.3: Follow precisely a multistep procedure when carrying out experiments.
- CCSS.MATH.CONTENT.7.SP.C.6: Collect data to draw conclusions.
Lesson Objectives
By the end of this lesson, the student will be able to:
- Define elements, compounds, and mixtures with examples.
- Compare homogeneous vs. heterogeneous mixtures.
- Separate mixtures using filtration, magnetism, or evaporation.
- Analyze real-world applications of mixture separation (e.g., water purification, recycling).
Materials Needed
For Definitions & Classification:
- Periodic table (visual aid)
- Examples:
- Element: Iron nail, aluminum foil
- Compound: Salt (NaCl), sugar (C₁₂H₂₂O₁₁)
- Mixture: Trail mix, saltwater, iron + sand
For Separation Activities:
- Filtration:
- Sand + water mixture
- Coffee filter or cheesecloth
- Funnel & clear cup
- Magnetism:
- Iron filings
- Sand or rice
- Magnet
- Evaporation (Extension):
- Saltwater solution
- Shallow dish
- Heat source (sunlight or hot plate)
General Supplies:
- Science journal or lab worksheet
- Magnifying glass (optional)
Lesson Activities
1. Introduction (15 minutes)
- Engage: Show an image of a salad, saltwater, and a gold bar. Ask:
- “Which of these is a single substance, and which are mixtures?”
- Direct Instruction:
- Element: Pure substance (e.g., gold, oxygen).
- Compound: Chemically bonded elements (e.g., H₂O, CO₂).
- Mixture: Physically combined substances (e.g., air, cereal).
- Homogeneous (uniform, like saltwater) vs. heterogeneous (non-uniform, like trail mix).
2. Hands-On Separation Experiments (30 minutes)
A. Filtration (Heterogeneous Mixture)
- Mix sand and water in a cup.
- Pour through a filter into another cup.
- Observe: “Which part is retained? Which passes through?”
B. Magnetism (Magnetic Separation)
- Mix iron filings with sand/rice.
- Use a magnet to isolate iron.
- Discuss: “Why doesn’t this work for non-magnetic materials?”
C. Evaporation (Extension – Homogeneous Mixture)
- Leave saltwater in a dish for 24 hours.
- Observe residual salt crystals.
3. Data Analysis & Real-World Applications (15 minutes)
- Worksheet/Journal Prompts:
- Classify 10 substances as element/compound/mixture.
- Compare filtration vs. magnetism: “Which method is best for separating ___?”
- Real-World Discussion:
- Water treatment plants (filtration).
- Recycling centers (magnetism for metals).
Assessment & Extensions
- Formative Assessment: Have the student sketch and label separation setups.
- Summative Assessment: Provide a “mystery mixture” (e.g., salt, iron, sand) to separate and identify.
- Extensions:
- Research chromatography (ink separation).
- Debate: “Should all drinking water be filtered?”


LEAVE A COMMENT