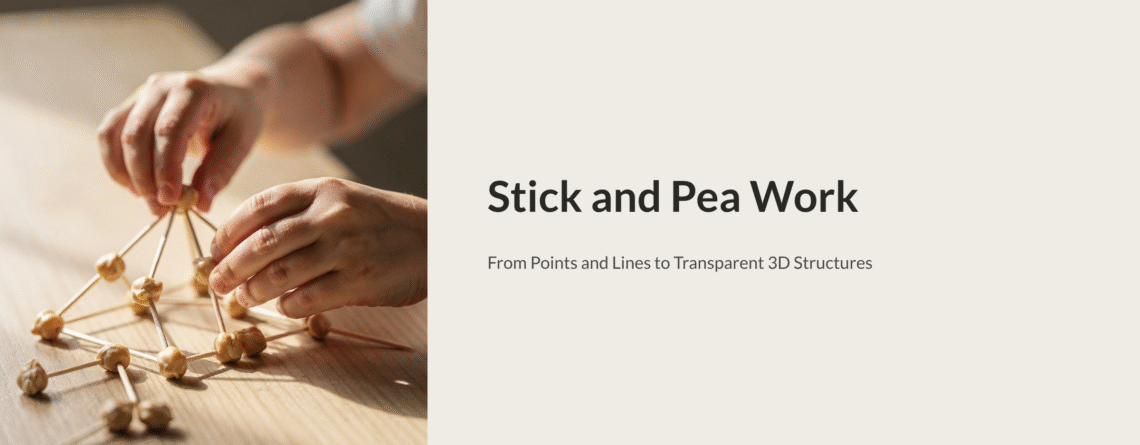
Stick and Pea Work: From Points and Lines to Transparent 3D Structures
Soak a handful of chickpeas overnight. Grab a box of toothpicks. Sit down with your child.
Now push two toothpicks into a single pea at right angles. Add another pea to each end. Connect them with more toothpicks. Keep going.
Within ten minutes, your child will be holding a three-dimensional cube they built from scratch—and they’ll be able to see straight through it.
Not a solid block. Not an opaque surface. A transparent skeleton of edges and corners, floating in their hands. They can look inside it, peer through its faces, count its parts, and understand its structure in a way that no solid wooden cube could ever teach them.
This is Stick and Pea Work—one of Fröbel’s most ingenious Occupations, and quite possibly the ancestor of every construction toy your child has ever played with. It takes the humblest materials imaginable and turns them into a tool for spatial reasoning, architectural thinking, and genuine creative engineering.
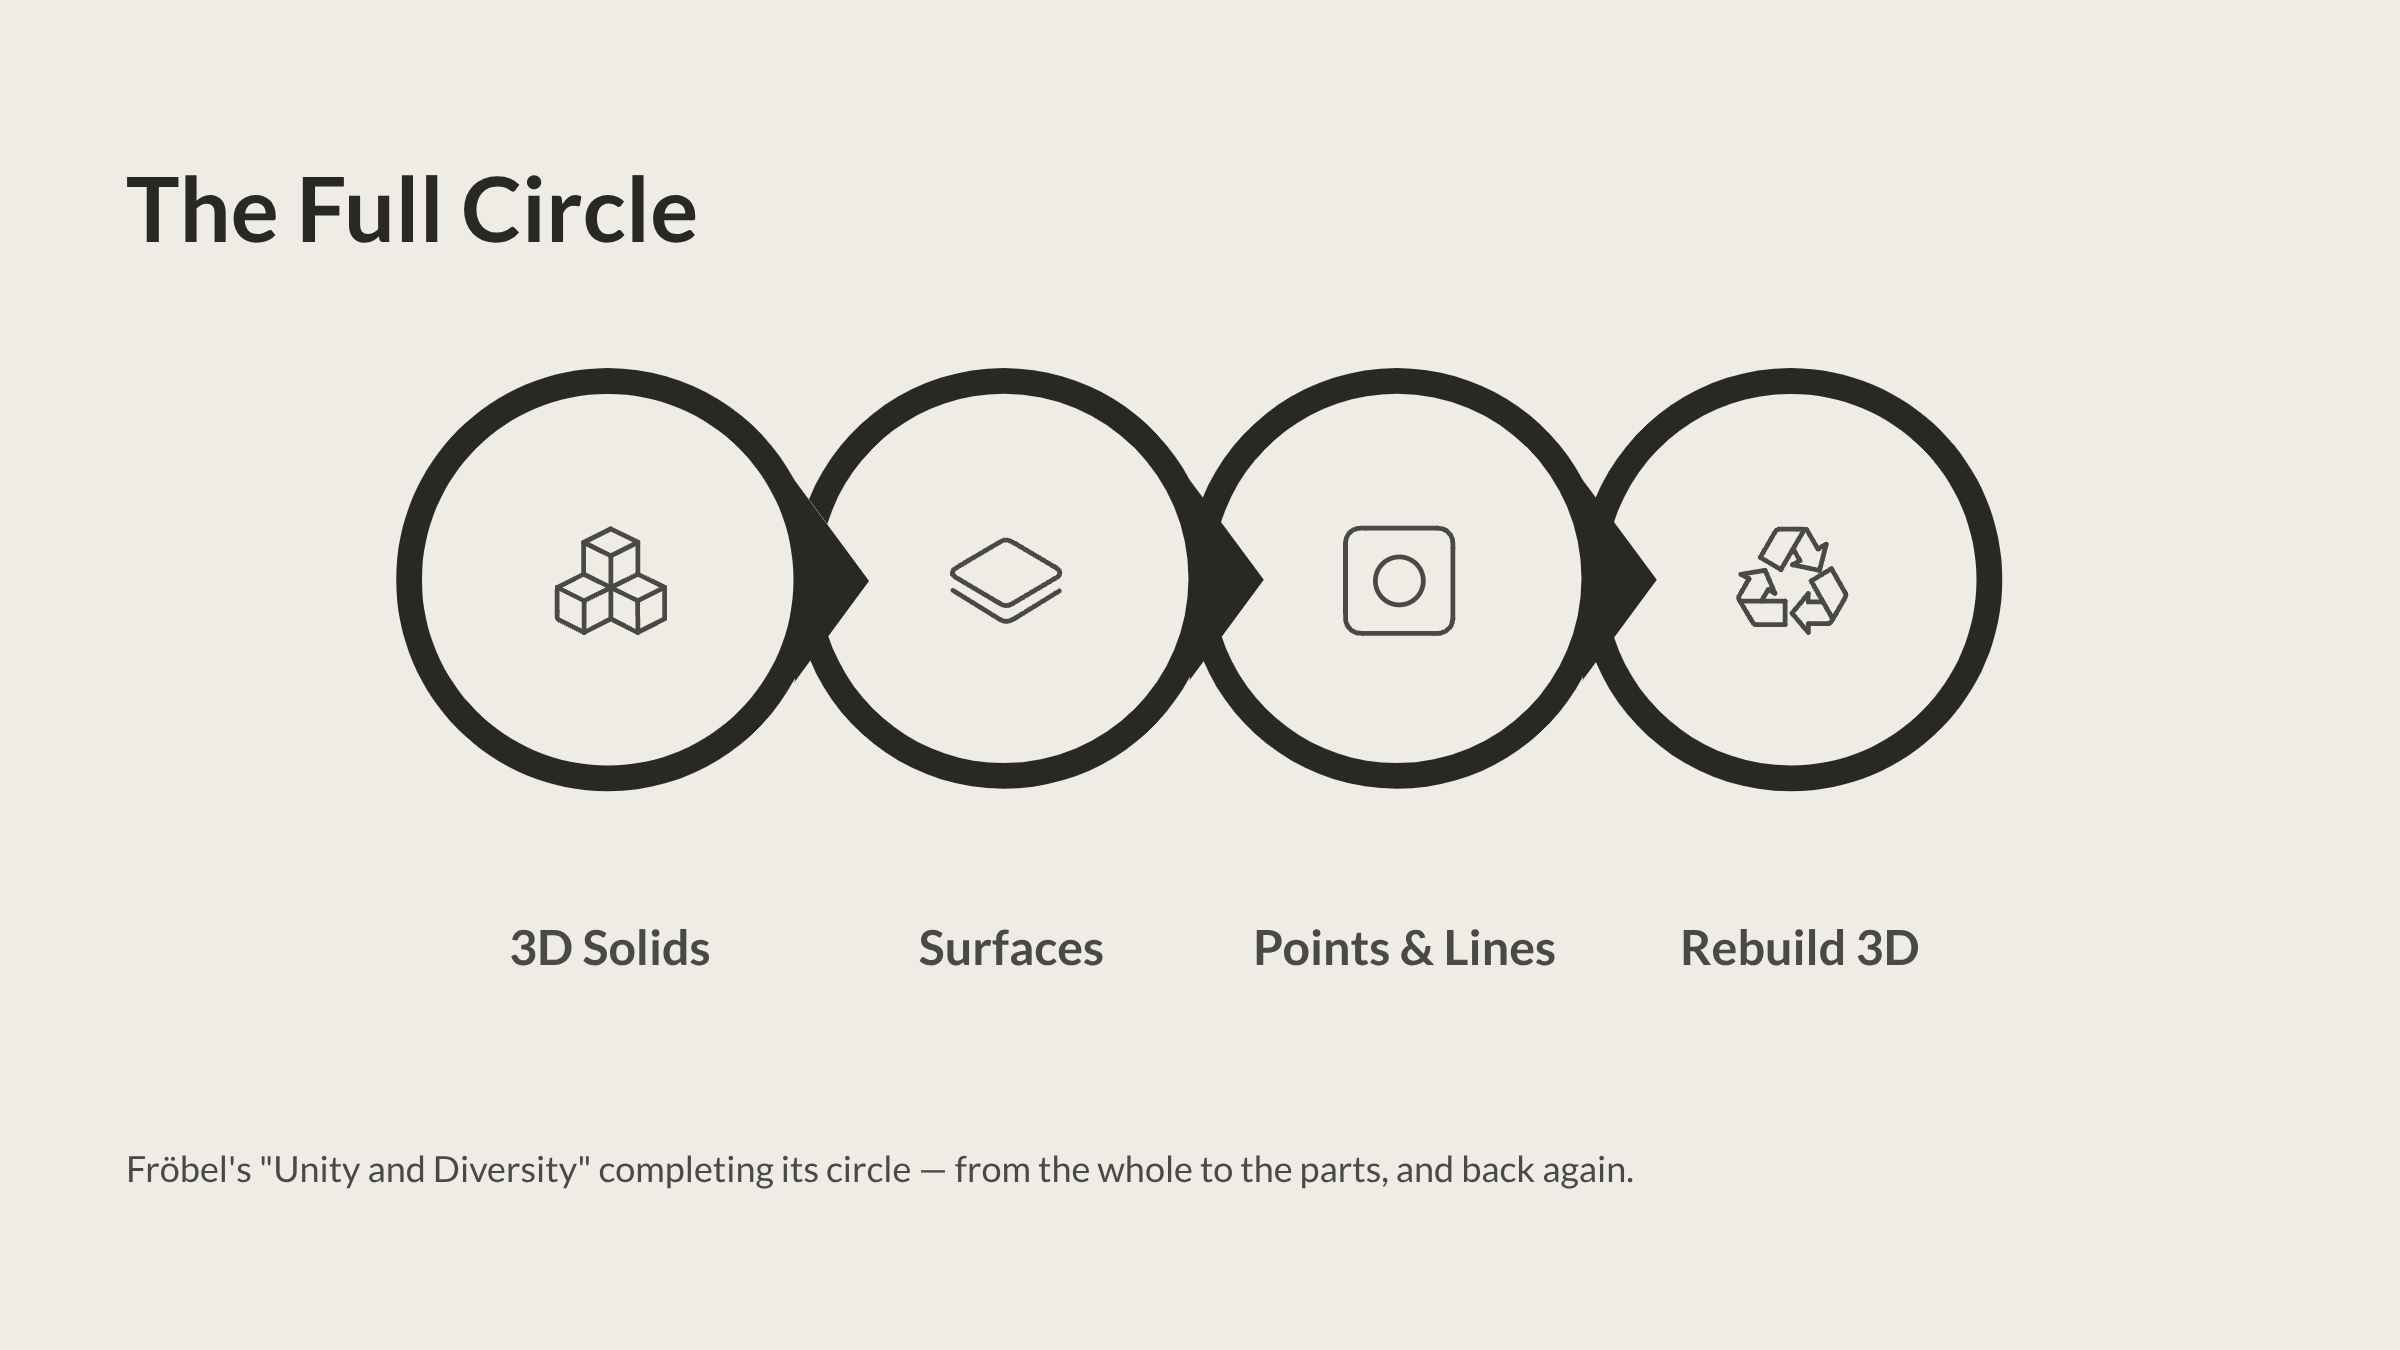
The Full Circle: Why This Occupation Matters in the Sequence
If you’ve been following our Masterclass series, you’ve watched your child’s learning journey trace a remarkable arc.
It began with three-dimensional solids—the soft ball, the wooden sphere, cylinder, and cube, the divided cubes of Gifts 3–6. Solid forms. Tangible. Heavy in the hand.
Then the journey dissolved those solids into surfaces—flat Parquetry tiles and folded and cut paper. Two dimensions. Still tangible, but thinner. Lighter. More abstract.
Now, with Stick and Pea Work, we dissolve surfaces further—into lines (sticks) and points (peas). We’ve reached the most minimal building elements possible. A line has length but no width. A point has position but no dimension at all. You can’t get simpler than this.
But here’s the beautiful twist: from these minimal elements, your child rebuilds the third dimension. They take points and lines—the simplest things—and construct cubes, pyramids, bridges, and towers. They’ve gone from the whole to the parts, and now from the parts back to the whole.
Fröbel designed this deliberately. It’s his philosophy of “Unity and Diversity” completing its circle. Your child has taken the world apart piece by piece across weeks of Masterclass activities. Now they put it back together again—transparently, so they can see how it all connects.
The Materials: Humble, Brilliant, and Probably Already in Your Kitchen
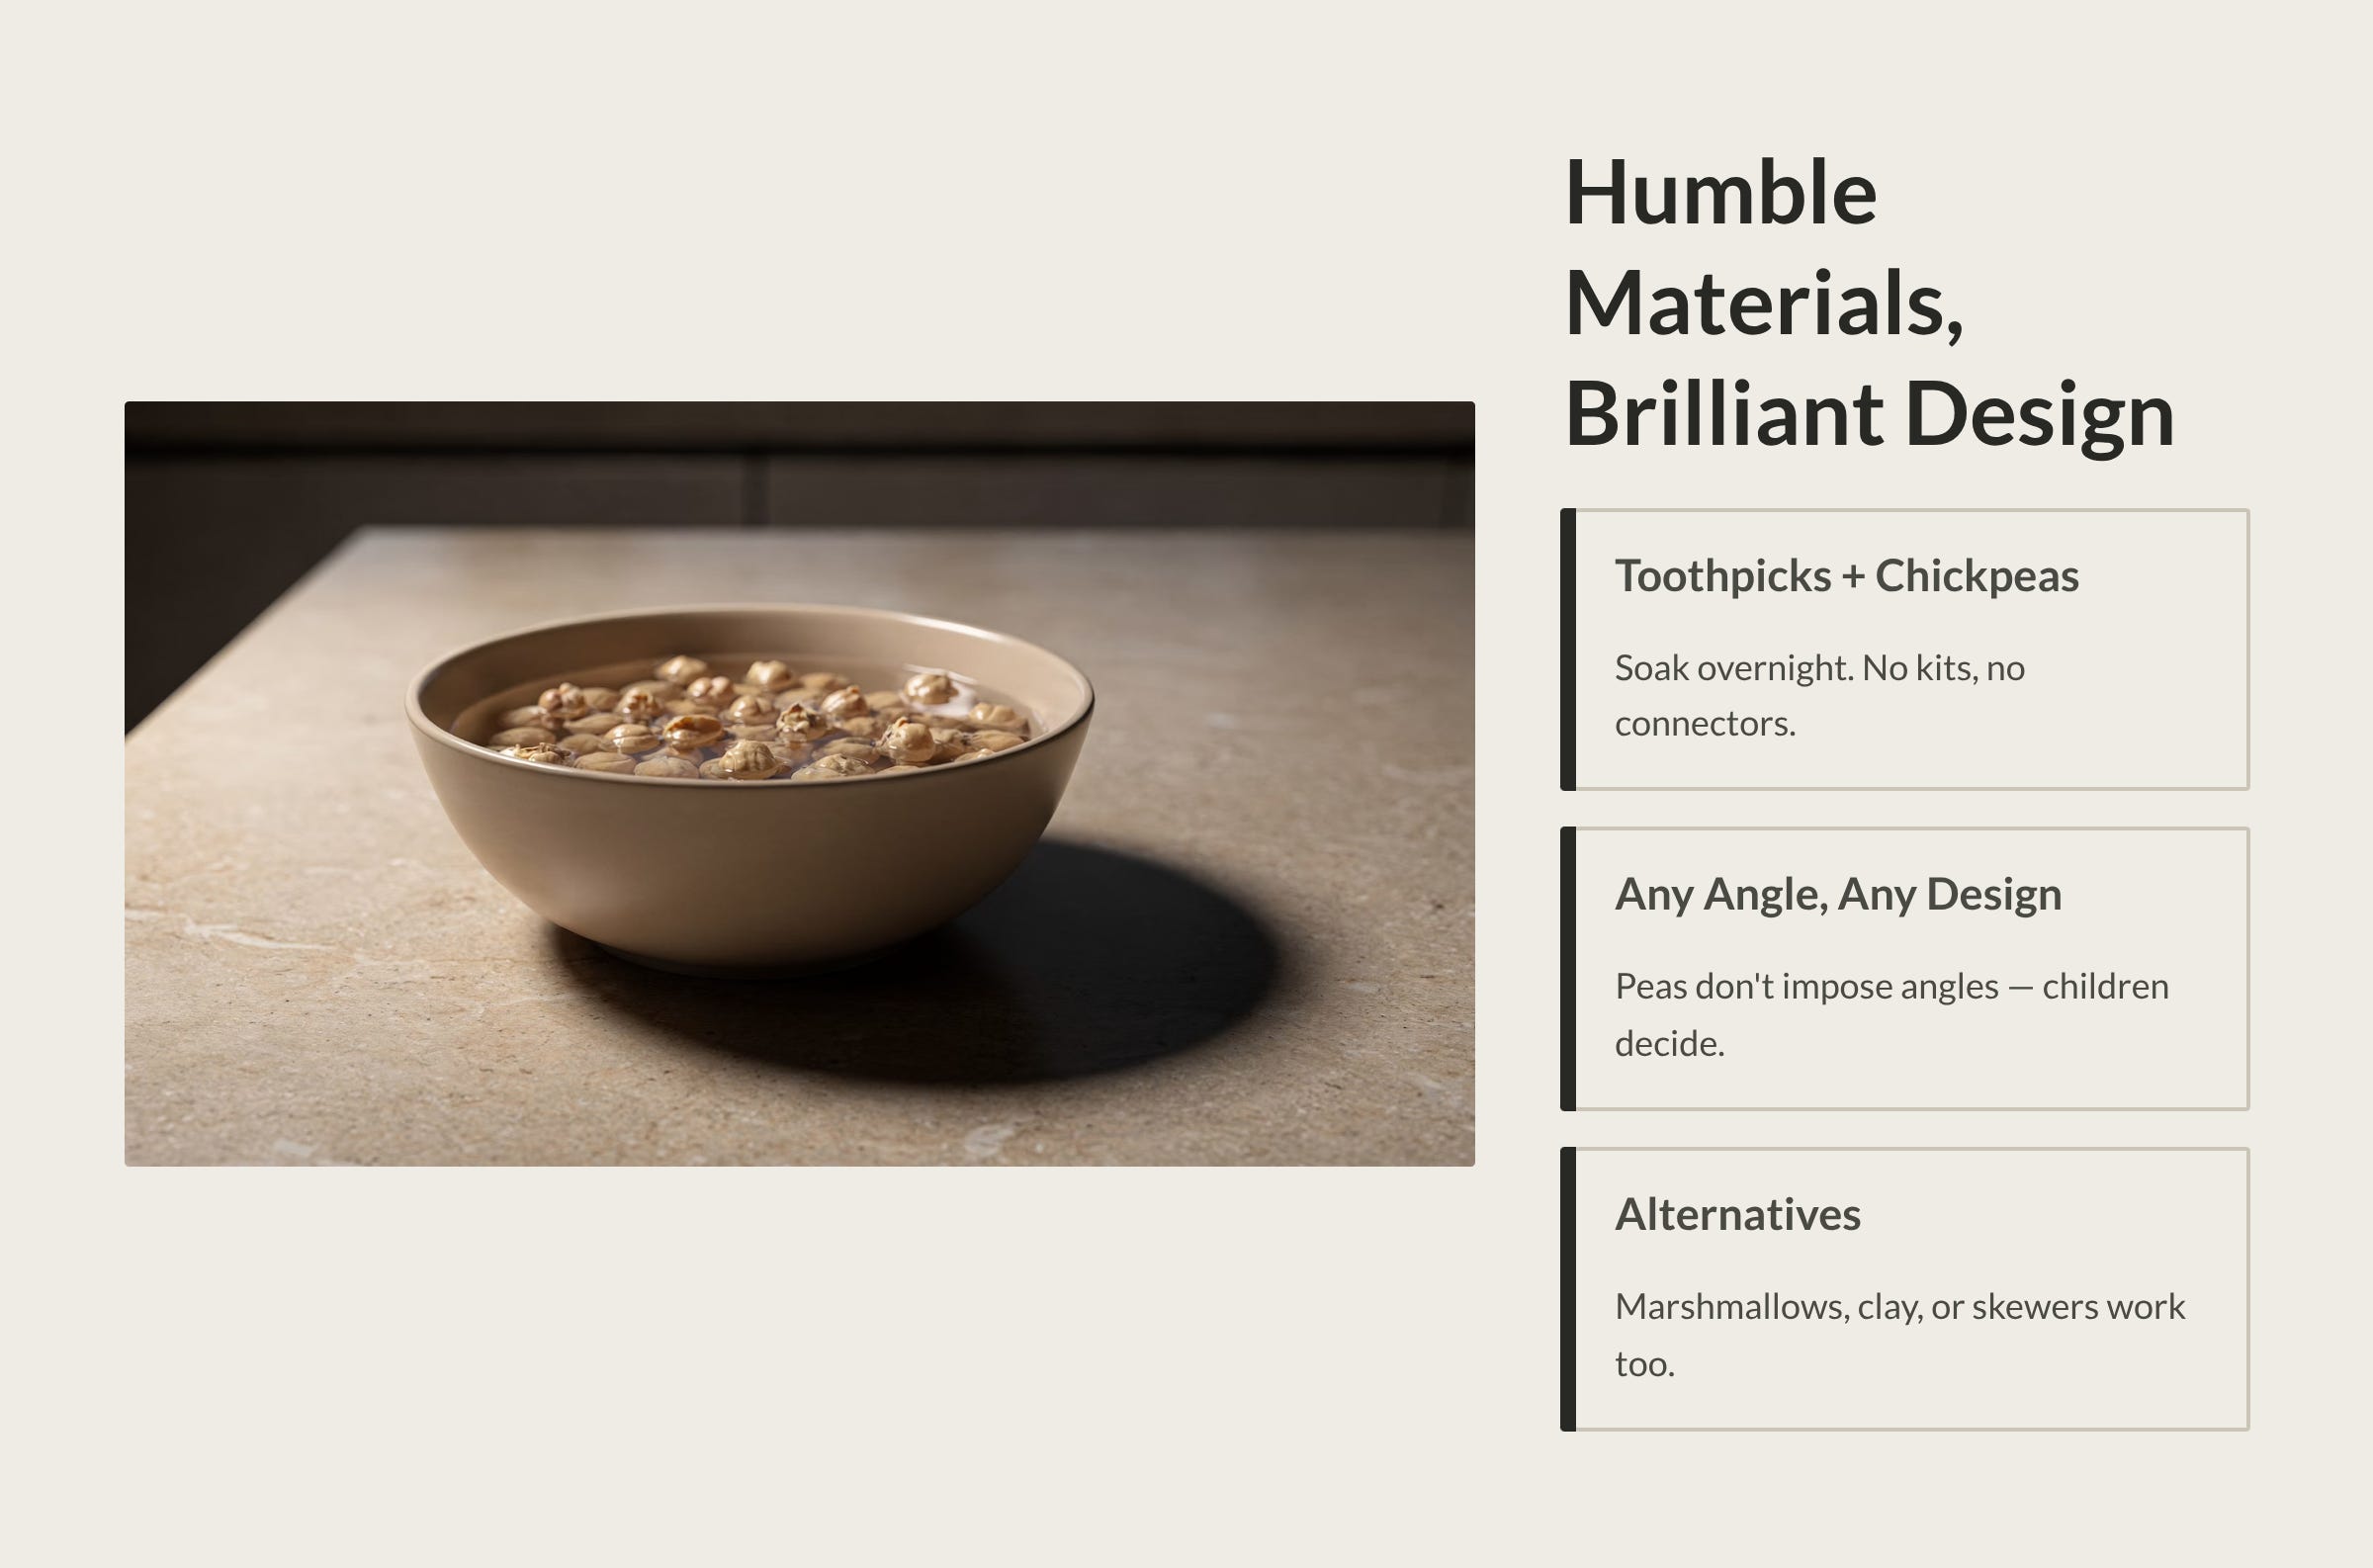
One of the most remarkable things about this Occupation is what it doesn’t require.
No special kits. No proprietary connectors. No click-in plastic joints engineered to specific angles.
The traditional materials are toothpicks and dried chickpeas.
That’s it.
Soak the chickpeas in water for about eight hours (overnight works perfectly). When they’ve softened, they reach a consistency that holds toothpicks firmly in place—solid enough to support structures, soft enough for small hands to push sticks into without tools.
Why chickpeas and not commercial connectors? Because the peas don’t impose predetermined angles. A plastic construction toy says: “You can connect at 90 degrees, or 45 degrees, or not at all.” A softened chickpea says: “Connect at any angle you like.” This gives your child maximum freedom of design—and maximum responsibility for figuring out what works.
That freedom is the whole point. When a structure collapses because the angles were wrong, the child doesn’t blame the toy. They reconsider their engineering. When a structure stands because they found the right geometry, the achievement is entirely theirs.
Alternative materials: If chickpeas aren’t available, small marshmallows or modelling clay balls work similarly. For sticks, toothpicks are ideal for smaller structures, but wooden skewers (with points trimmed for safety) allow for larger builds. Spielgaben sets include purpose-made sticks and connectors designed for this Occupation, but the beauty of Fröbel’s original design is that kitchen supplies do the job wonderfully.
Starting Flat: Constructing 2D Shapes
Before your child builds upward, they build outward. The natural starting point for Stick and Pea Work is laying out flat, two-dimensional shapes on the table.
This sounds simple. It’s educationally explosive.
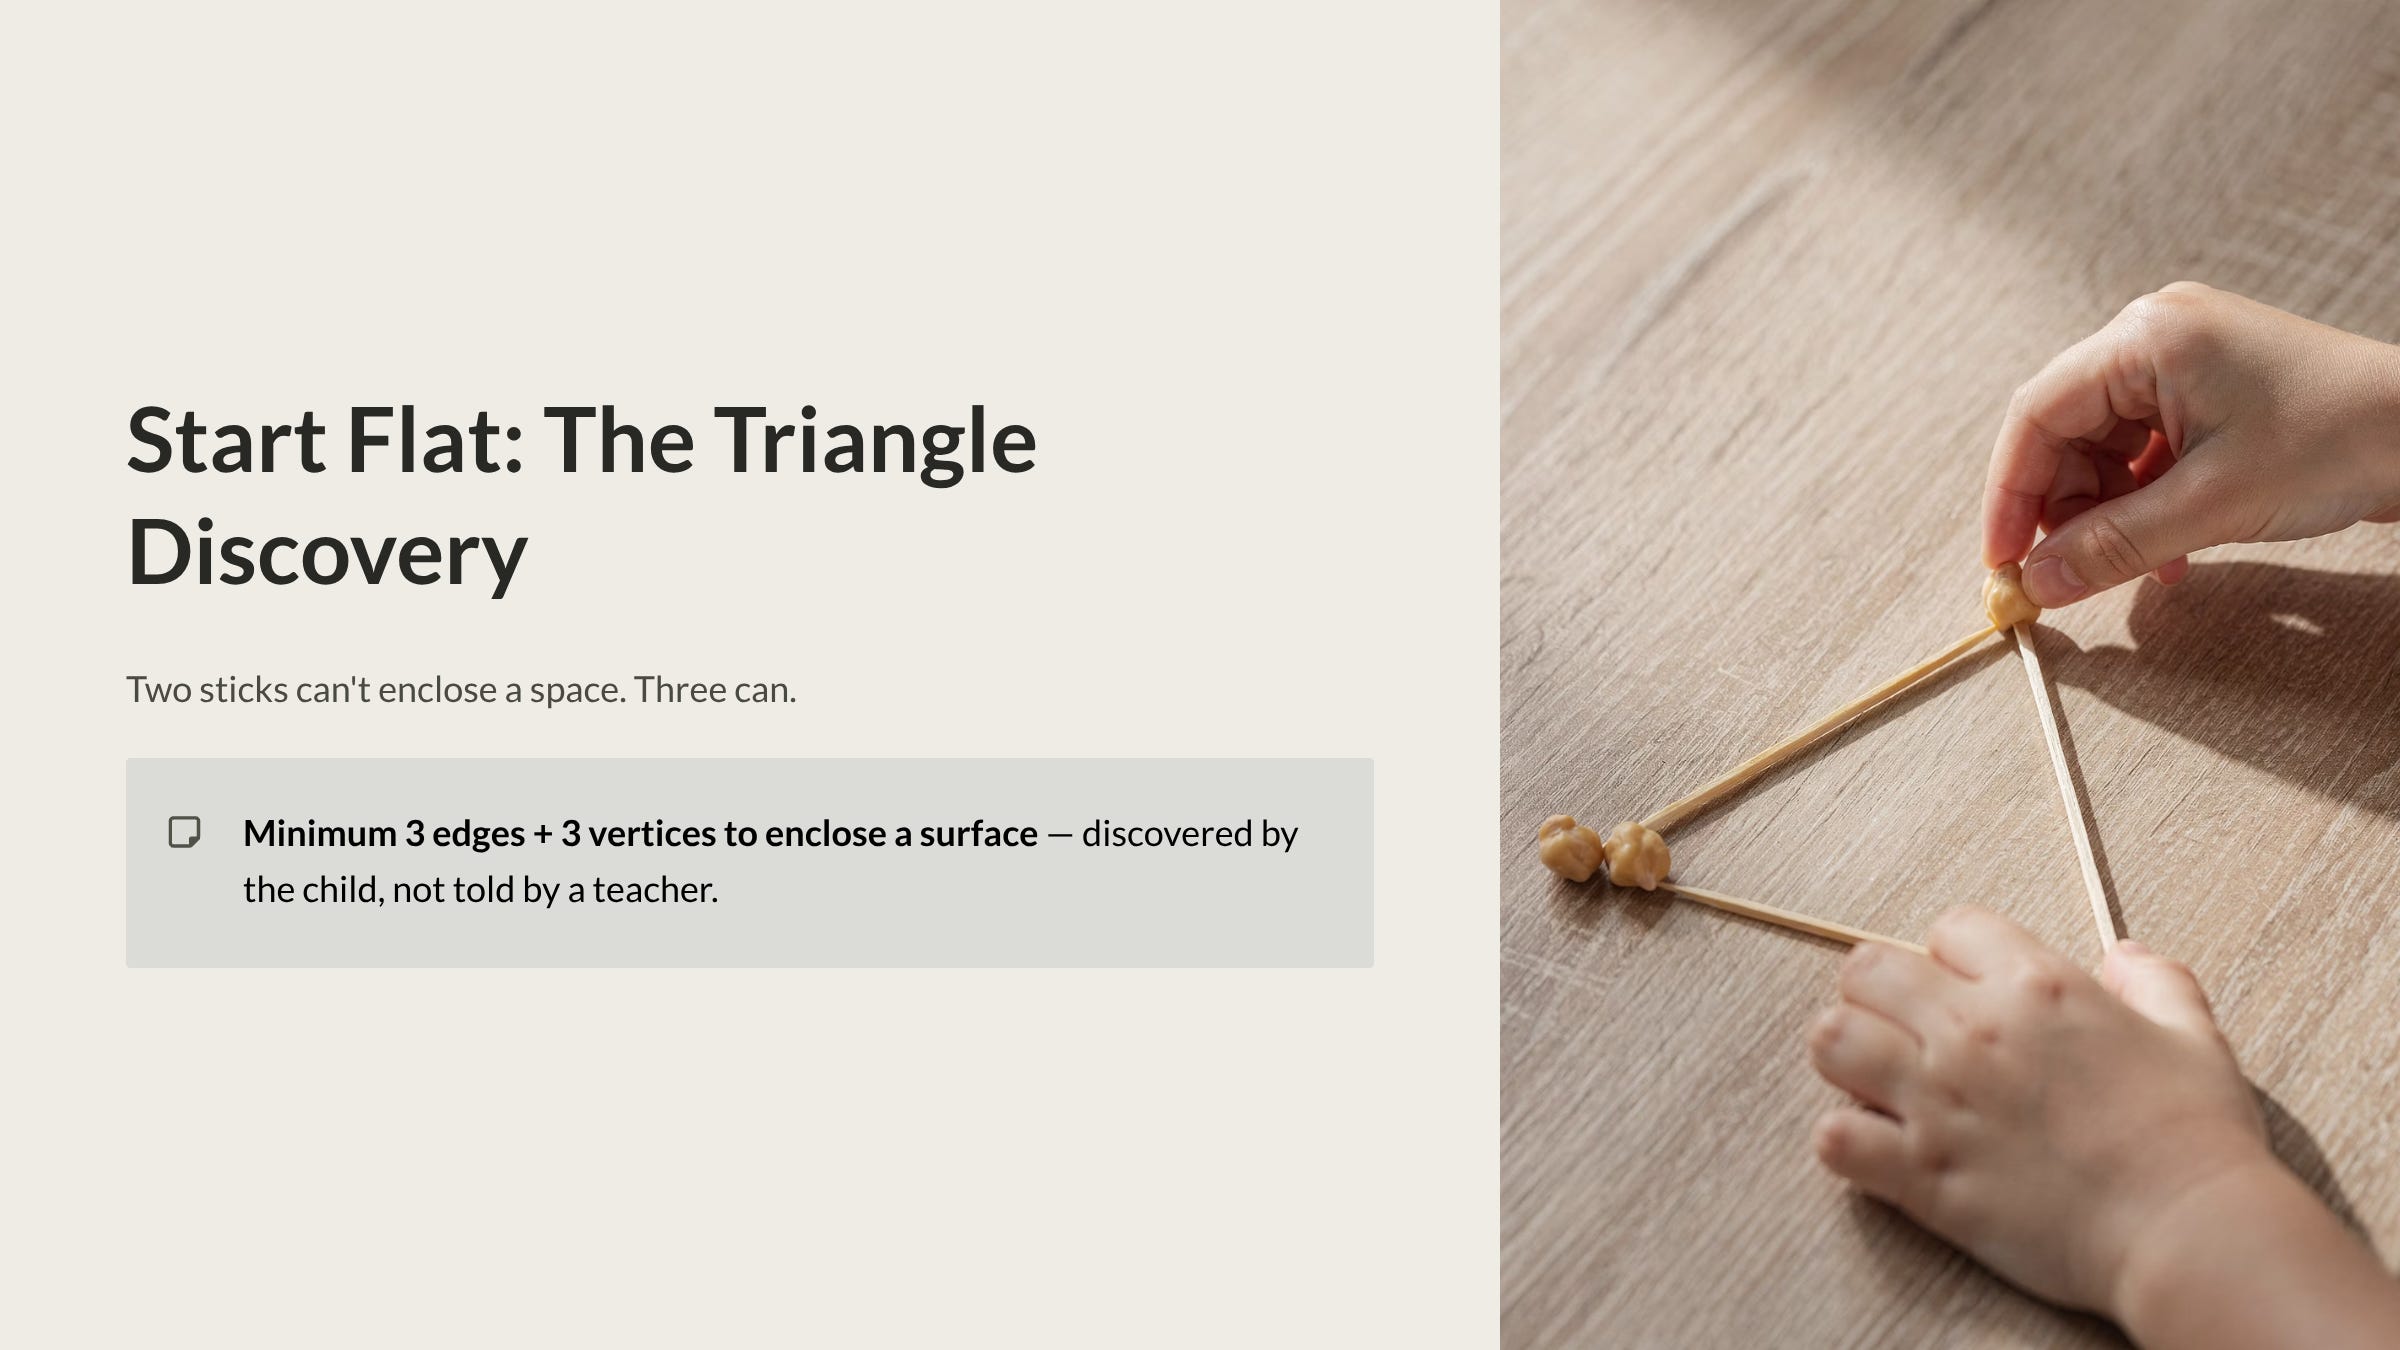
The Triangle Discovery
Ask your child to make the simplest closed shape they can using sticks and peas.
They’ll experiment. They might try two sticks—but two sticks can’t enclose a space. They’ll add a third. Three sticks, three peas, and suddenly: a triangle.
Your child has just discovered, through their own hands, one of the fundamental truths of geometry: it takes a minimum of three edges and three vertices to enclose a surface. No teacher told them. No textbook stated it. They found it by trying and failing and trying again.
This is what Fröbel meant by the “thinking-active human being”—a child who doesn’t just receive knowledge but constructs it through purposeful action.
Building the Geometric Vocabulary
From the triangle, the exploration expands naturally:
Square: Four sticks, four peas. “How is this different from the triangle? Is it stronger or wobblier?” (It’s wobblier—a crucial insight into structural engineering.)
Pentagon, hexagon, octagon: More sticks, more peas. “What happens as you add more sides? Does the shape start looking like something familiar?” (It approaches a circle—connecting back to the sphere from the very first Gift.)
Irregular shapes: Kites, rhombuses, trapezoids. “Can you make a shape where no two sides are the same length?” This introduces the concept of regular versus irregular polygons through direct construction.
Forms of Life: “Can you make a letter of the alphabet? A house? An umbrella? A star?” Children use flat stick-and-pea constructions to represent objects from their world, just as they did with blocks and tiles in earlier Occupations.
What to Watch For
The child who builds a square and notices it wobbles, then adds a diagonal stick to make it rigid, has discovered triangulation—the same structural principle that holds up bridges, roof trusses, and skyscrapers. If this happens, resist the urge to explain. Just ask: “Why did that make it stronger?” Let them articulate it in their own words. Their explanation will be imperfect and wonderful.
The Leap to 3D: Where the Magic Happens
Flat shapes are satisfying. Three-dimensional structures are thrilling.
The transition from 2D to 3D is the moment that defines Stick and Pea Work. And unlike building with solid blocks—where the interior is hidden—these structures are entirely transparent. Your child can see every edge, count every corner, and peer through every face to understand the geometry from the inside.
This is a perspective that solid objects simply cannot provide. A wooden cube shows you six faces. A stick-and-pea cube shows you eight corners, twelve edges, and the empty space inside where all the geometry meets.
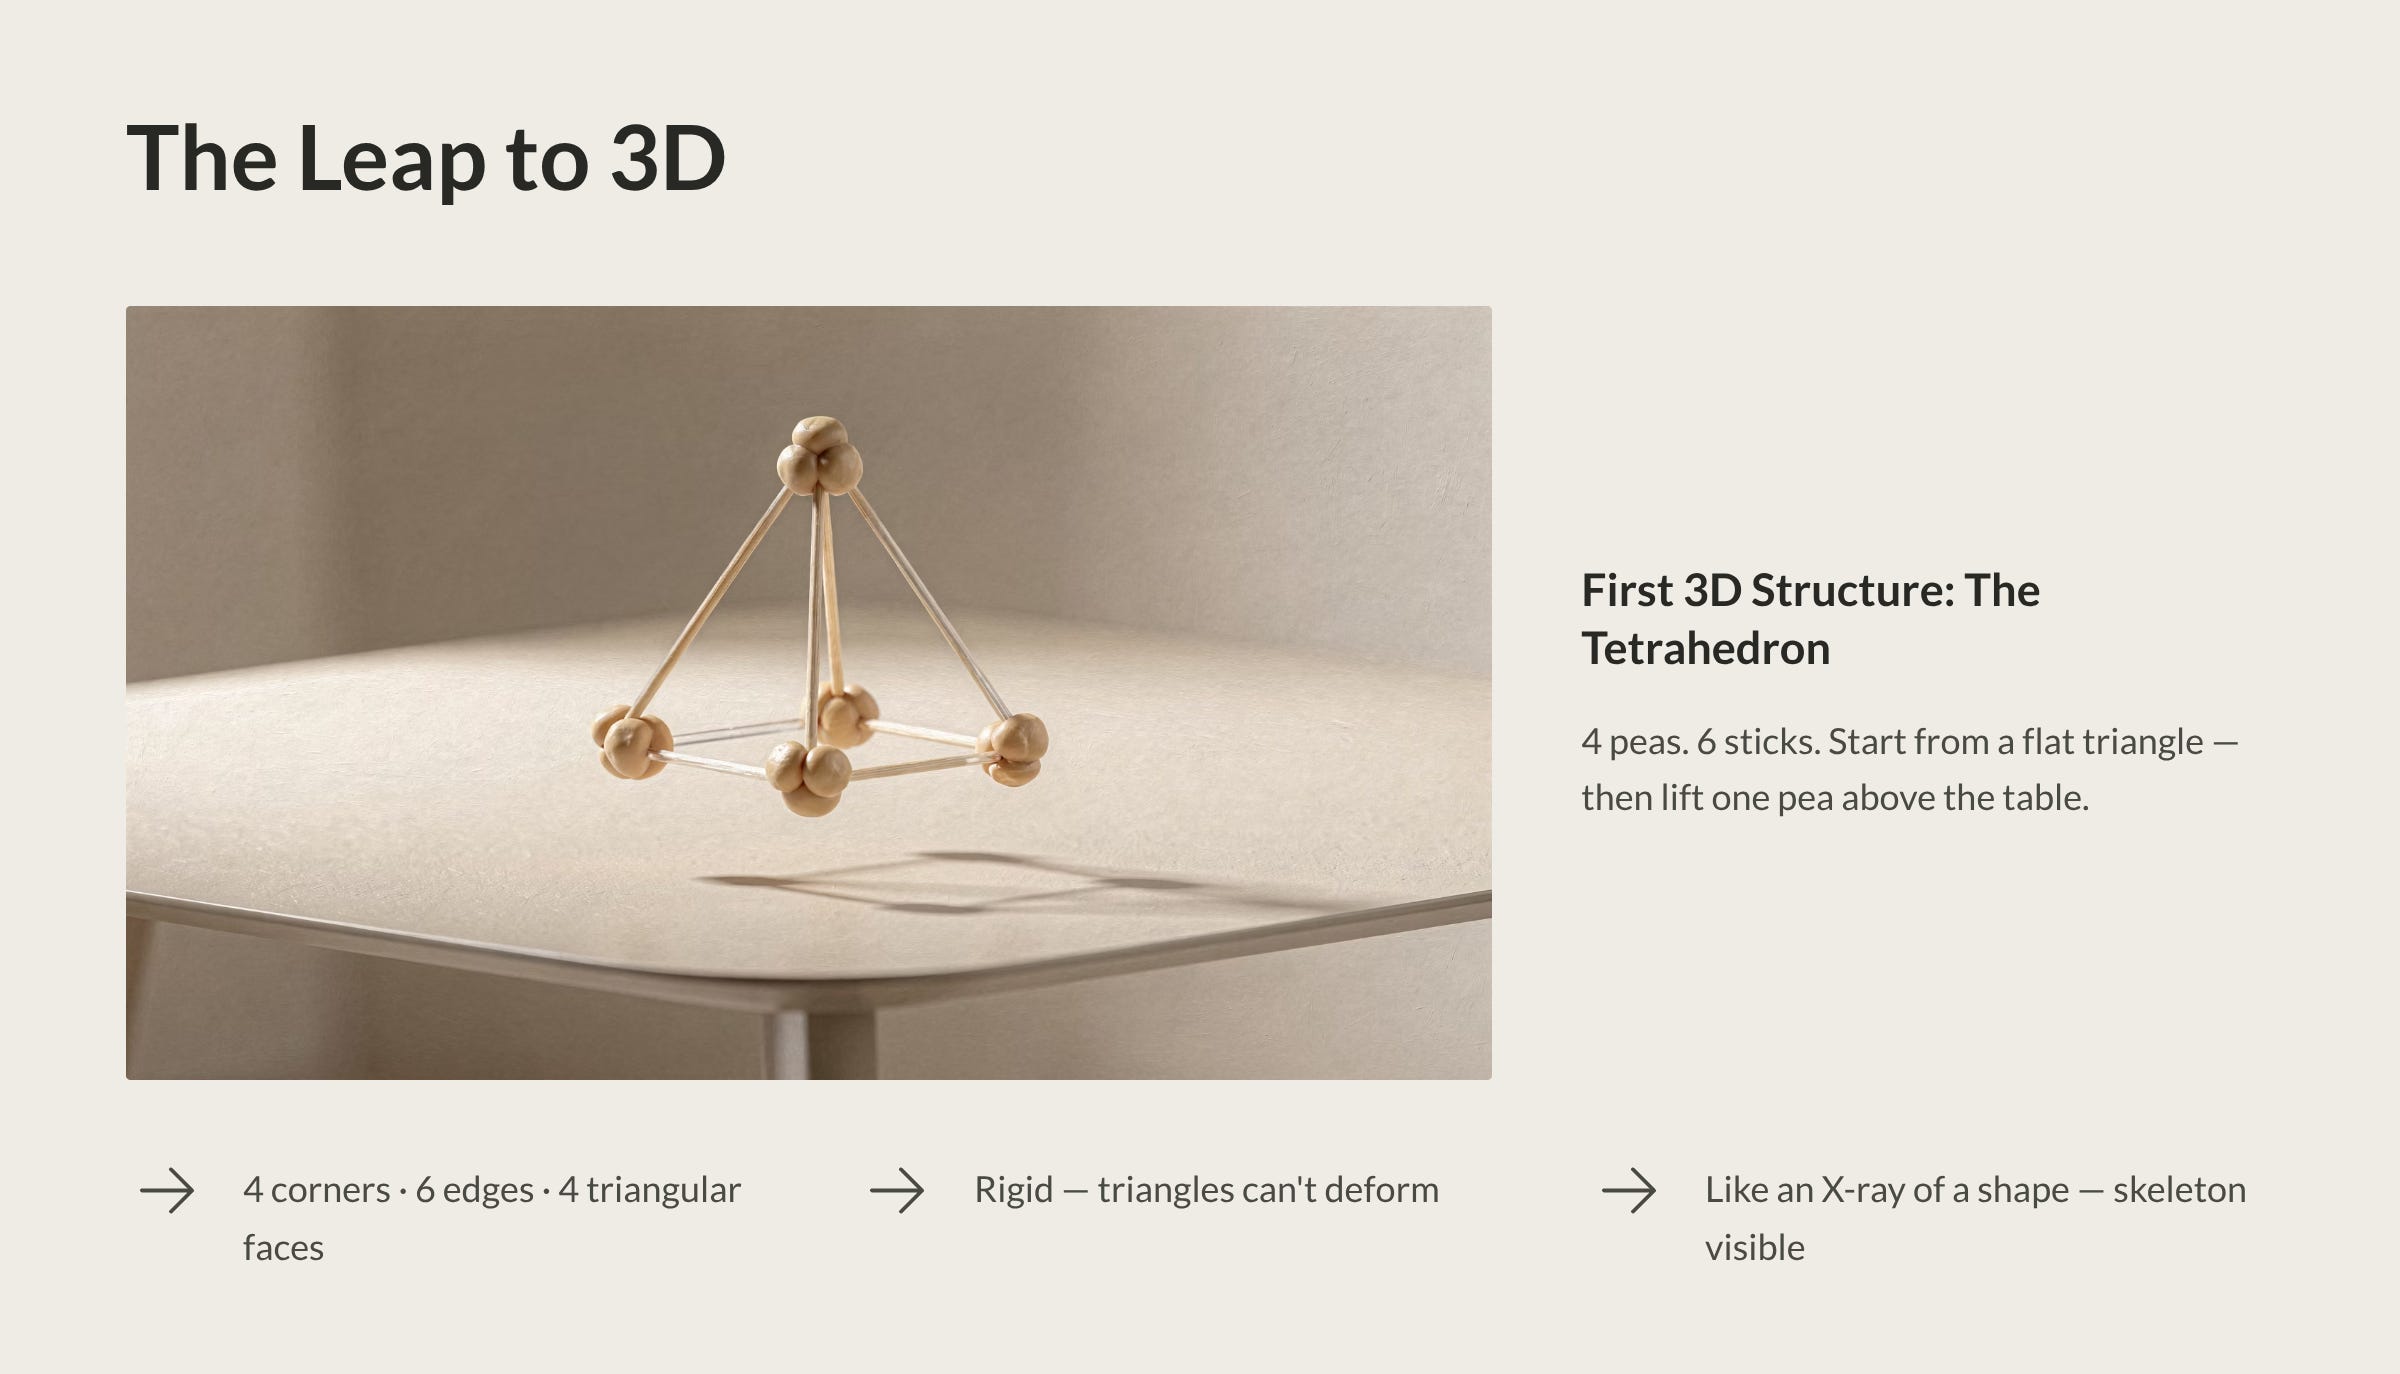
It’s like looking at an X-ray of a shape—the skeleton is visible, and the structure suddenly makes sense.
First 3D Structure: The Triangular Pyramid (Tetrahedron)
Start here. It’s the simplest three-dimensional solid—four peas, six sticks—and it’s remarkably strong.
How to guide it: Your child has already built a triangle on the table. Now ask: “Can you add one more pea and connect it to all three corners, but above the table?” They push three new sticks into the existing corners and connect them to a new pea held in the air. A pyramid appears.
What to notice: Four corners. Six edges. Four triangular faces (even though the faces are empty—your child can imagine them by tracing the edges with their finger). And the structure is rigid. Push on it and it barely flexes. Triangles are inherently stable, and a tetrahedron is made entirely of triangles.
The conversation: “How many corners does it have? How many sticks? Is it strong or wobbly? Why?” Let your child count, test, and reason.
The Cube: A Familiar Shape, Rebuilt from the Inside
Now the challenge grows. Your child knows the cube intimately from the Gifts—they’ve held it, spun it, divided it. But building one from sticks and peas requires them to understand it at a deeper level.
The count: Eight peas (corners). Twelve toothpicks (edges). Six empty faces.
The discovery: The cube wobbles. Unlike the tetrahedron, a cube built from sticks and peas is structurally unstable. Push gently on one corner and the whole thing leans and distorts.
“Why does the pyramid stay strong but the cube wobbles?”
Because the pyramid is made of triangles—and triangles can’t deform. The cube is made of squares—and squares can. This is one of the most important principles in structural engineering, and your child is learning it by poking a chickpea construction with their finger.
The fix: Ask your child to add one diagonal stick across one of the square faces. The wobble reduces. Add diagonals to more faces. The cube becomes rigid. They’ve just rediscovered triangulation in three dimensions—the same principle behind every steel-frame building they’ll ever walk into.
The Square Pyramid
Five corners, eight edges. A square base with four triangular sides rising to a point. This is an excellent intermediate structure between the tetrahedron and the cube because it combines both triangular and square faces—another example of Fröbel’s “connecting third” principle.
Try this: Build a square pyramid and a tetrahedron side by side. “Which one is stronger? Why?” Then ask: “What would happen if you put two square pyramids together, base to base?” The result is an octahedron—a shape your child might never have encountered before, discovered through their own construction.
Going Further: Complex Structures
Once your child is confident building basic 3D solids, the possibilities expand enormously:
Bridges: Two pyramids or cubes connected by a horizontal span. “How long can you make the bridge before it collapses? What can you do to make it stronger?”
Towers: Structures built vertically, testing height versus stability. “What shape makes the best base for a tall tower?”
Combined structures: A cube with a pyramid on top becomes a house. Two cubes side by side with a connecting span become a gateway. Multiple pyramids clustered together begin to look like a geodesic dome.
The key question to keep asking: “What holds it together? What makes it fall apart?” Every answer your child gives is an insight into physics, engineering, and structural thinking.
A Spark for Future Innovation
Here’s a piece of history that gives this humble Occupation extraordinary weight.
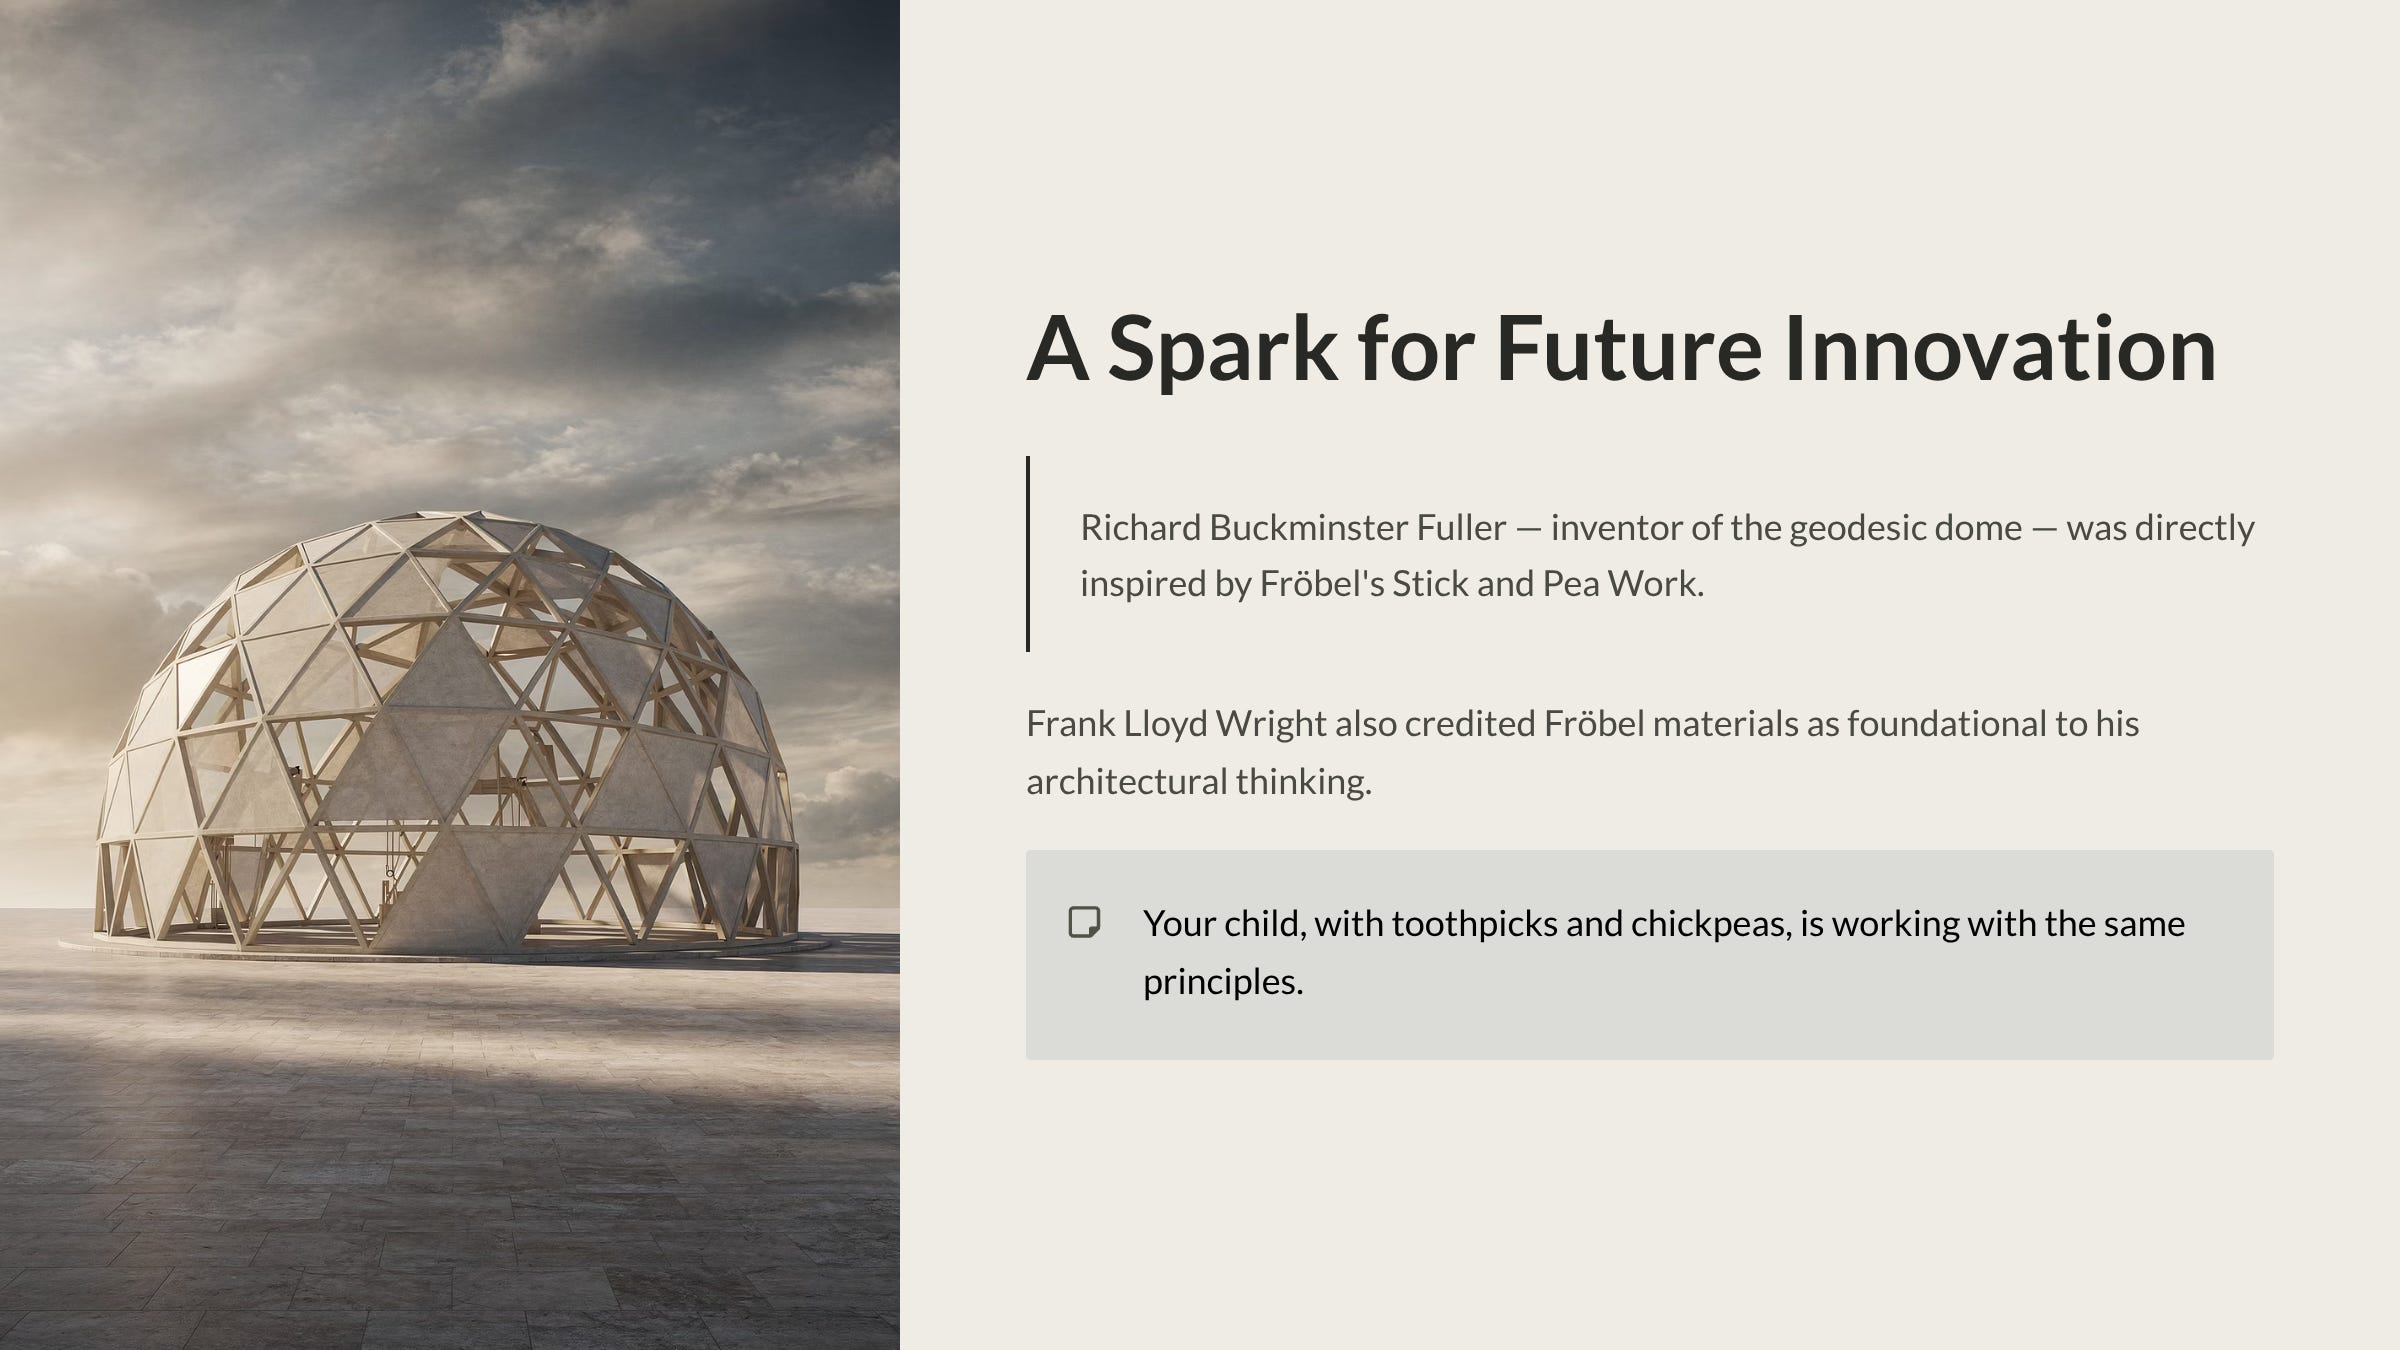
It’s widely believed that Richard Buckminster Fuller—the visionary architect who invented the geodesic dome—was directly inspired by early experiences with Fröbel’s Stick and Pea Work. The idea that complex, strong structures could be built from simple repeating units of sticks and connection points is essentially the principle behind Fuller’s most famous invention.
Frank Lloyd Wright, too, credited his kindergarten experiences with Fröbel’s materials as foundational to his architectural thinking. The ability to see structure as a relationship between points and lines—rather than as solid masses—shaped how he understood space and form throughout his career.
Your child, sitting at the kitchen table with toothpicks and chickpeas, is working with the same principles that inspired some of the twentieth century’s most influential architects. The materials are simple. The thinking they develop is anything but.
Bringing Stick and Pea Work Into Your Homeschool
Here’s how to introduce this Occupation at different stages.
Getting Started (Ages 4–5)
Materials: Toothpicks and softened chickpeas (soaked overnight). A flat, stable workspace. A damp cloth for wiping hands.
Preparation: Soak chickpeas the evening before. Test one before the session—you should be able to push a toothpick in without splitting the pea, and it should hold firmly.
Activities:
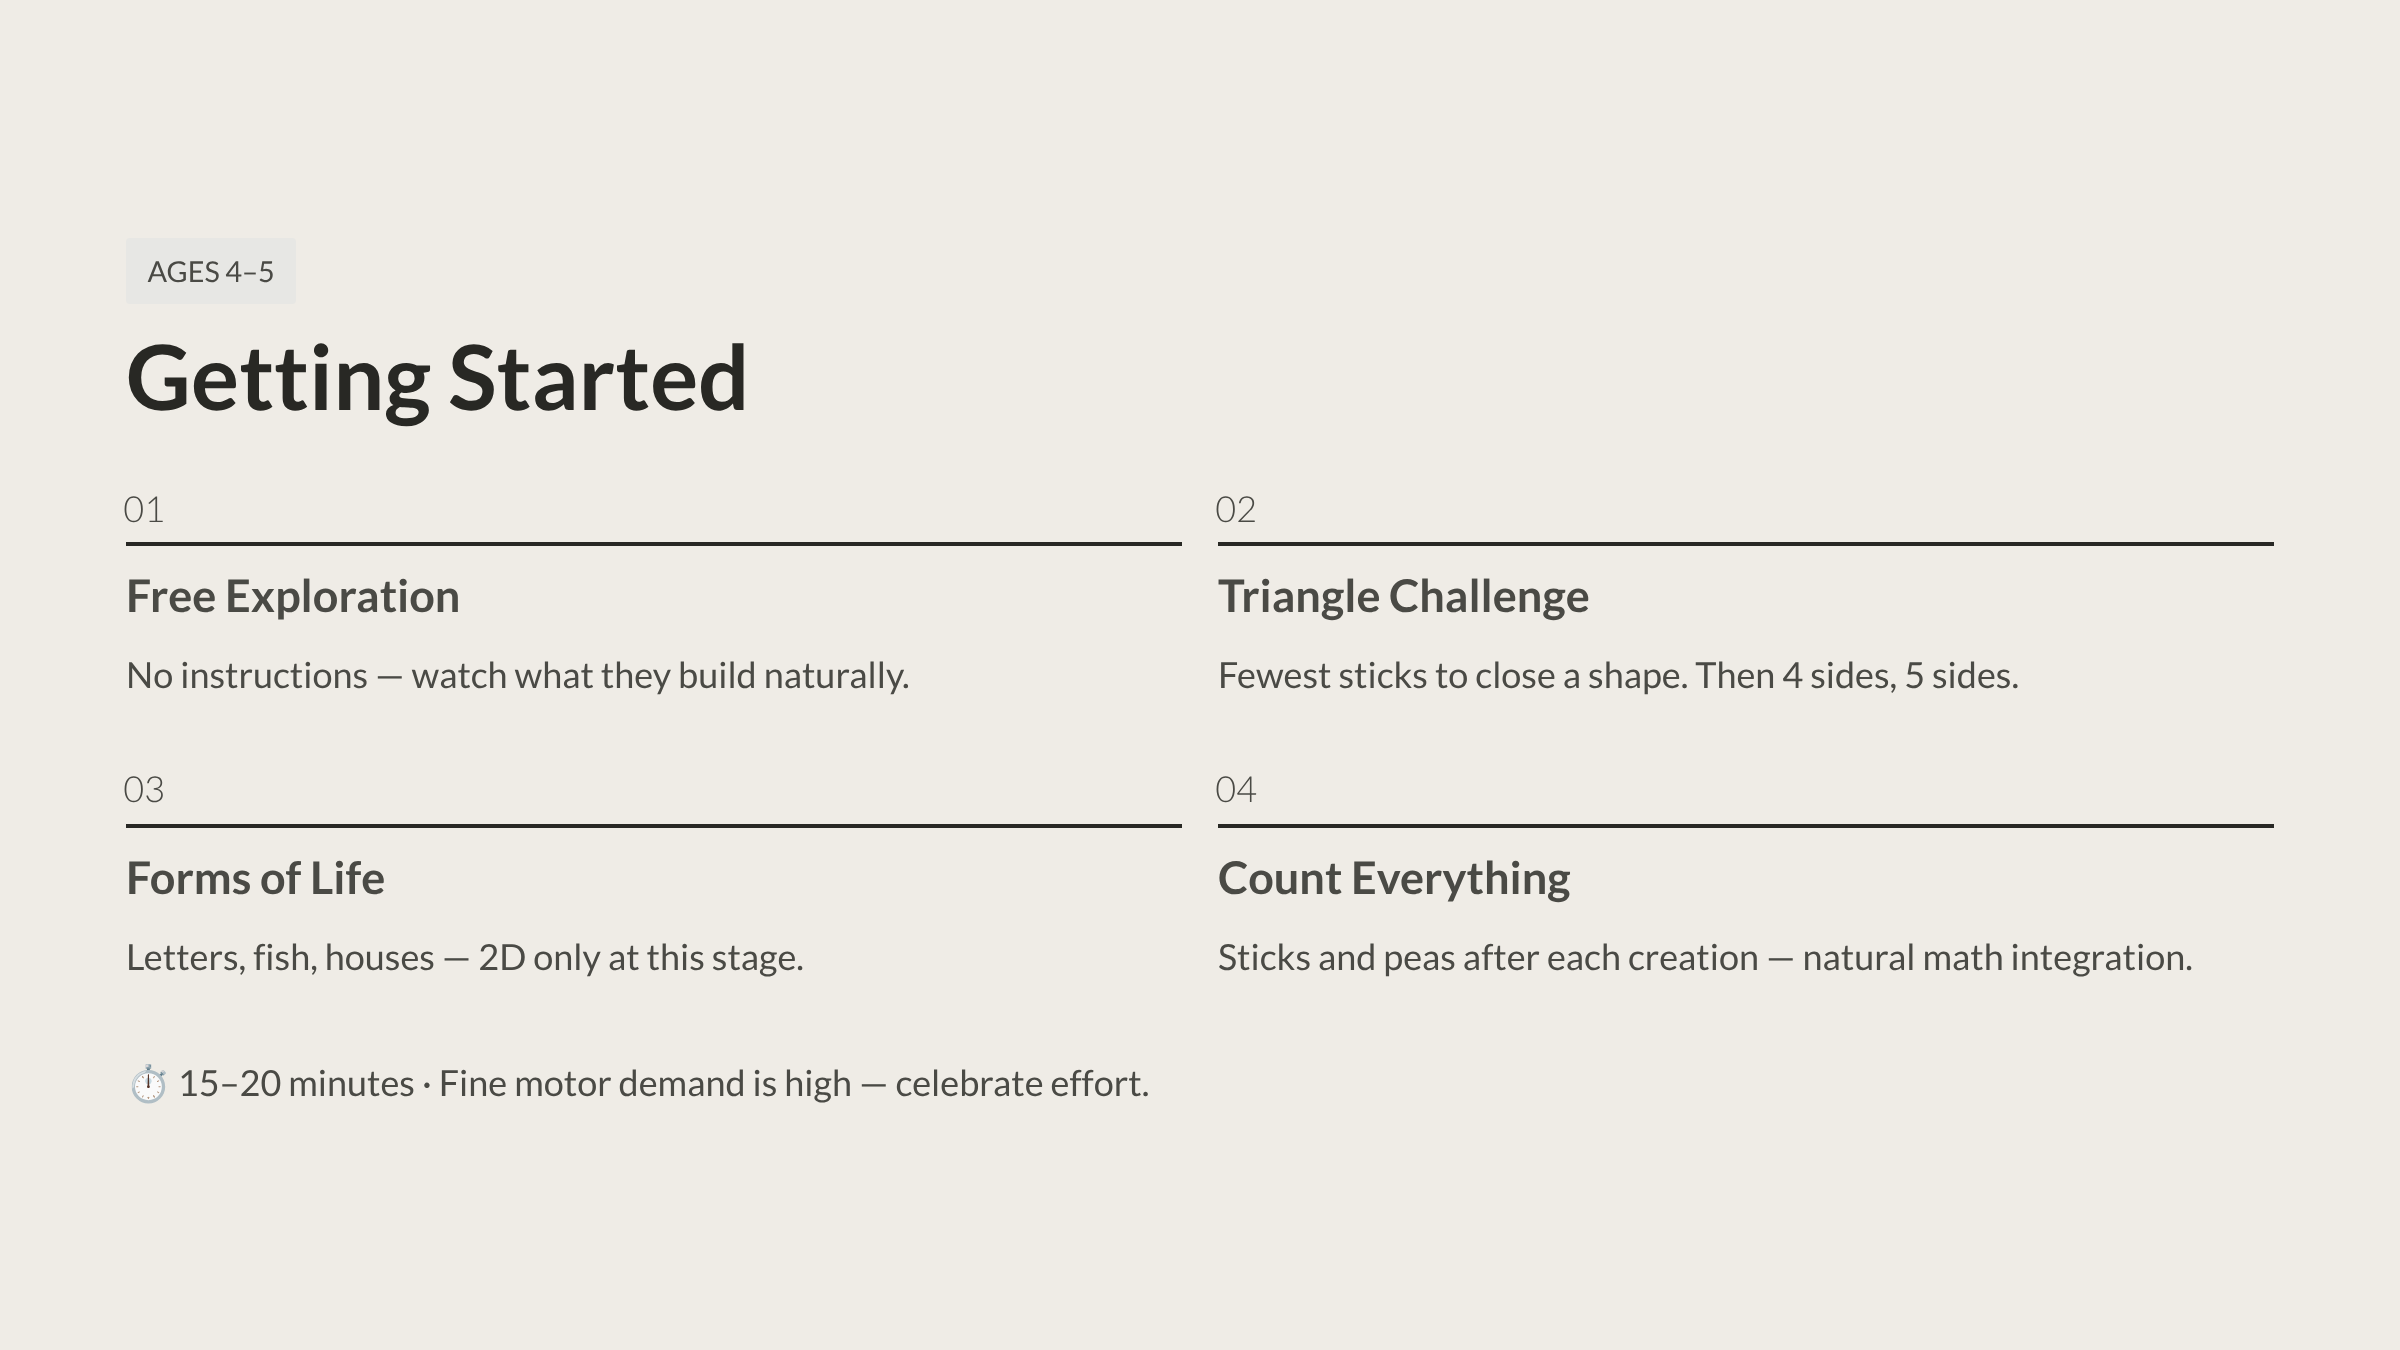
- Free exploration. Give your child a pile of peas and sticks and let them experiment. No instructions. Watch what they build. Most children start with lines and stars before naturally arriving at closed shapes.
- Triangle challenge. “Can you make a shape that closes completely using the fewest sticks possible?” Guide them toward the triangle if needed. Then ask: “Can you make a shape with four sides? Five?”
- Flat Forms of Life. “Can you make a letter? A house? A fish?” Keep it two-dimensional at this stage. The fine motor challenge of pushing toothpicks into peas is significant for this age group—celebrate effort over perfection.
- Counting practice. After each creation: “How many sticks did you use? How many peas? Are they the same number or different?” This integrates natural counting into every session.
Time commitment: 15–20 minutes. The fine motor demand is high, and small hands fatigue.
What success looks like: Your child can push toothpicks into peas independently. They create closed 2D shapes. They begin counting components spontaneously. They show pride in their constructions—this is often the first Occupation where children ask to keep their work on display.
Building Upward (Ages 5–6)
Activities:
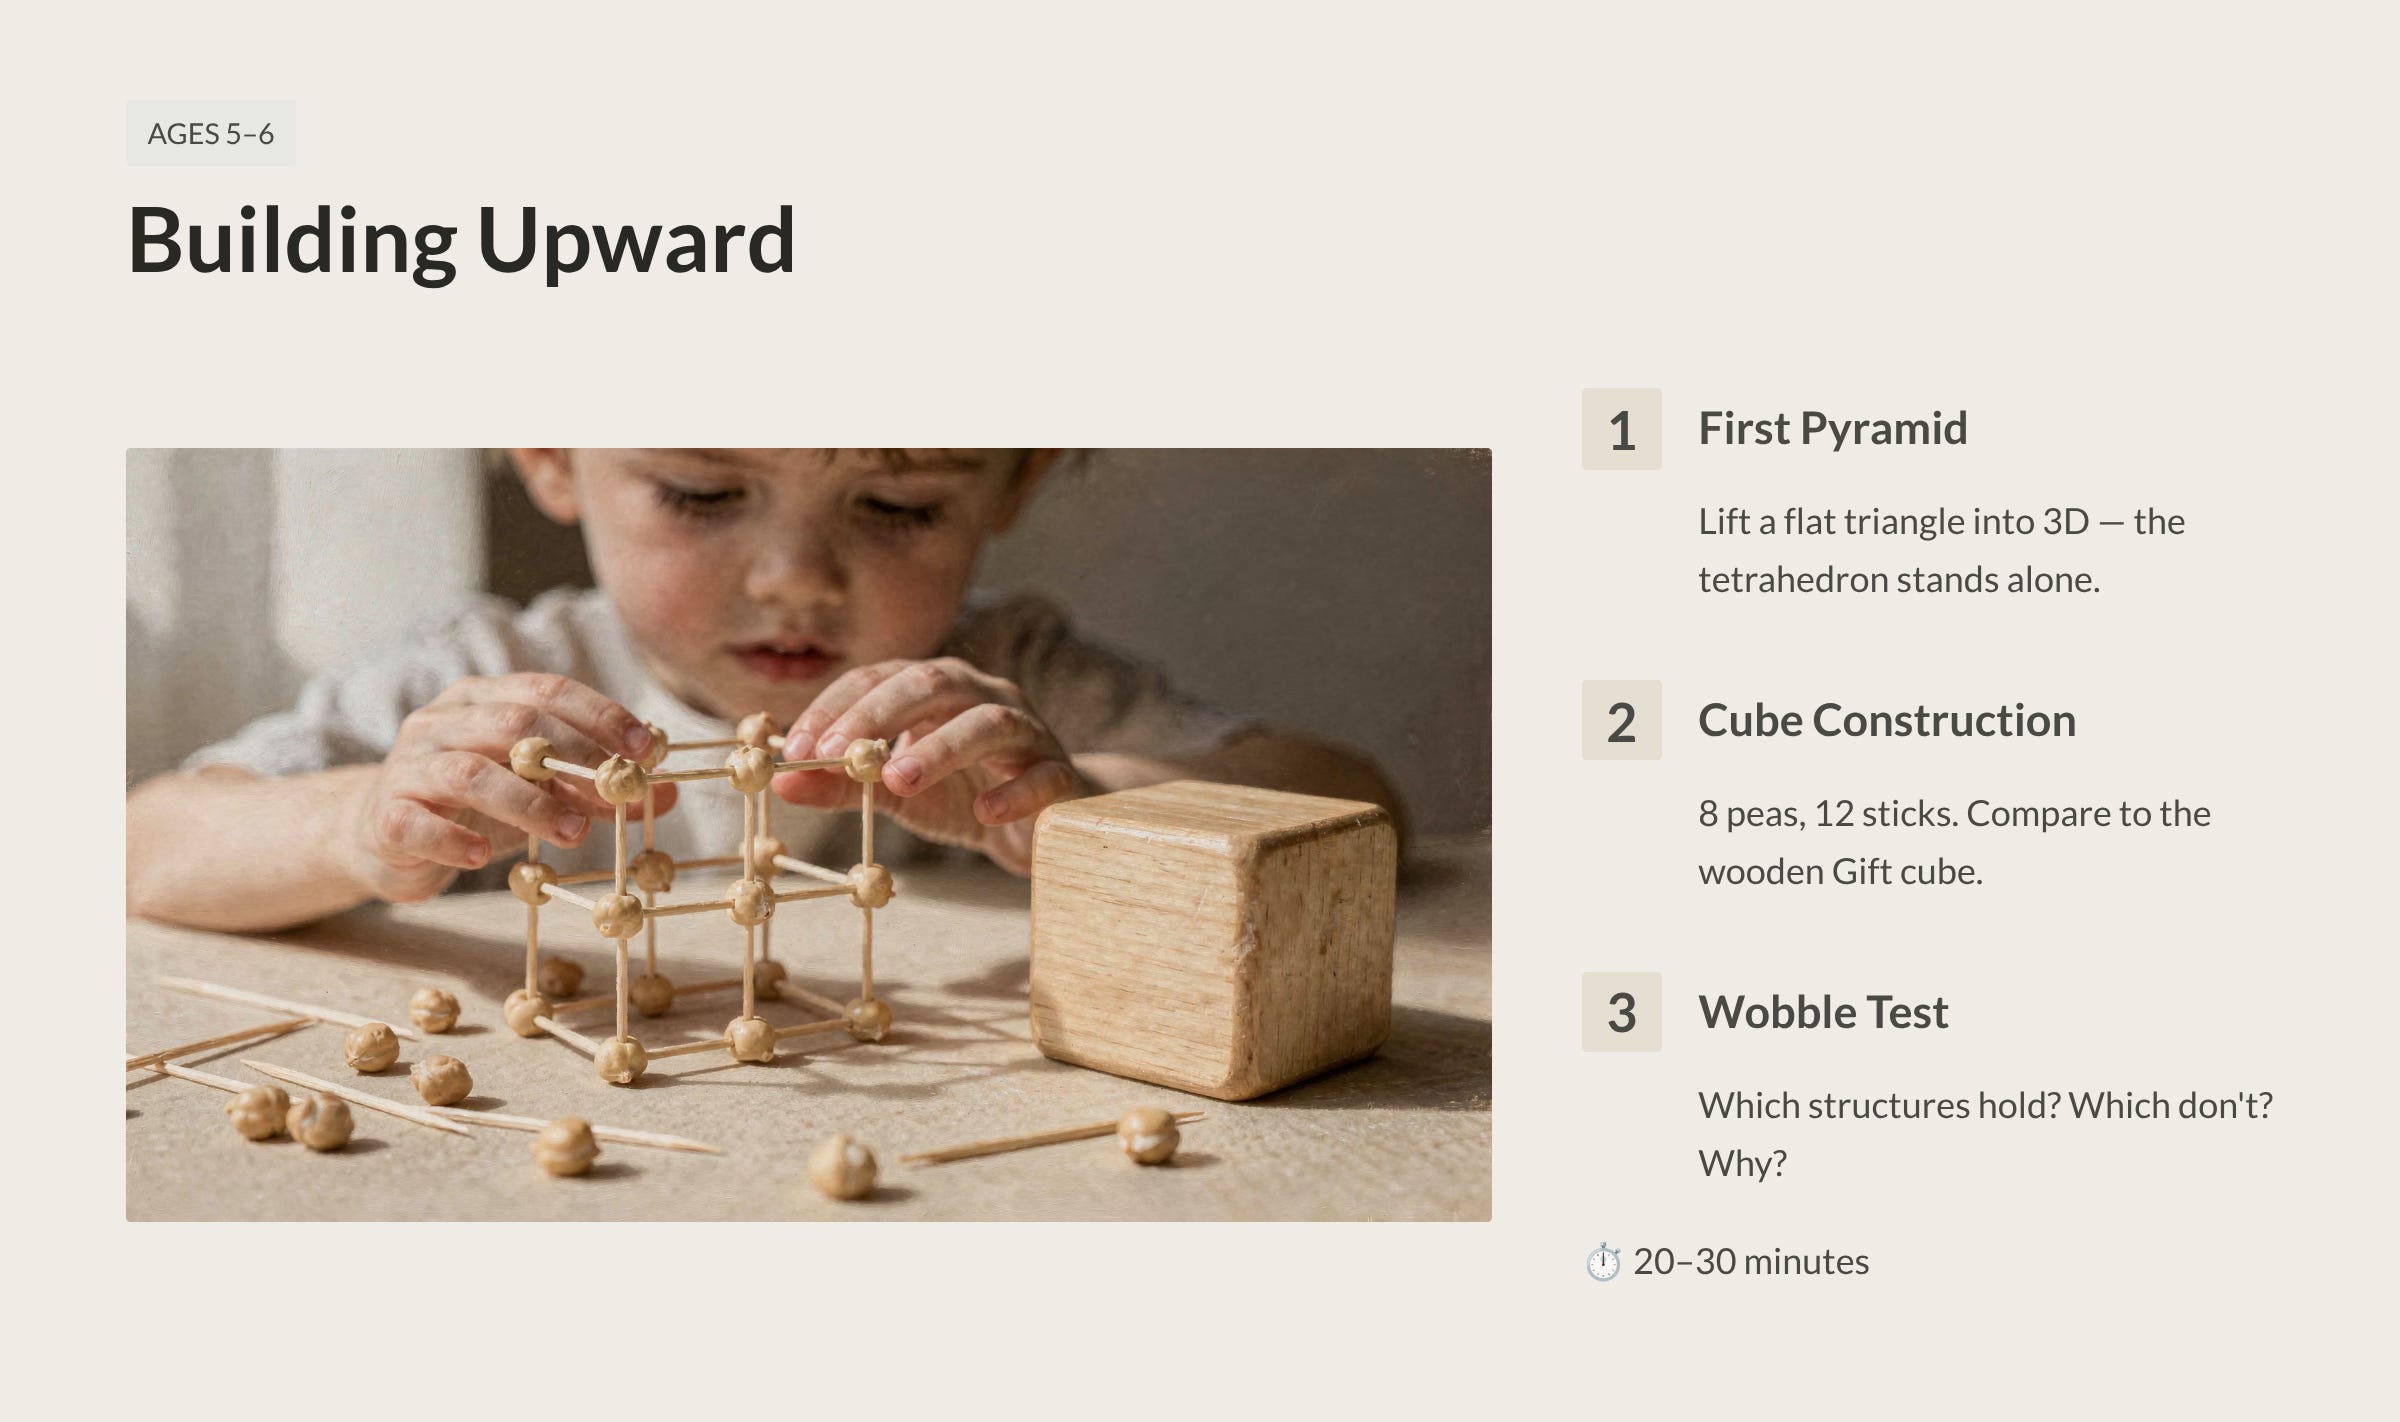
- First pyramid. Build a flat triangle together. Then ask: “Can we make this go up?” Guide them to add three more sticks angling upward from each corner, meeting at a new pea above the centre. The moment the tetrahedron stands on its own is genuinely exciting for children.
- Cube construction. Build a square base. Build a second square. Connect the corners with vertical sticks. Count everything together: eight peas, twelve sticks. Compare to the real wooden cube from the Second Gift. “Same shape—but now you can see inside it.”
- Wobble test. Push gently on each structure. “Which ones wobble? Which ones don’t? What’s different about the strong ones?” Guide them toward noticing that triangles are rigid and squares are not—but let them discover it through touch.
- Repair and reinforce. When a structure wobbles, ask: “Can you add one stick to make it stronger?” This introduces diagonal bracing naturally.
Time commitment: 20–30 minutes. 3D construction is absorbing—many children will want to keep going longer.
What success looks like: Your child builds 3D structures that stand independently. They can count vertices and edges. They begin to understand why some structures are stronger than others. They experiment with adding supports to weak structures.
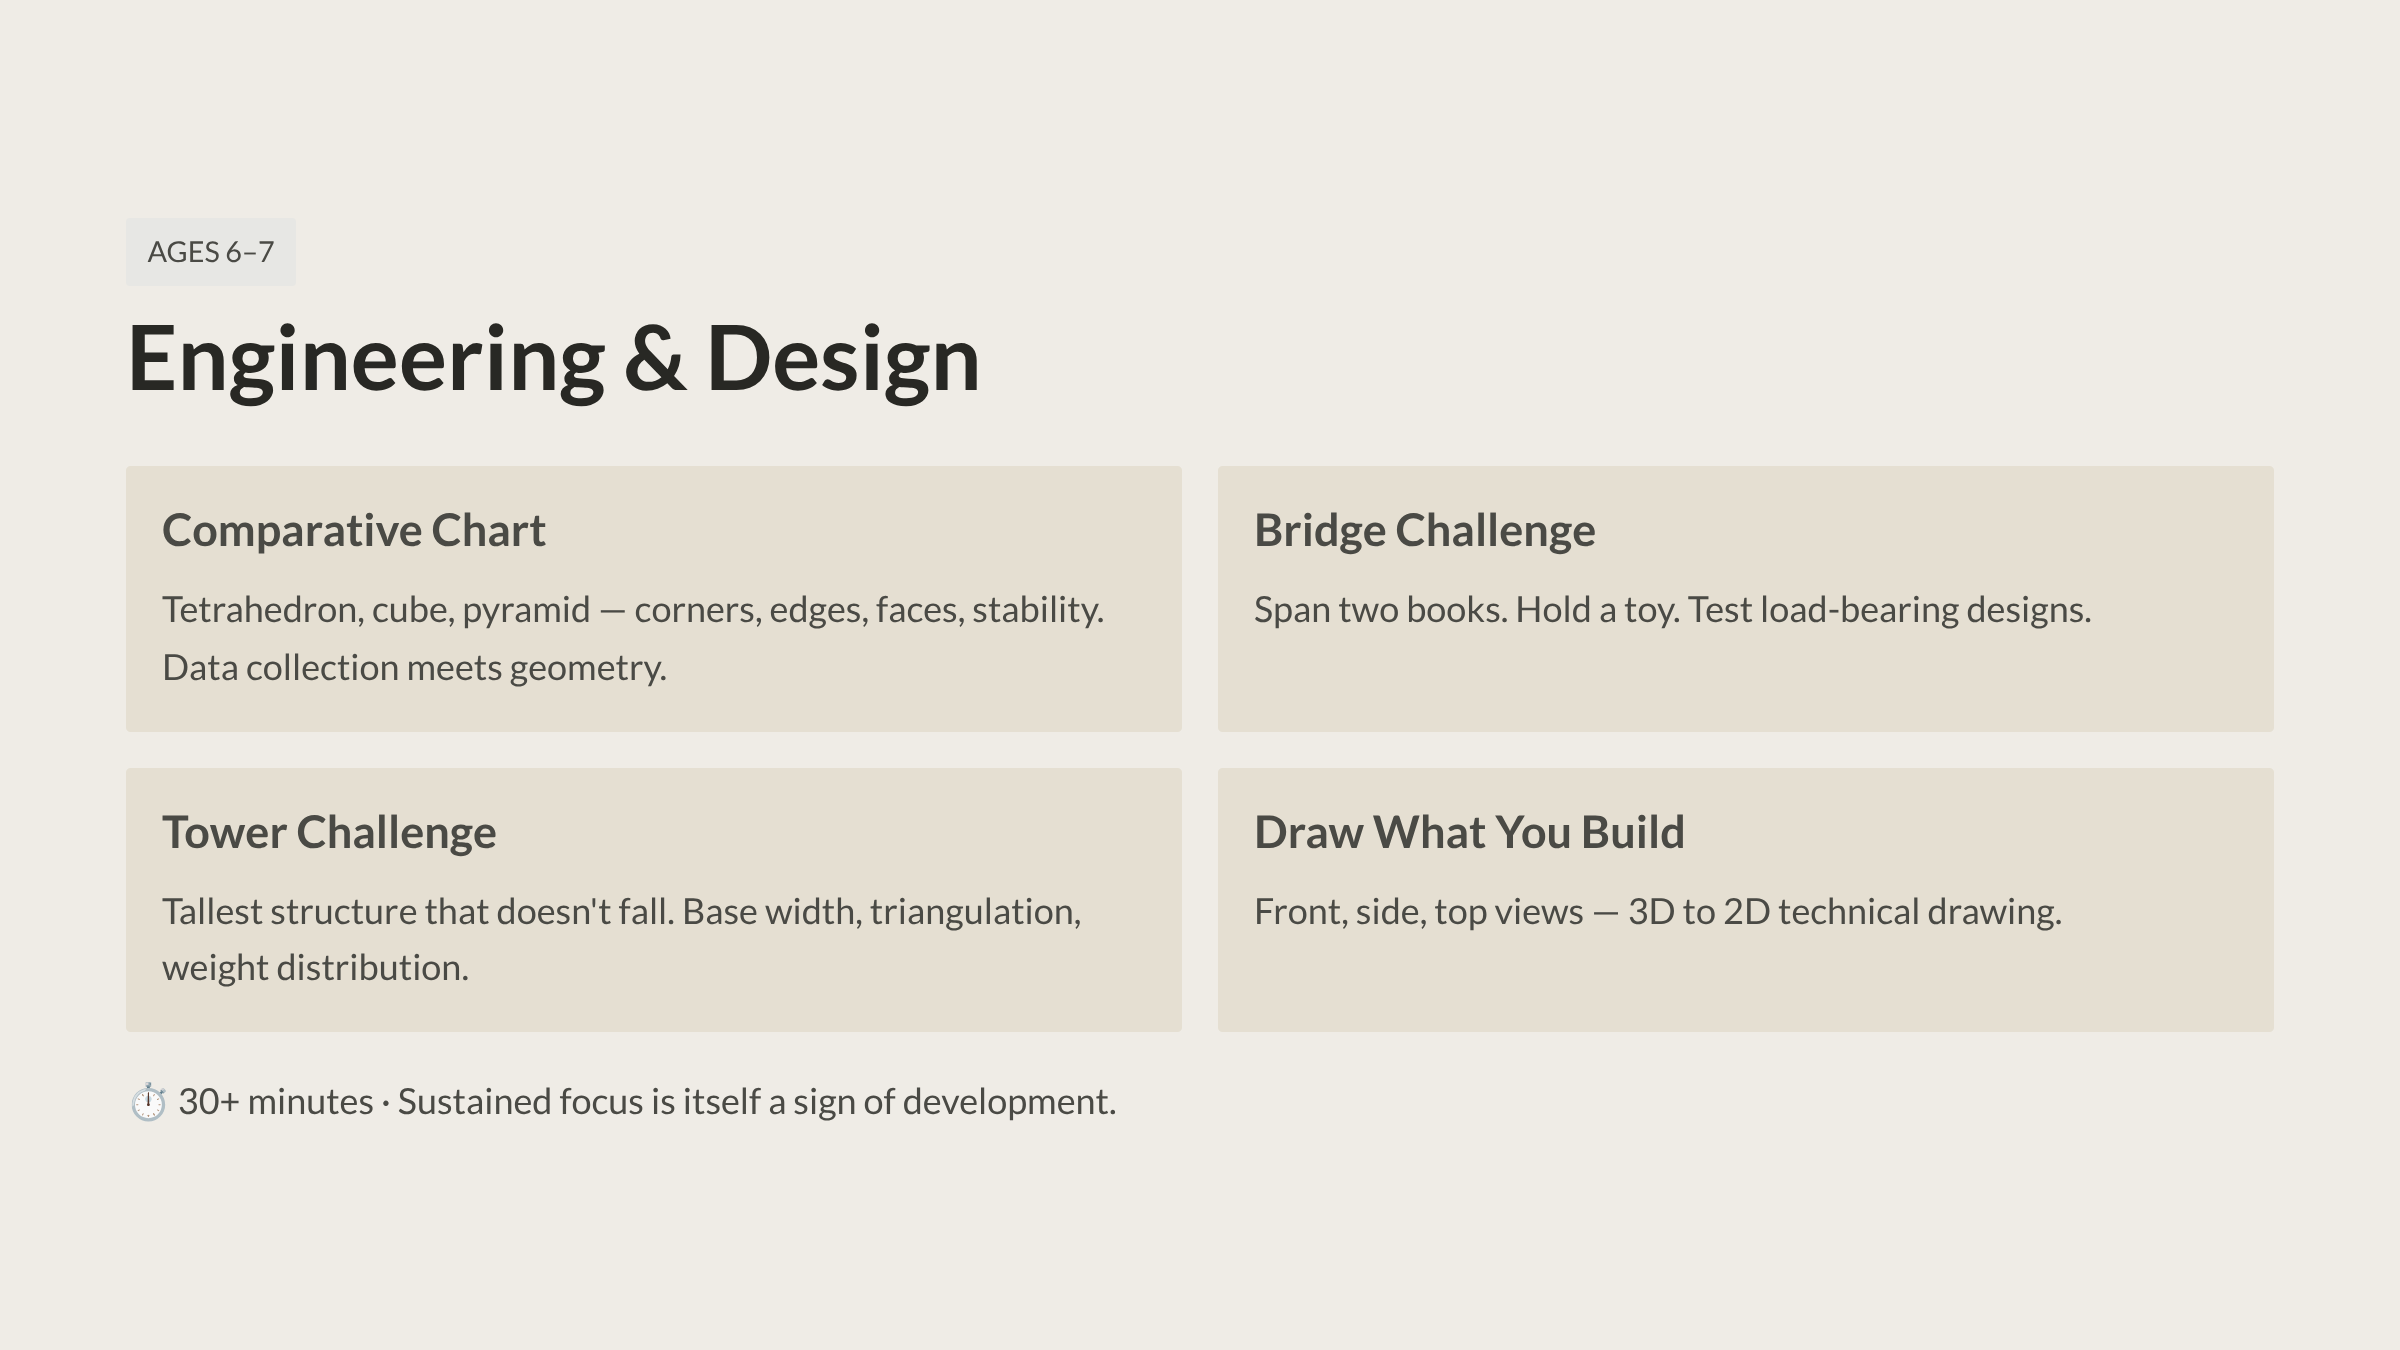
Engineering and Design (Ages 6–7)
Activities:
- Comparative building. Build a tetrahedron, a cube, and a square pyramid side by side. Create a chart: shape name, number of corners, number of edges, number of faces, strong or wobbly. This is data collection and classification applied to geometry.
- Bridge challenge. “Build a bridge between these two books that can hold a small toy on top.” This introduces load-bearing, span, and the practical application of structural principles. Test different designs. Which holds the most weight?
- Tower challenge. “Build the tallest structure you can that doesn’t fall over.” Height versus stability becomes a real engineering problem. Discuss base width, triangulation, and weight distribution.
- Combined structures. Challenge your child to build a “building” with rooms, a roof, and a doorway. This requires planning, spatial reasoning, and the integration of multiple geometric forms into one coherent design.
- Drawing what they build. After constructing a 3D structure, ask your child to draw it from three different angles—front, side, and top. This develops technical drawing skills and the ability to represent three dimensions on a two-dimensional surface.
Time commitment: 30+ minutes. At this stage, children often become deeply absorbed in engineering challenges and resist stopping. That sustained focus is itself a sign of development.
What success looks like: Your child plans structures before building. They troubleshoot instability by adding triangulation. They articulate structural principles (”triangles don’t wobble because the shape can’t change”). They design increasingly complex structures and can explain their engineering choices.
Nurturing the Creative Instinct
There’s a thread running through every Occupation in our Masterclass, and Stick and Pea Work pulls it taut.
Children have a natural urge to understand how things work—what Fröbel called the desire to know “what holds the world together at its core.” In younger children, this often looks destructive: pulling things apart, breaking things open, dismantling what adults have built.
Fröbel never wanted to suppress that urge. He wanted to redirect it. The Gifts gave children things to take apart and reassemble. The Occupations gave them tools to construct from the ground up.
Stick and Pea Work is the purest expression of this philosophy. Your child isn’t building with pre-made walls and roofs. They’re building with the most elemental components possible—individual points and lines—and discovering for themselves how those elements combine to create structure, strength, and beauty.
The “destructive instinct” becomes the creative instinct. The urge to take apart becomes the skill to put together. And the child who once scattered blocks across the floor is now engineering transparent towers from chickpeas and toothpicks, understanding geometry from the inside out.
That transformation is Fröbel’s legacy. And it happens at your kitchen table.
Coming Next Week
We’ve spent the past weeks inside—building with blocks, laying tiles, folding paper, and constructing transparent structures from sticks and peas.
Next week, we step outside.
Fröbel named his invention “kinder-garten”—the children’s garden—for a reason. Nature wasn’t a backdrop to his education. It was the foundation. The garden was where children learned responsibility, patience, cause and effect, and their own place within the living world.
We’ll explore the deep educational value of nature and outdoor work in Fröbel’s system, and how you can bring the “garden” back into your homeschool—whether you have acres of land or a single pot on a windowsill.
This is part of our ongoing Fröbel Gifts Masterclass at the Spielgaben Homeschool Series. If you’re new here, start with our earlier posts on Fröbel’s life story, the Law of Opposites, and Holistic Education: Head, Heart, and Hand and The First Gift: The Ball and The Second Gift: Sphere, Cylinder, and Cube and The Divided Cubes: Gifts 3–6 and Parquetry and Patterns and Paper Folding and Cutting.
Subscribe here to follow the complete Masterclass series and give your child the gift of purposeful play.


LEAVE A COMMENT